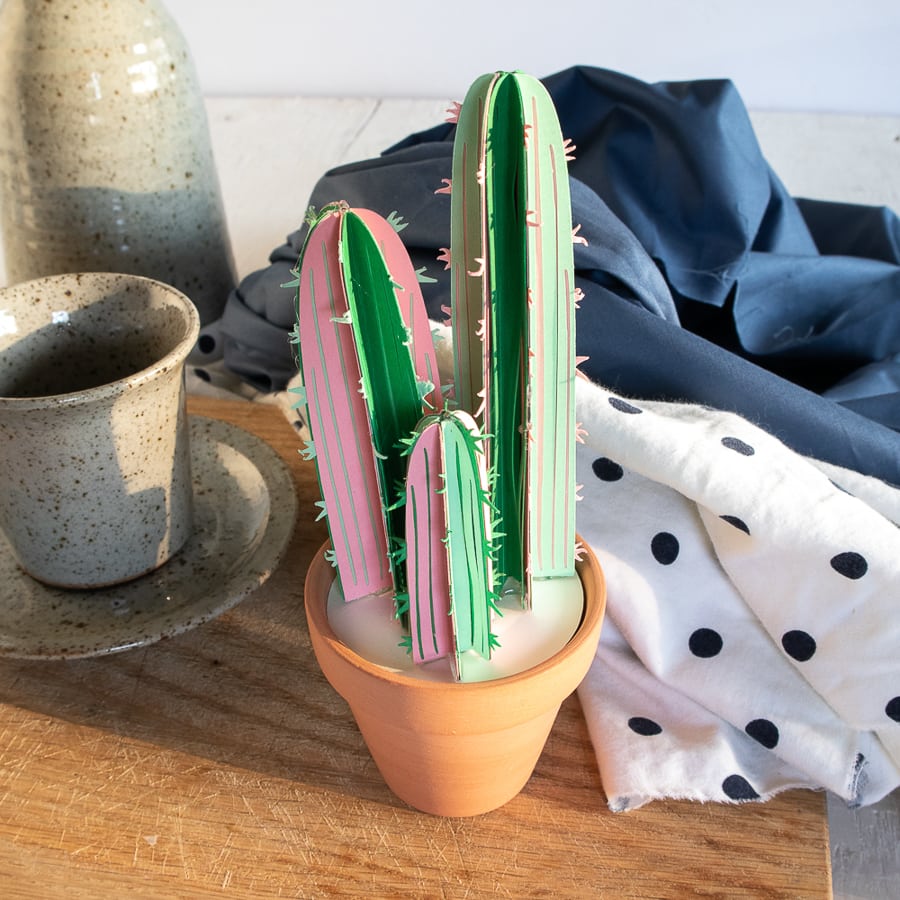
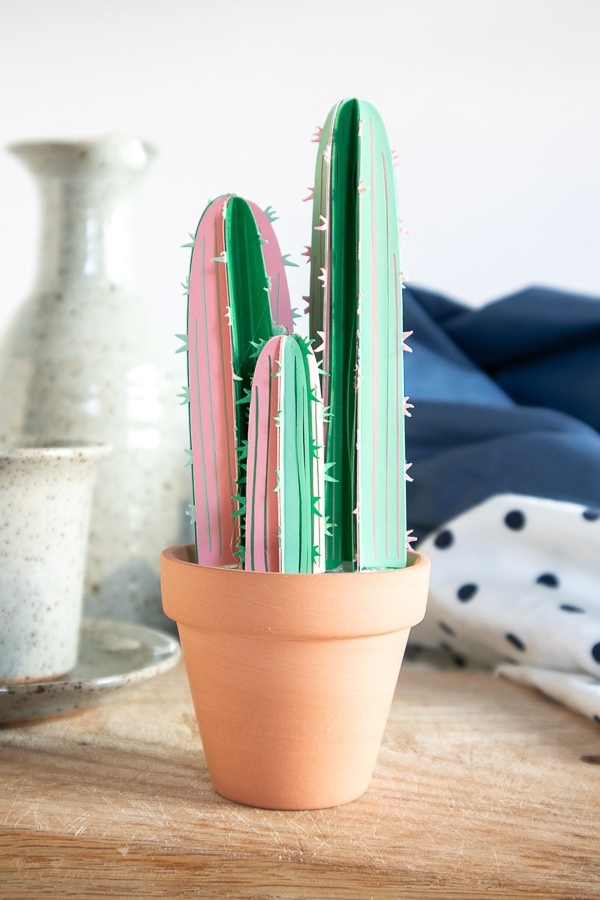
These adorable mini potted paper cactus crafts are super easy to make and liven up any space in the home. This step-by-step tutorial uses a Cricut cutting machine to cut out the simple pattern. All you need are some small pots and a little glue!
I have a confession to make, I can not for the life of me keep any houseplants alive! I have tried more times than I care to admit, but for some reason I was not born with a green thumb. I love the look of flowers and greenery in the house and so I moved onto succulents thinking I would have more success with those, I was wrong.
So, I have embraced the fact that I will decorate with artificial plants and flowers. When I saw these adorable potted paper cactus crafts, I knew that they were perfect for my lifestyle. They are adorable and so easy to make using my Cricut cutting machine.
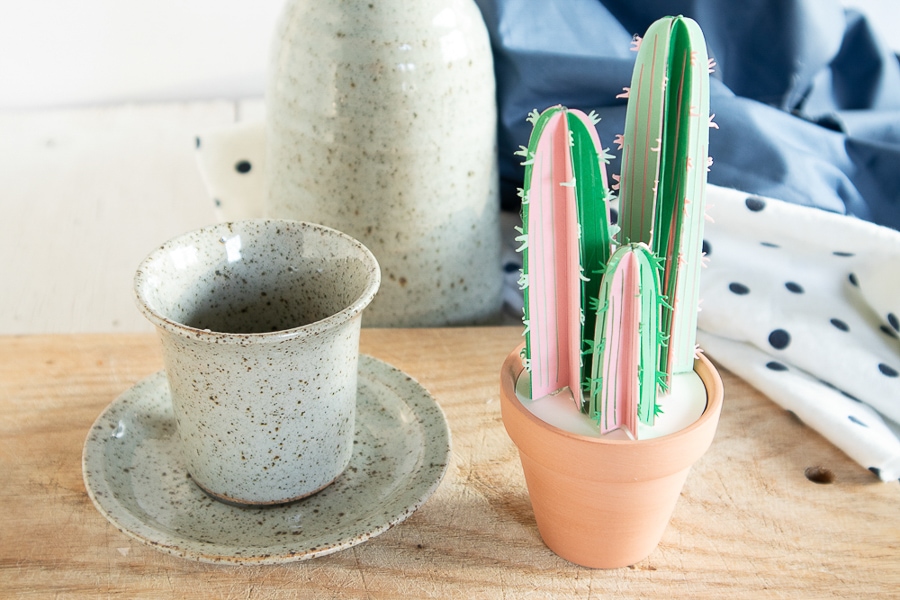
Just like our DIY Flower Buckets, This project is a great project for Cricut beginners. You just need a few materials and access to Design Space and you are ready to go.
Cactus Craft Tutorial
Materials Needed:
- Torch Cactus template in Design Space, #M103661F
- Cricut Explore Air2 (or other Cricut cutting machine) with Fine Point Blade and Scoring tool
- Cricut Light Grip Mat
- Cardstock paper in light green, dark green, coral pink and cream colors
- Small terracotta pot (size 2”)
- Spatula
- Styrofoam ball or other filler to fit inside terracotta pot
- Hot glue gun with clear hot glue sticks
- Glue stick
Instructions to Cut Three Paper Cacti (in varying sizes)
- Gather your tools and supplies.
Uploading the Cactus Pattern
- Open Cricut Design Space on your computer or phone.
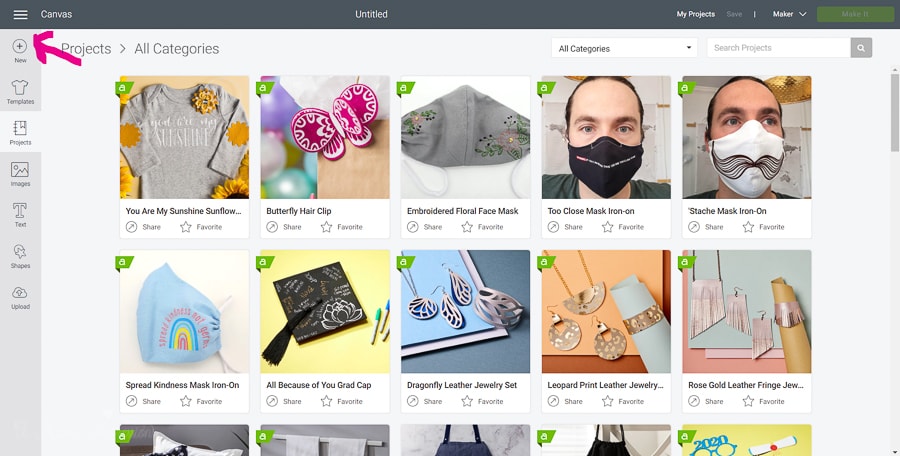
- Click on the “+” sign to start a new project, opening up a blank canvas.
- Click on the Images button from the toolbar.
- Search “torch cactus” image (#M103661F) and then click on the image to insert the pattern on the canvas.
- Resize grouping to double its original height (4.5” high).
- Click on the shape button on the toolbar to insert a circle shape.
- Resize the circle shape to match slightly smaller than the diameter of the top of the terracotta pot. In this case, the circle shape is sized to 2.125”.
- Change the color of the lightest green pieces to pink and change the color of the circle shape to cream color. Move to the color sync tab to see all the pieces sorted by color.
Cutting
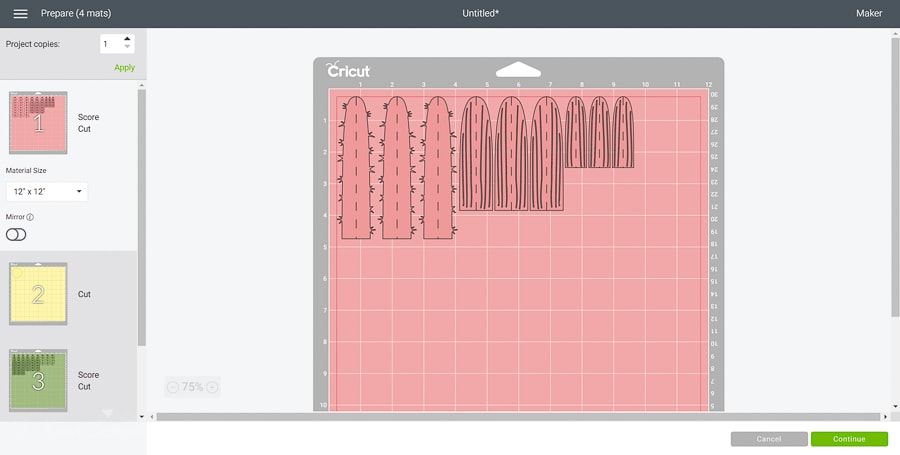
- Select “Make It” in Design Space.
- Set material type to Cardstock, choosing the appropriate weight based on your paper.
- Place the first paper color onto the light grip mat.
- Follow prompts for loading cardstock paper into Cricut and when the cut light is flashing start the cutting process. When the cut is complete, unload the mat from the machine.
- Remove the cut pieces from the cutting mat using a spatula tool.
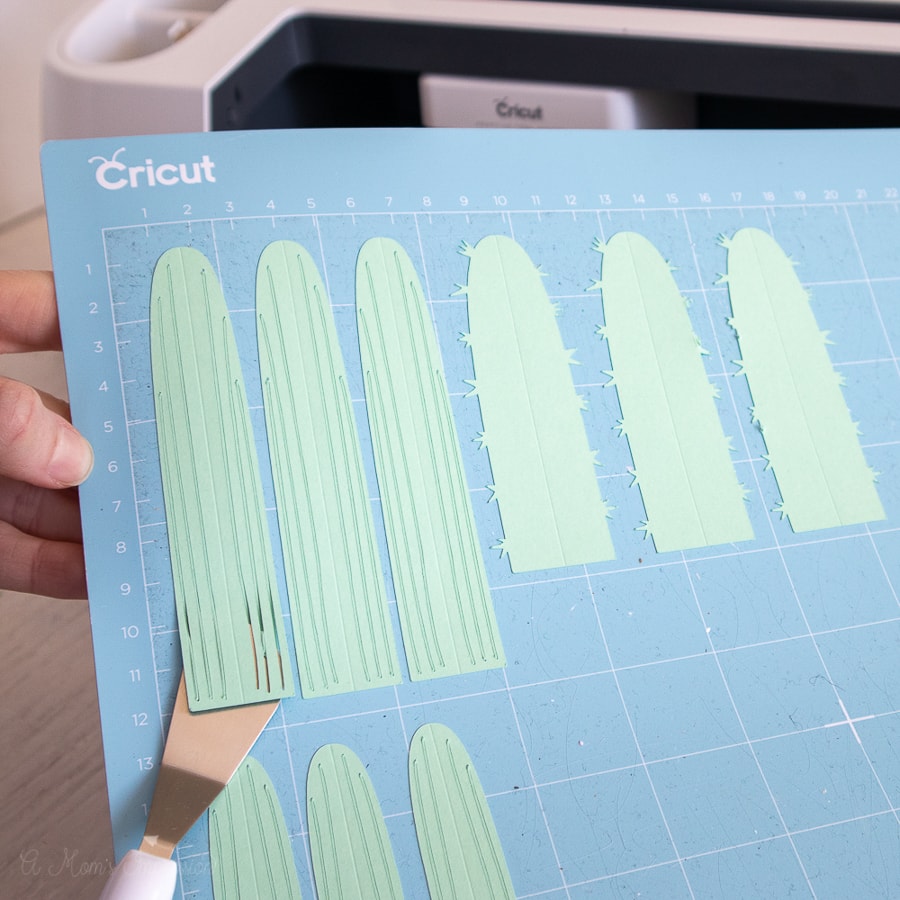
- Repeat for the remaining cacti pieces and papers.
Assembling the Paper Cactus
- Fold the cactus pieces along the score lines.
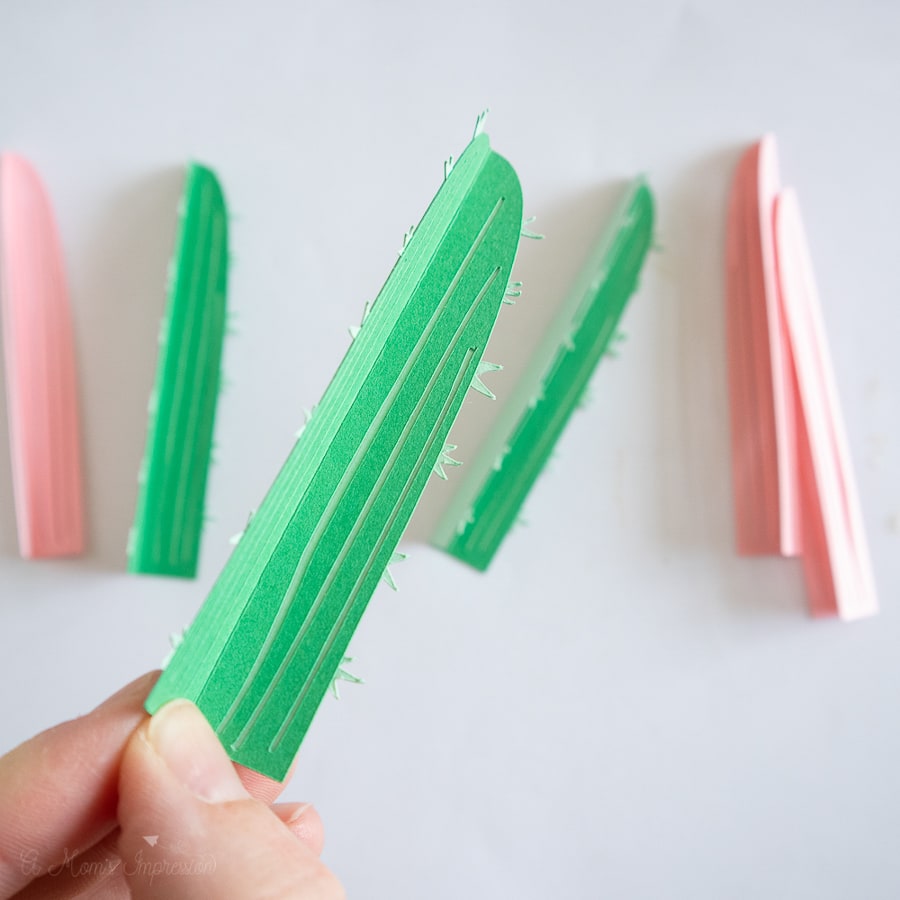
- Group the similar sized pieces together. They will create three separate cacti.
- Start with the smallest sized cactus. Using a glue stick, glue the pieces together, sandwiching the prickly pieces between the other colors, alternating them as you go along.
- Repeat with the other two sizes of cactus.
Assembling the Potted Paper Cactus
- Place the styrofoam ball (or other filler material) inside the terracotta pot.
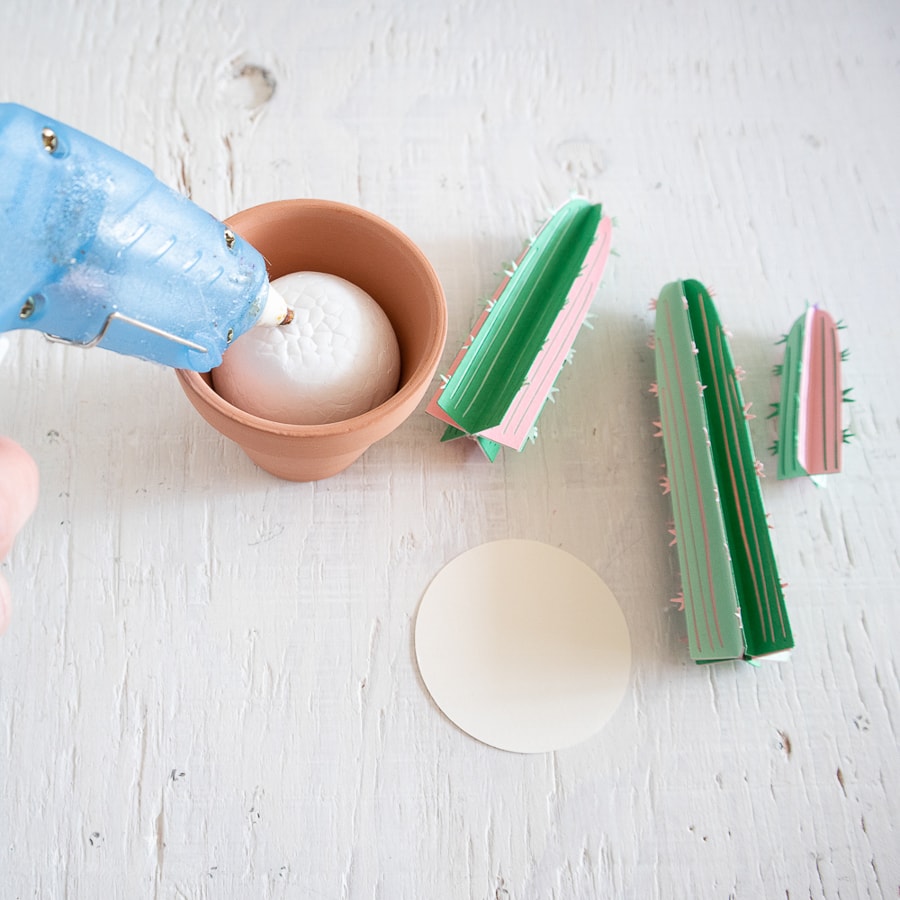
- Cover the ball with the cream colored circle shape gluing in place.
- Attach the prepared cactus pieces on top of the circle with hot glue and hold in place until glue sets.
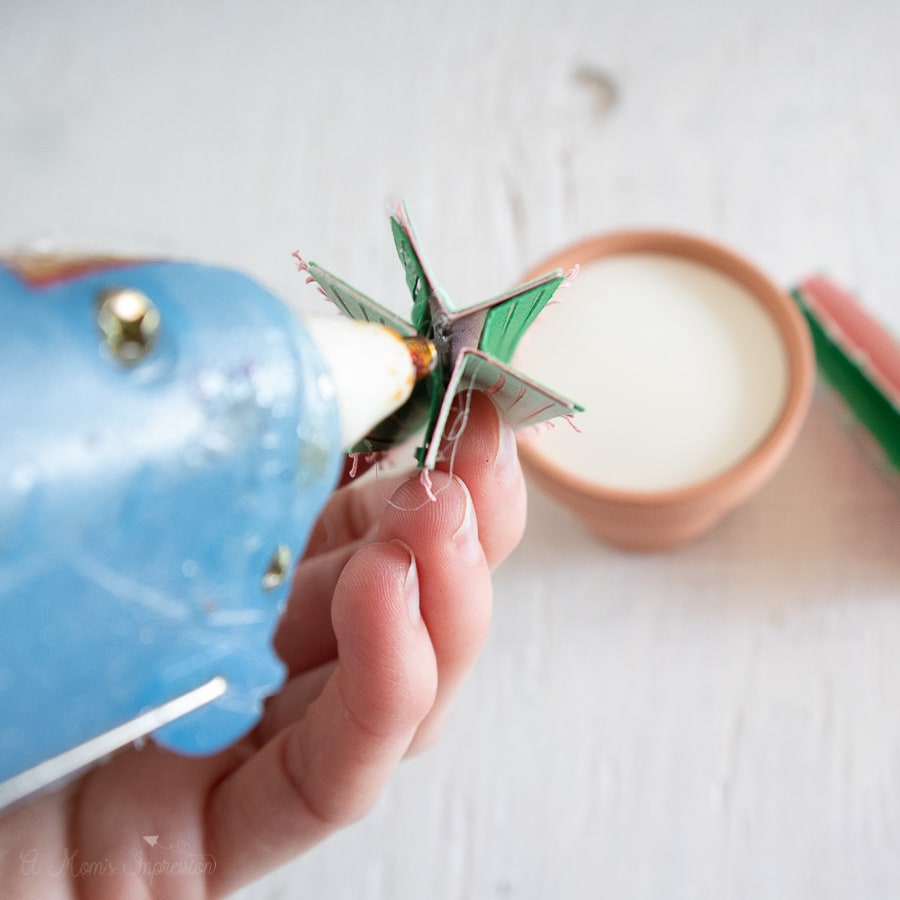
Once the glue is dry, display your new cactus craft in your home to enjoy!
More Fun Cricut Tutorials
Cricut Custom Sequin Pillows Tutorial
Cricut Infusible Ink Coasters with Mountain Quotes
Share Your Thoughts