This is a sponsored conversation written by me on behalf of Cricut. The opinions and text are all mine.
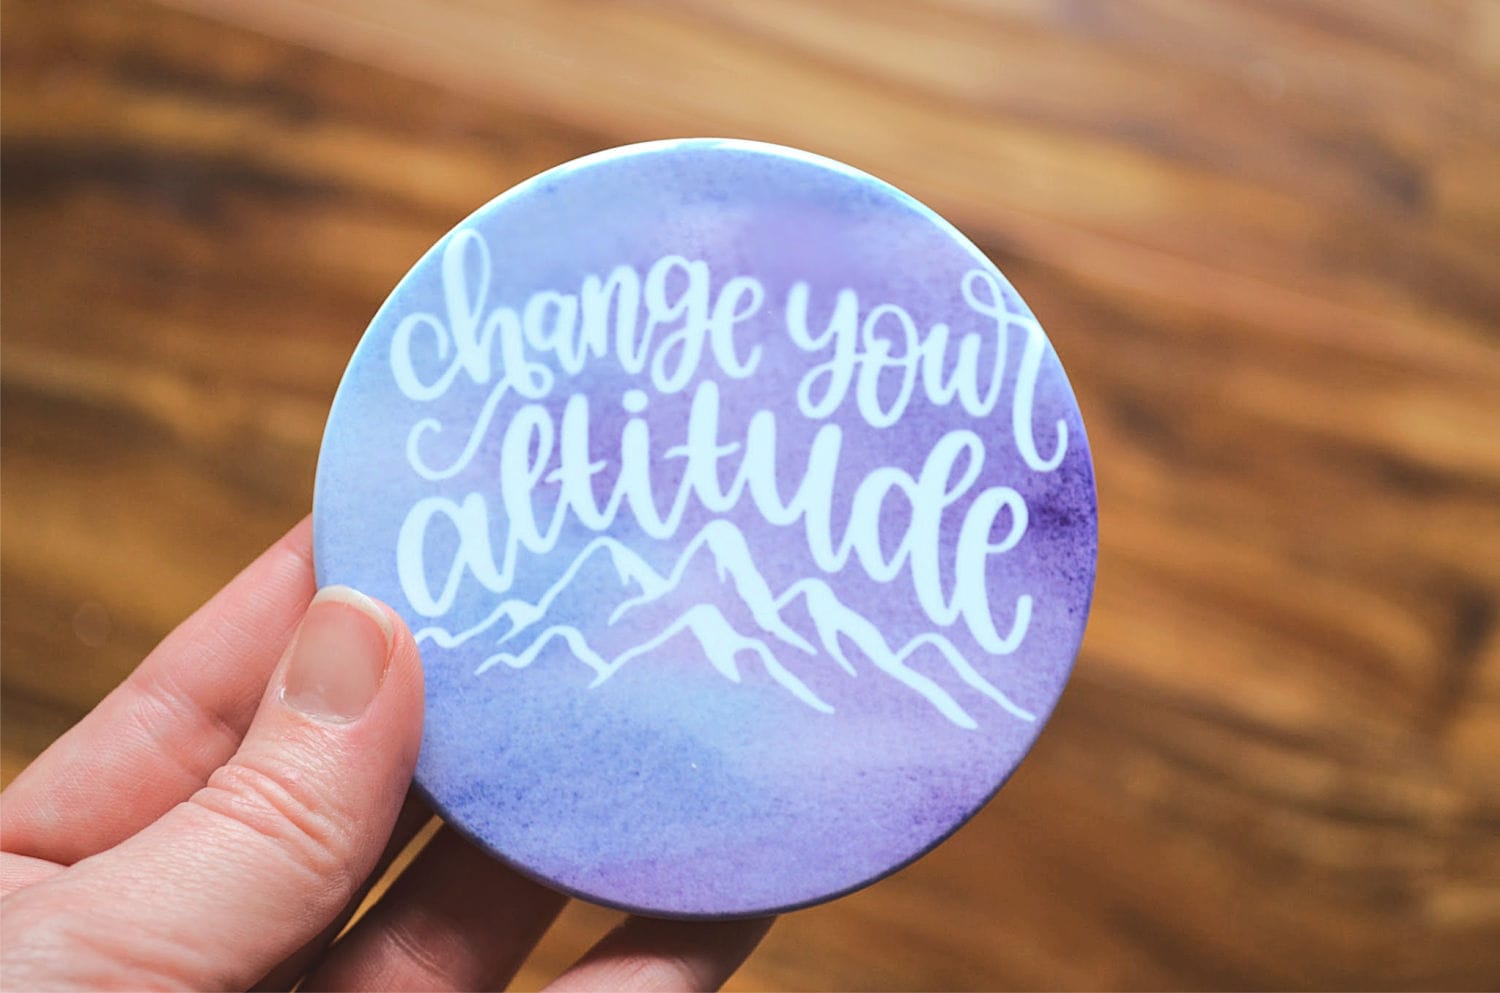
These Cricut Infusible Ink Coasters are the perfect gift for anyone. You can customize them however you would like. We made these with mountain quotes that are perfect for a cozy cabin. Once you make them, you are going to want to make a bunch of them, you have been warned.
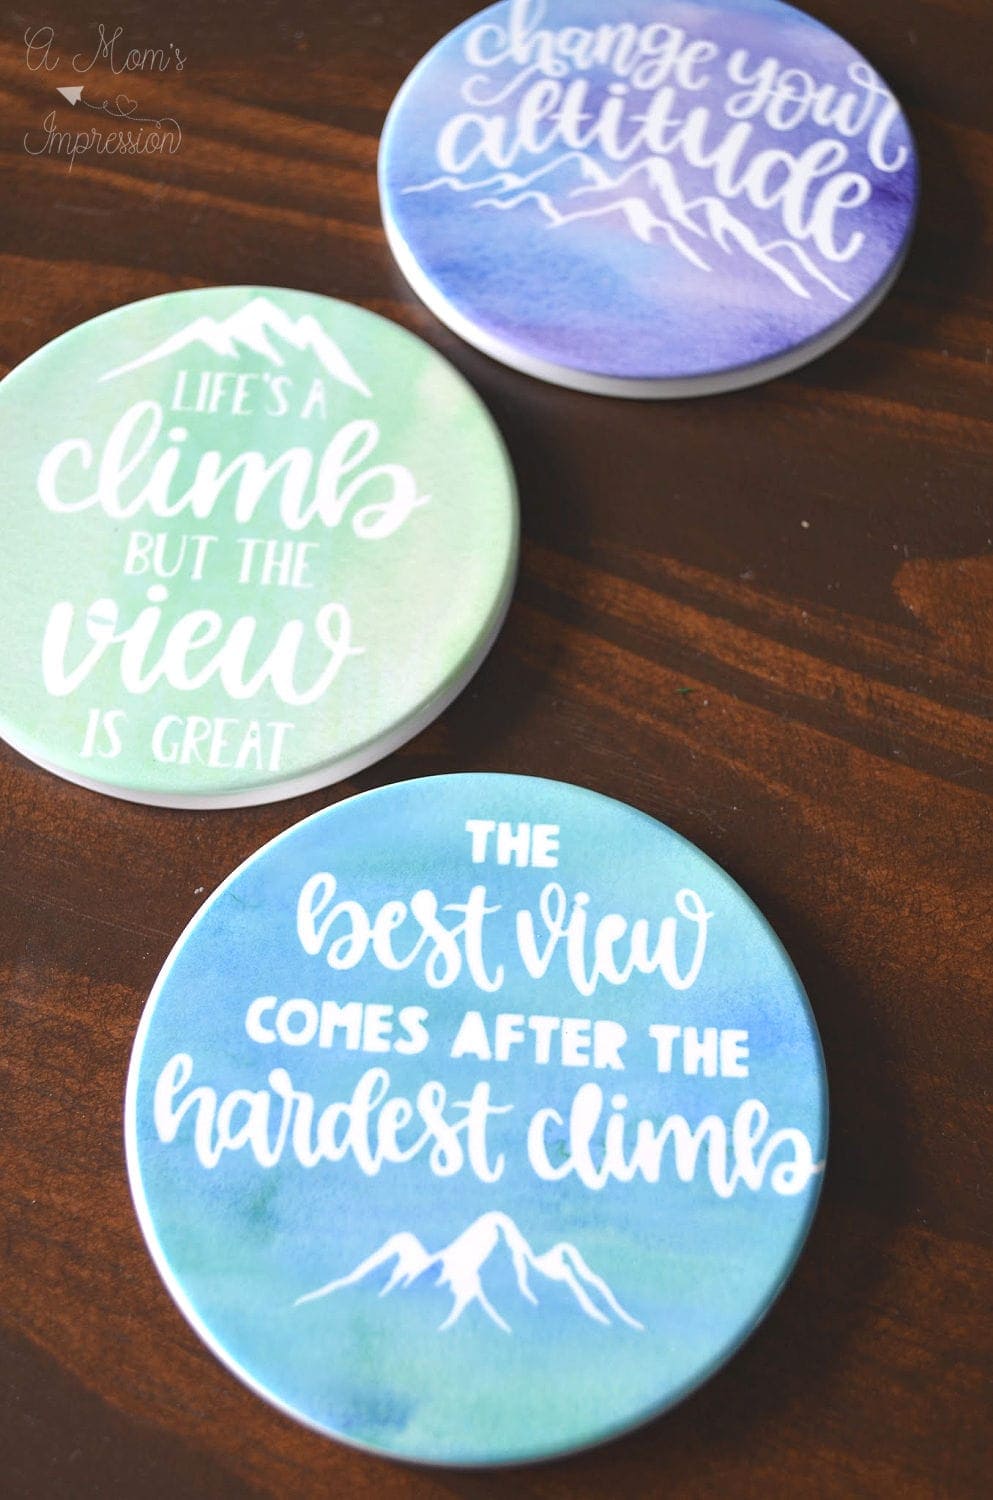
I used to live in the mountains of Idaho. When I was a kid we would go to our grandparents cabin in the mountains almost every weekend in the summer. Then when I was older my parents built a cabin up there. A couple of years after that my sister bought this adorable little cabin in the same area. I thought it would be fun to create some fun coasters with some mountain quotes on them for her cabin.
Last week I shared my excitement of working with Cricut this year as a Cricut Ambassador. I was thrilled with this opportunity as I have felt that my creative side has been a little lacking to say the least last year. I turned on my new machine and I haven’t stopped since! First I made custom name stickers, tried my hand at an easy Cricut Valentine’s Day project, and now I am back with this fun Infusible Ink project.
What is Cricut Infusible Ink?
Infusible Ink is a new Cricut product that allows you to make professional looking heat design transfers that can be personalized using the Cricut cutting machine. The Infusible Ink comes in sheets, like vinyl, or in marker form where you can draw your own design on a piece of inkjet paper to transfer onto your blank. You can use Infusible Ink on blank t-shirts, tote bags and coasters. I wouldn’t be surprised if Cricut comes out with more compatible products in the near future. I’d love to see ornaments, backpacks, and puzzles.
In this project, we are using the Cricut coaster blanks that are compatible with Infusible Ink.
 What is the Cricut EasyPress 2?
What makes this project so easy to make is the Cricut EasyPress 2. I know from years of watching my mom and grandma make quilts, sew, and craft that a good iron or heat press is worth its weight in gold. The Cricut EasyPress 2 makes crafting with my Cricut so much simpler than what I have used in the past. This project requires the iron to reach 400 degrees and the EasyPress 2 can do this without any issue. The timer on the press makes it easy to remember to take it off when its done.
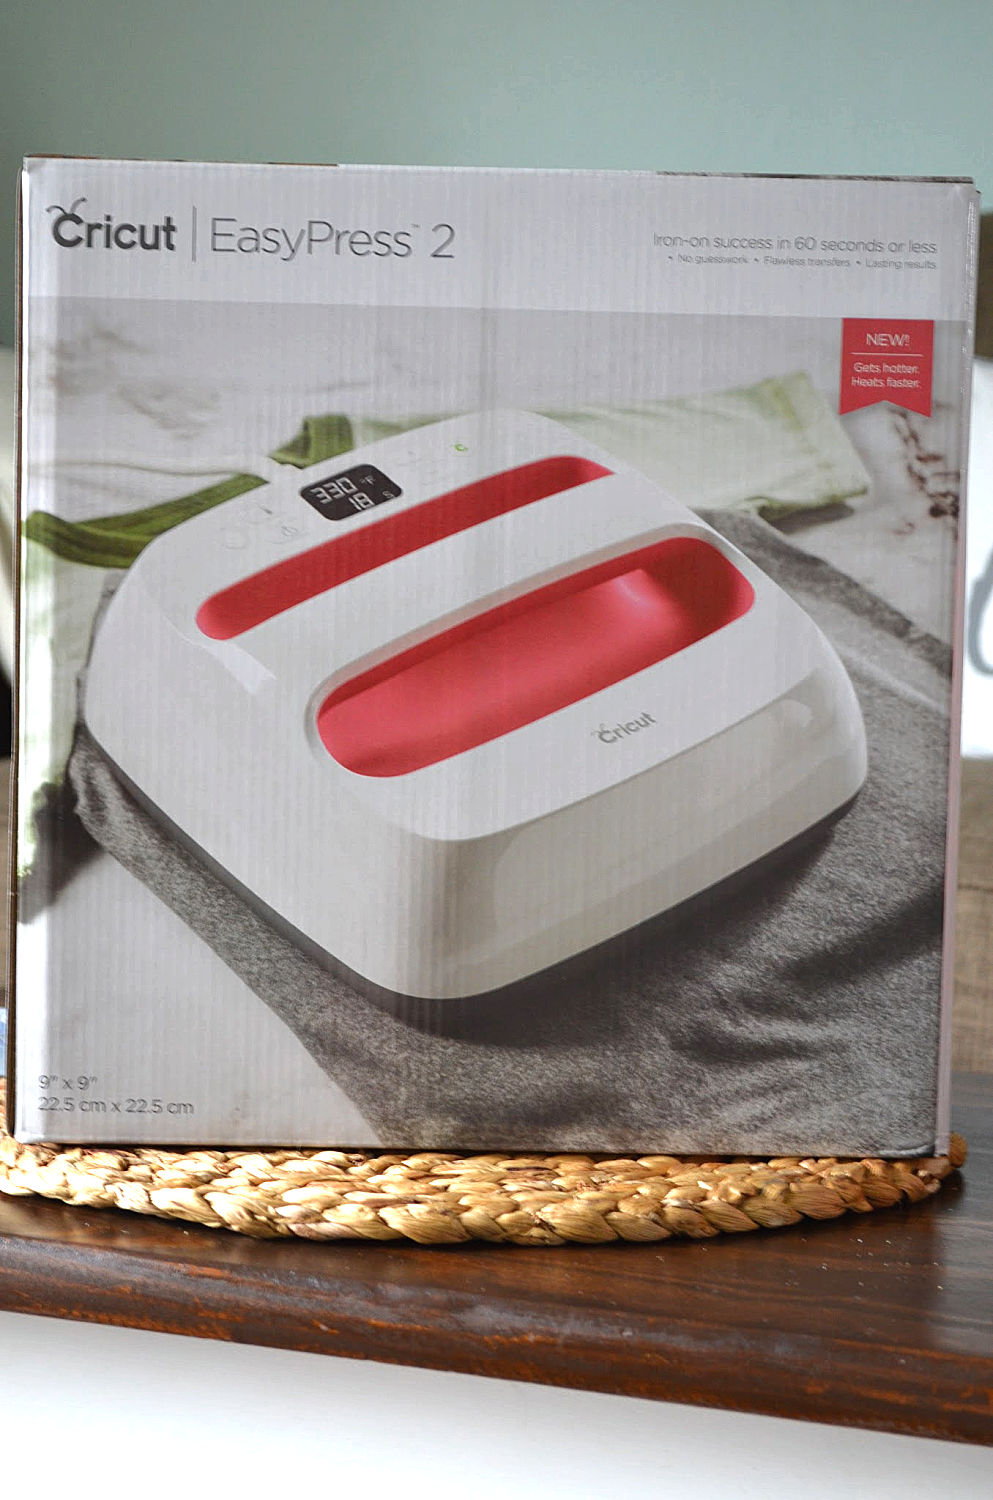
The EasyPress 2 comes in several different sizes for your project needs. The large press (12 x 10) allows you do press an entire shirt evenly in one go which makes for a much better transfer. They also just came out with the Easy Press Mini that makes doll clothes, socks, hats and little stuffies easy to transfer an iron-on decal onto.
Do you need the EasyPress Mat?
I highly recommend using the additional EasyPress Mat. It protects your working surface and helps achieve perfect results. This project uses a very high heat for a long period of time and the mat makes me confident that I am not ruining my work surface.
How to Make Cricut Infusible Ink Coasters
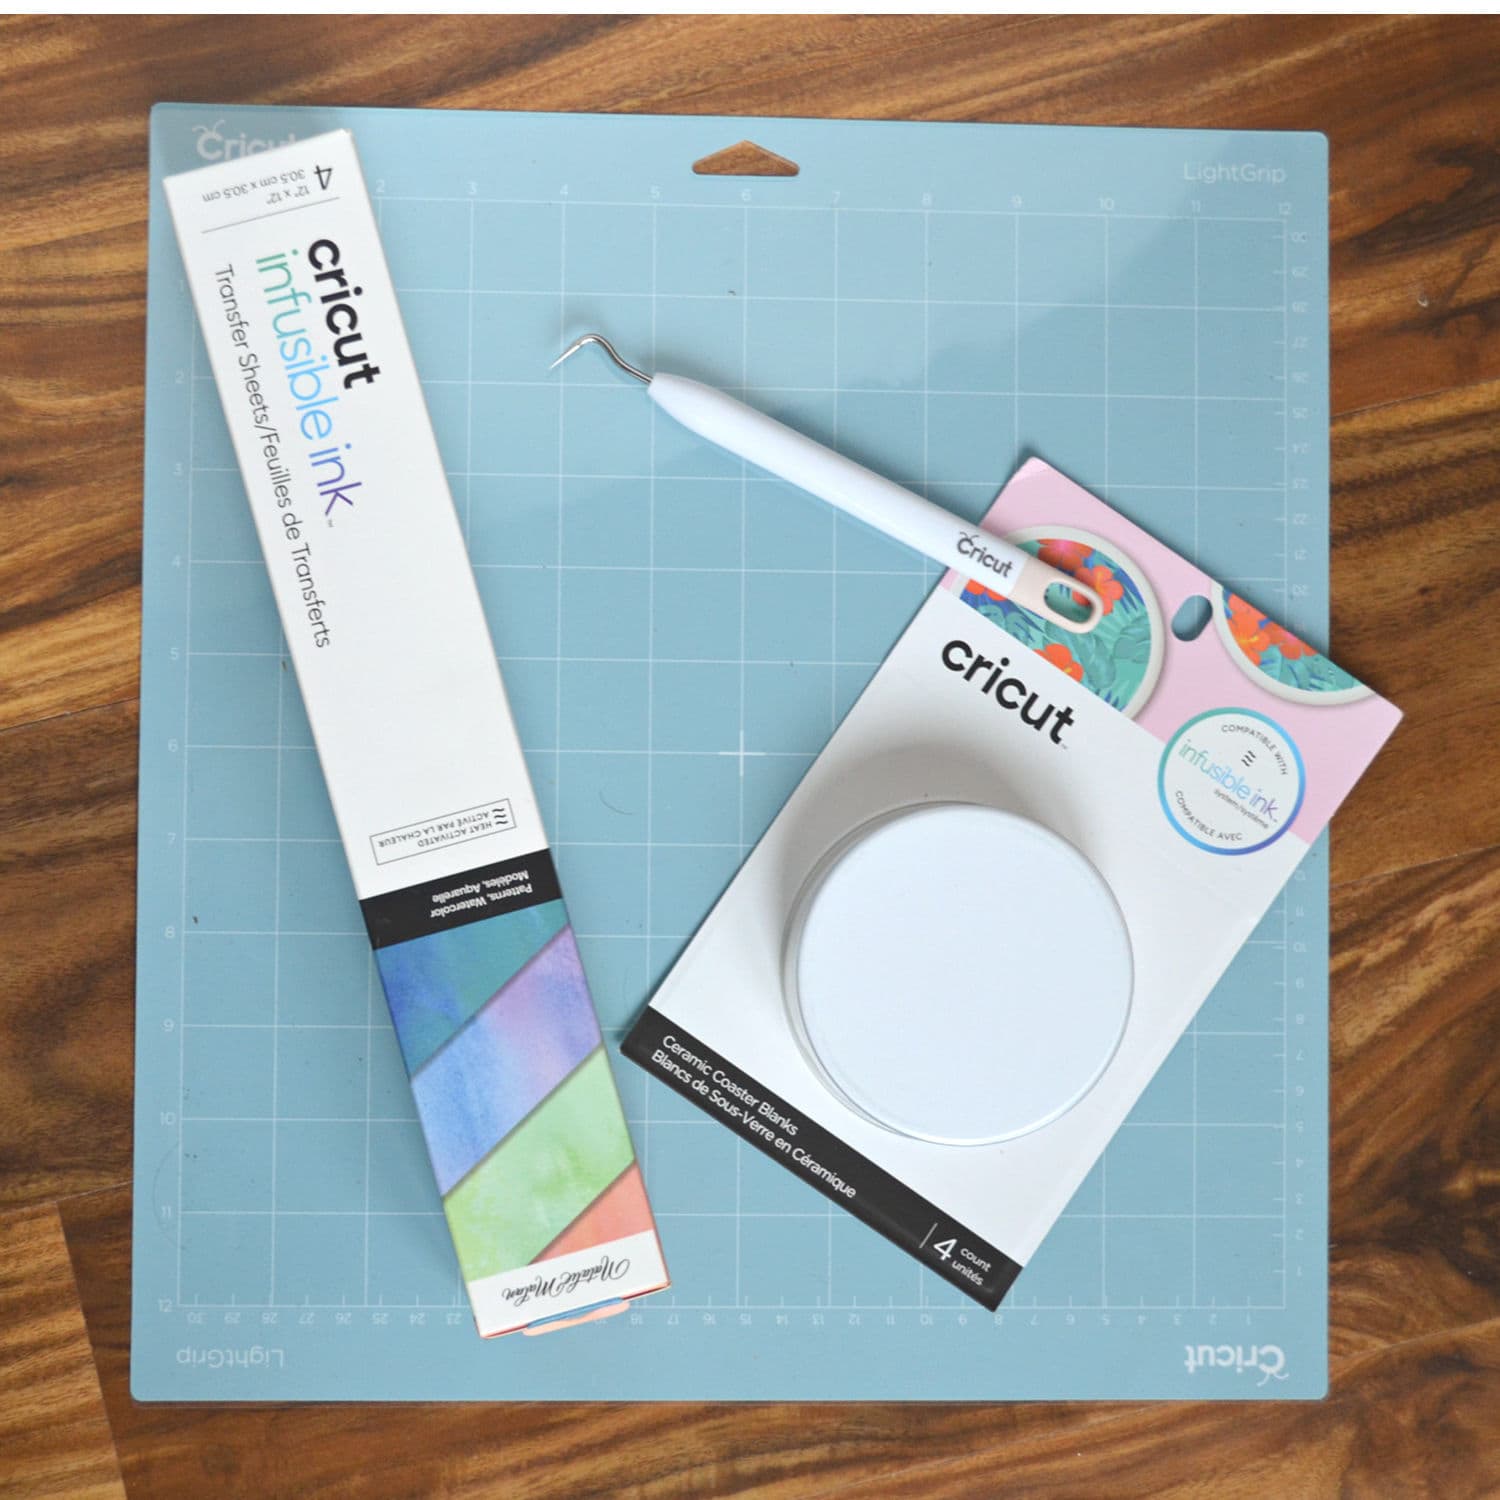
Materials:
- Cricut Explore Air 2
- EasyPress 2
- Infusible Ink Transfer Sheets (Watercolor)
- Cricut Coaster Blanks
- Heat Resistant Tape
- Weeding Tool
- Portable Trimmer
- White Cardstock
- Butcher Paper (comes with Infusible Ink Transfer Sheets)
- Light Grip Cutting Mat
Directions
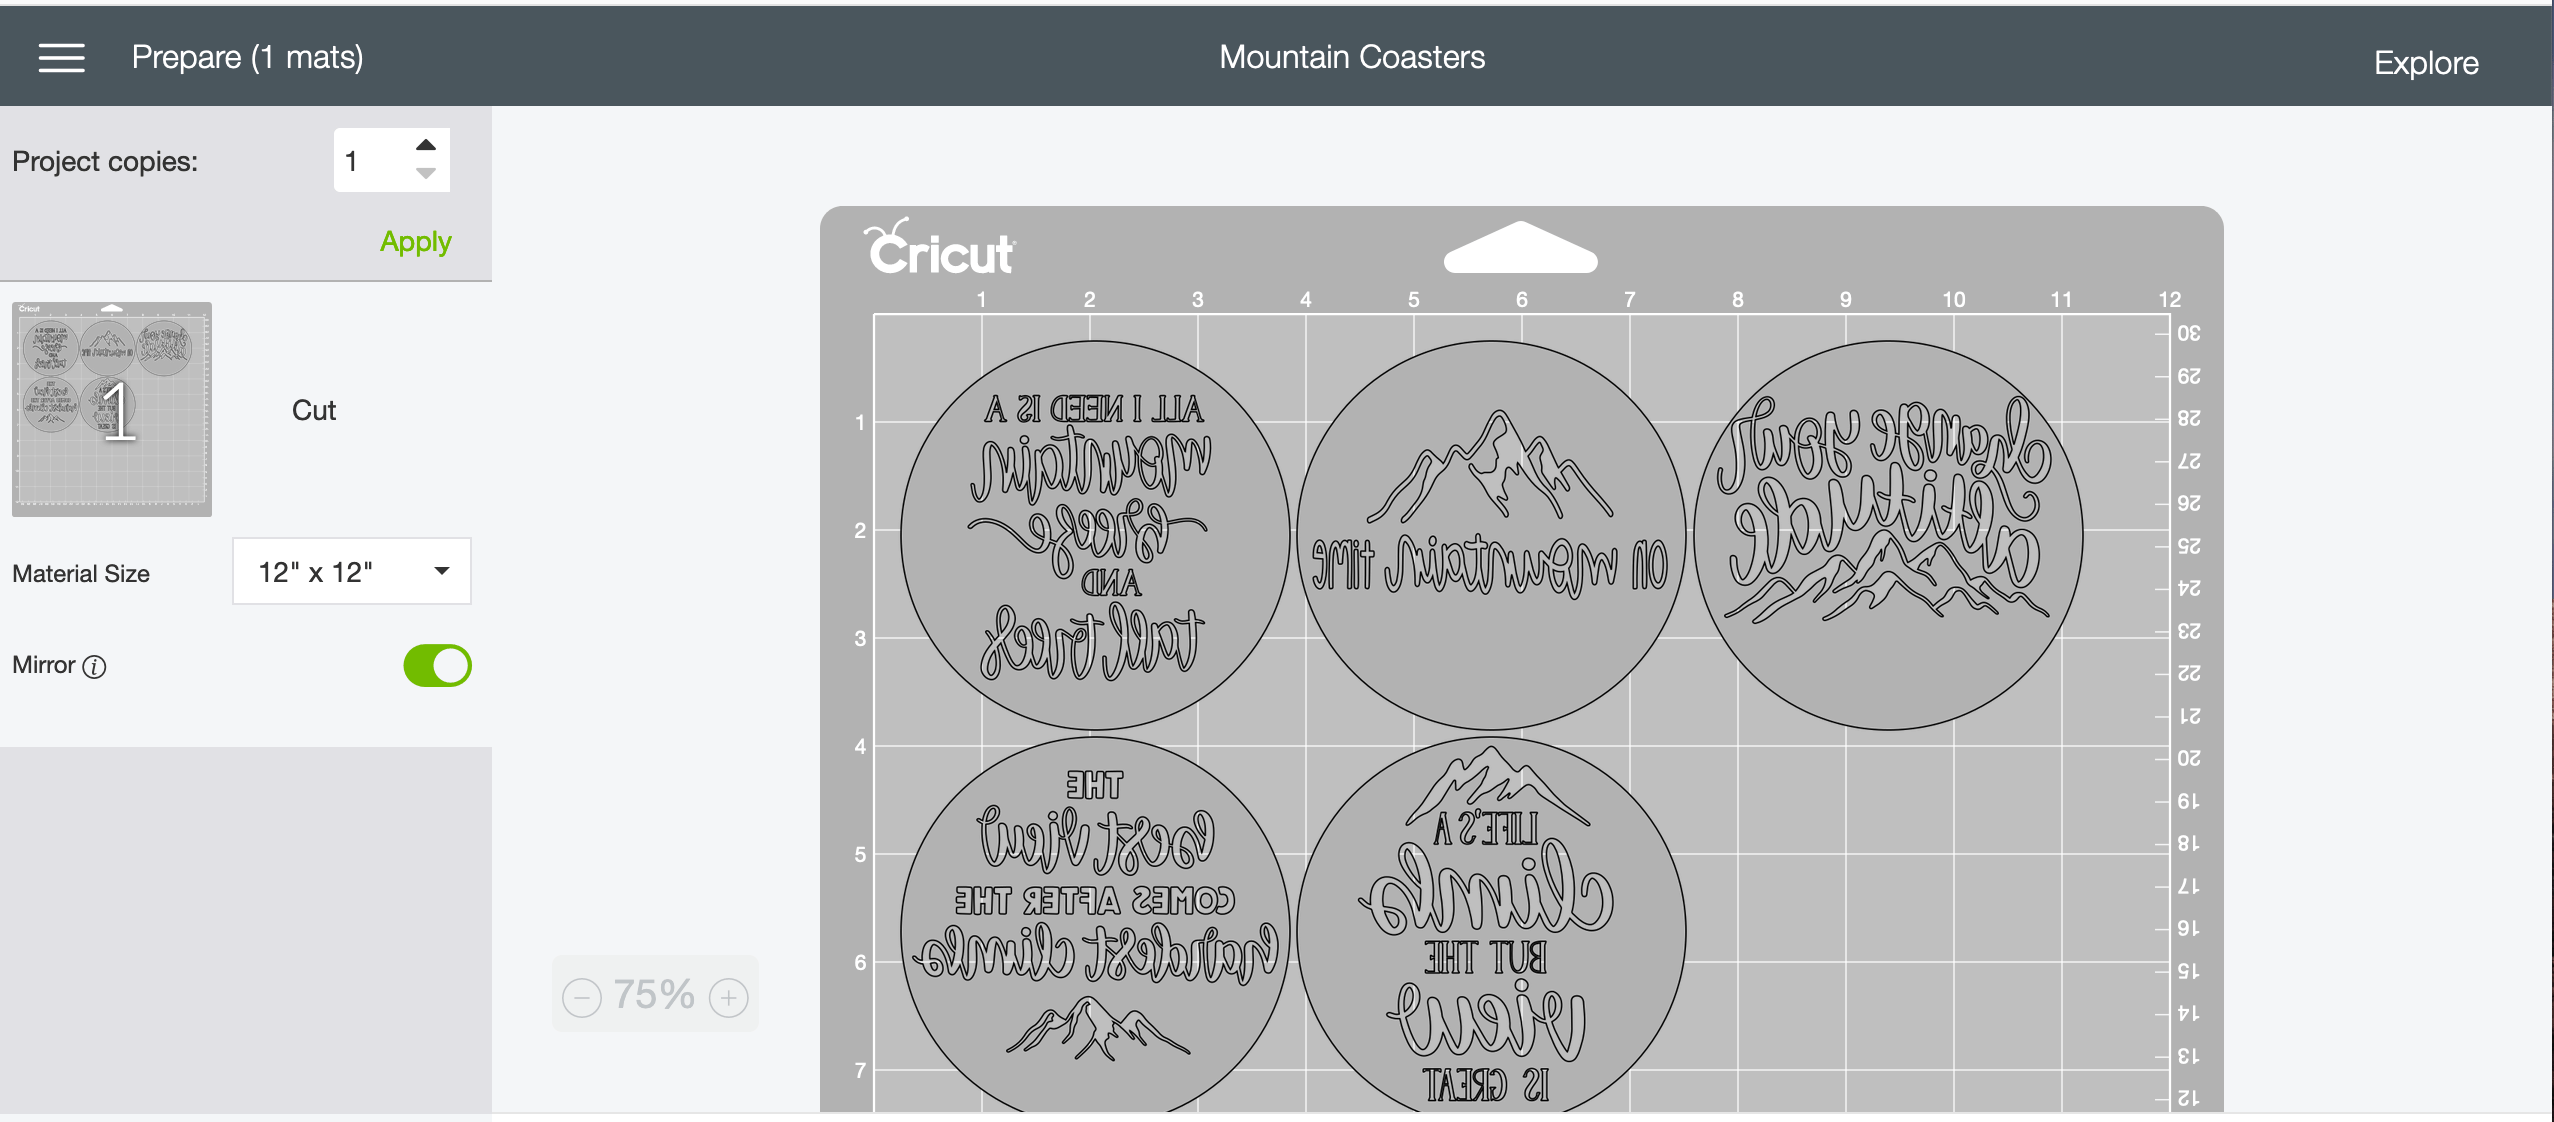
Head on over to my Mountain Coasters project on Design Space. I have 5 different designs and there are 4 coasters in a package of Cricut Coasters so choose your favorite 4 to use or purchase two packages of coasters.
Click on Make It and then be sure to mirror the image! Don’t forget this step or your coasters will be backwards. (I might have done this myself)
Load your Infusible Ink paper onto your Blue Light Grip Cutting Mat. I cut different colors out and pieced them onto the mat because I wanted my coasters to all look a little different. This is personal preference and you don’t need to do this step.
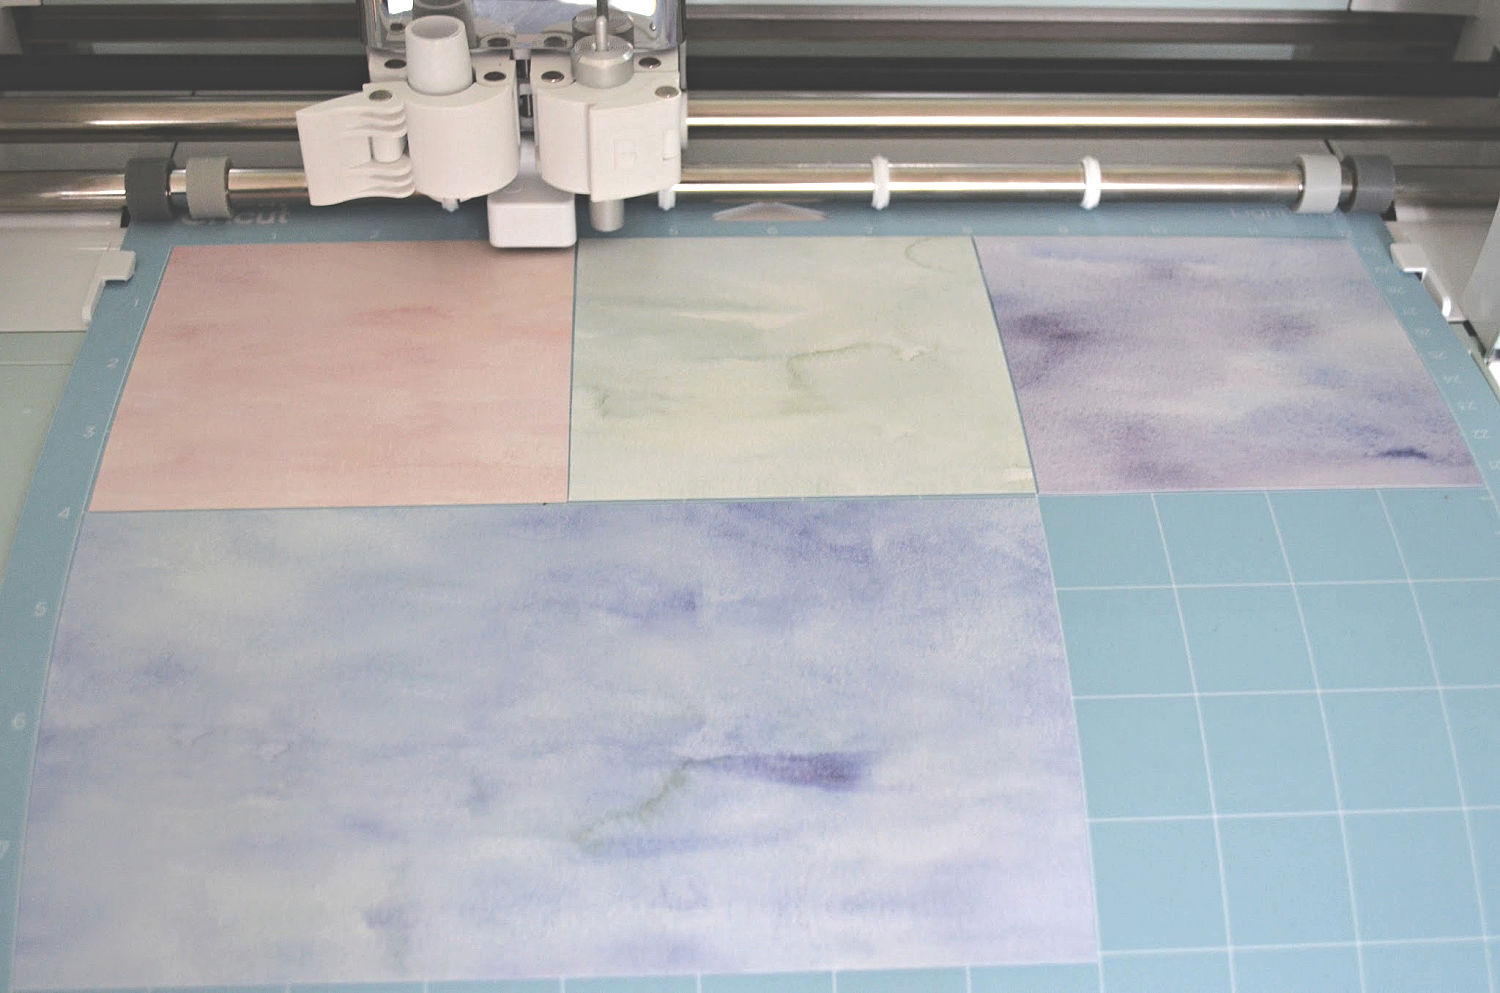
Be sure to select Infusible Ink as your cutting material. You do this by turning your dial to custom on the Cricut Explore Air 2 and then selecting the material on Design Space. I used my new light blue mat, but it would also work with the green mat.
Load your mat and hit the Cricut button to begin your cuts.
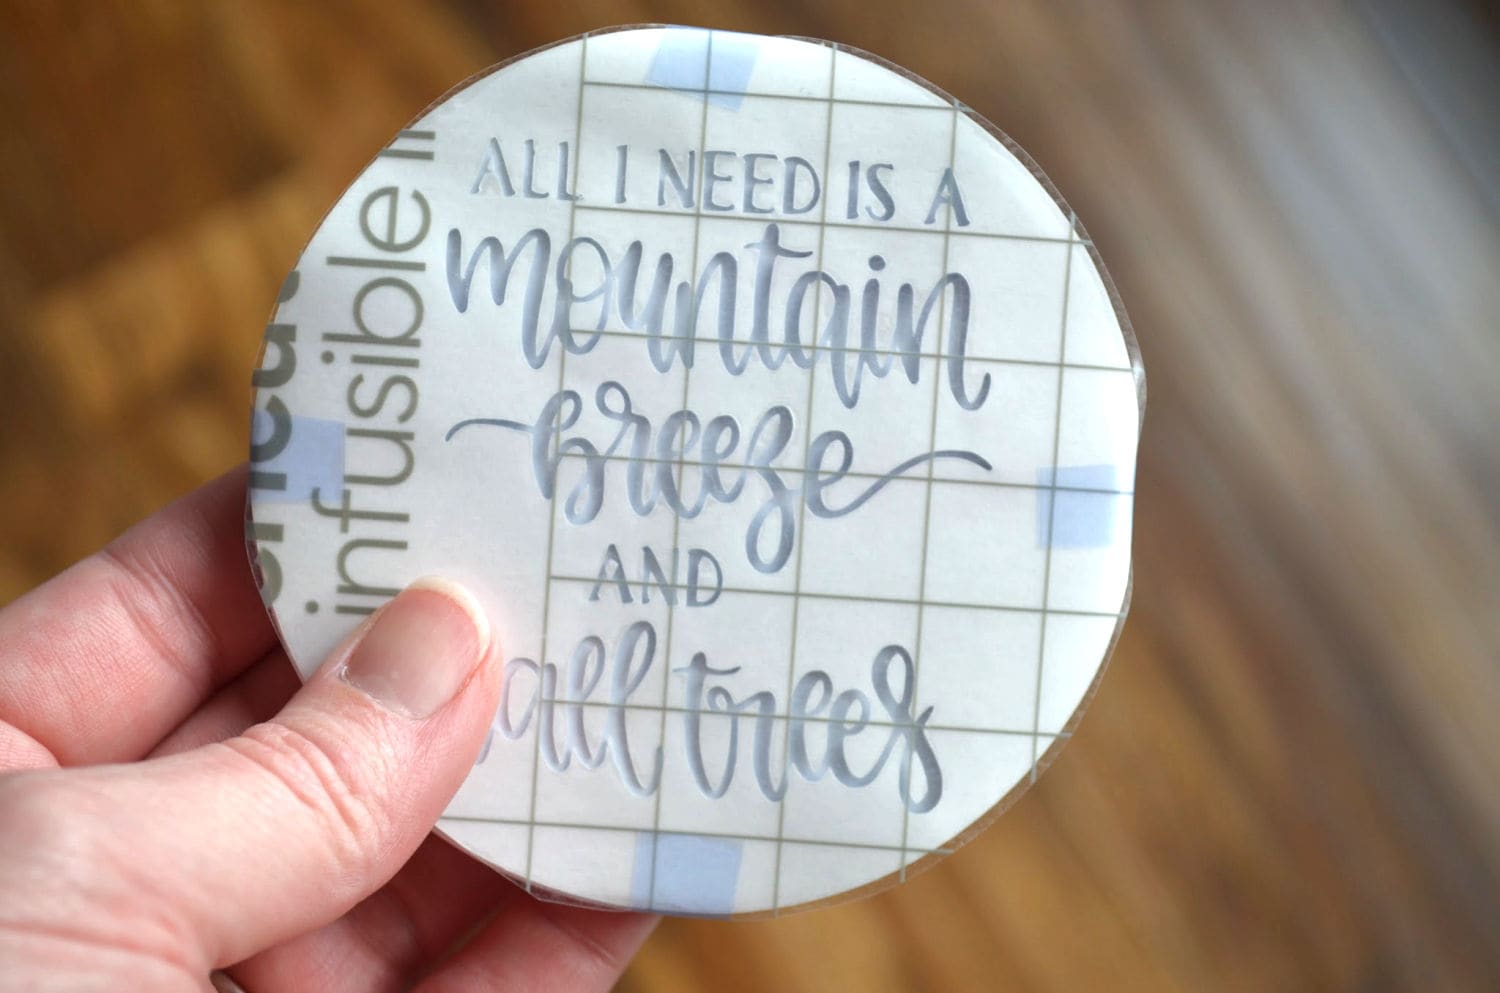
When you are done, use your hands to weed out all the transfer paper you can. If there is small words, like mine, you might need to use a weeding too. Then cut around your design carefully so it fits on top of the coaster.
Using a little heat resistant tape, tape the sides down around the coaster. This ensures that the transfer paper won’t move when you are pressing it.
Next we will use our EasyPress 2 to transfer the design onto the coaster.
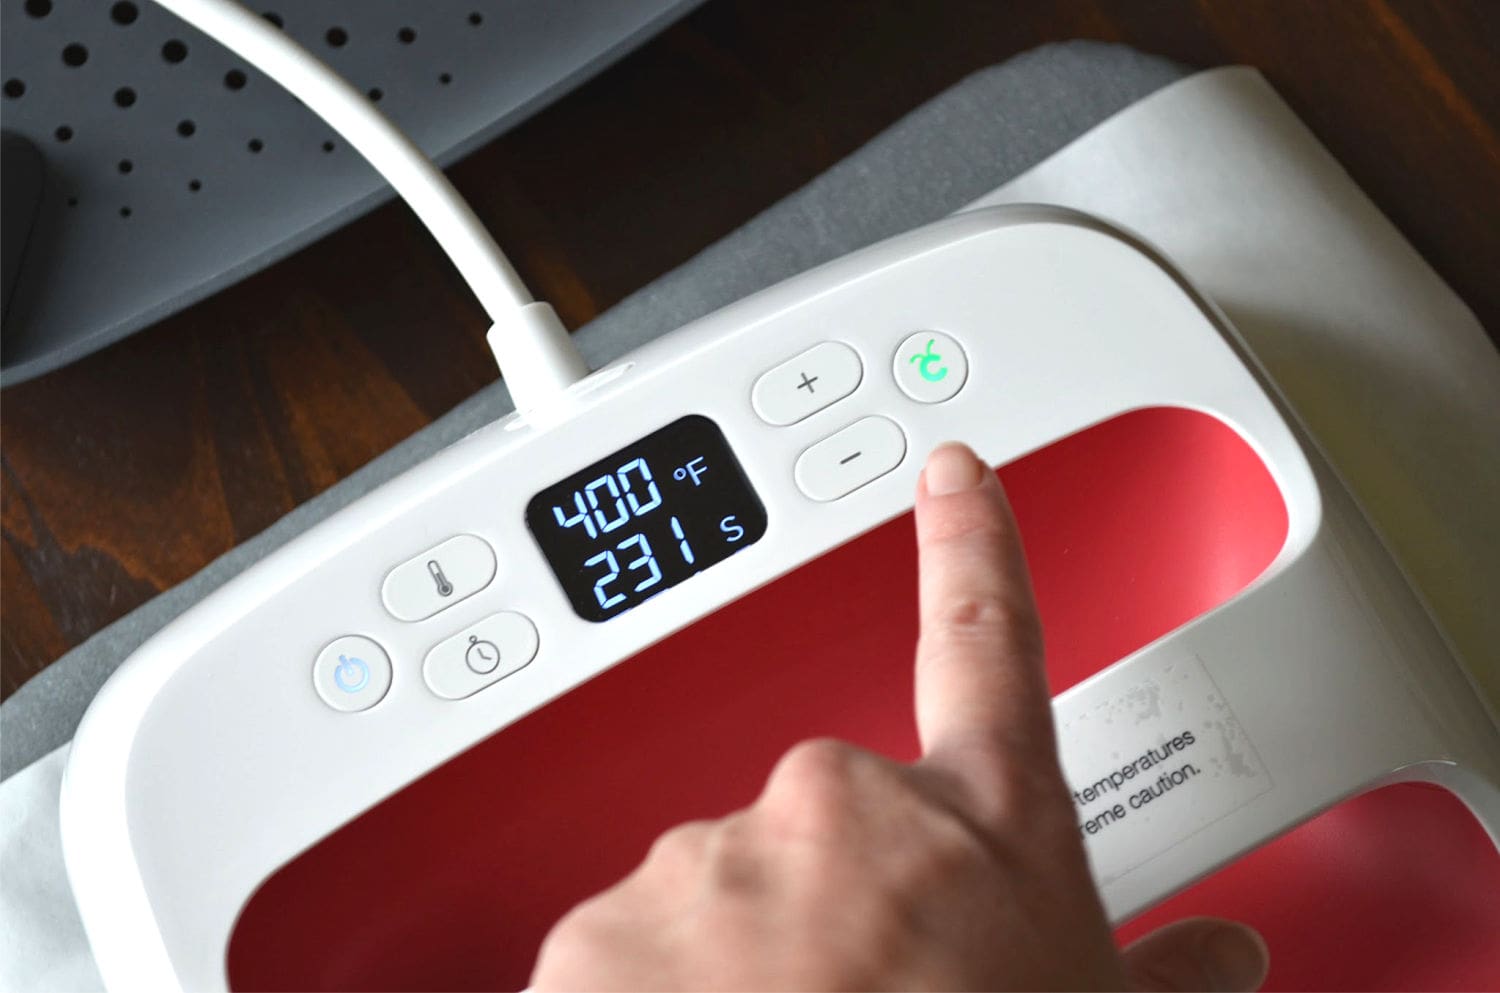
Plug in your EasyPress and heat to 400 degrees. Set the timer for 240 seconds. I used the Cricut heat guide to find these settings. While your EasyPress is heating place the EasyPress mat down on your work surface. Place a piece of white cardstock on top of it. Place your coaster, design side down on top of the cardstock like this:

Next place a piece of butcher paper on top of the coaster. When the EasyPress is heated up place the press on top of the butcher paper and push the timer. You do not want to apply pressure.
When the timer goes off, remove the EasyPress and allow the paper and coaster to cool before touching it. Your coaster is going to be extremely hot, do not attempt to move it for several minutes.
After about 10 minutes your coaster will be safe to remove the paper.
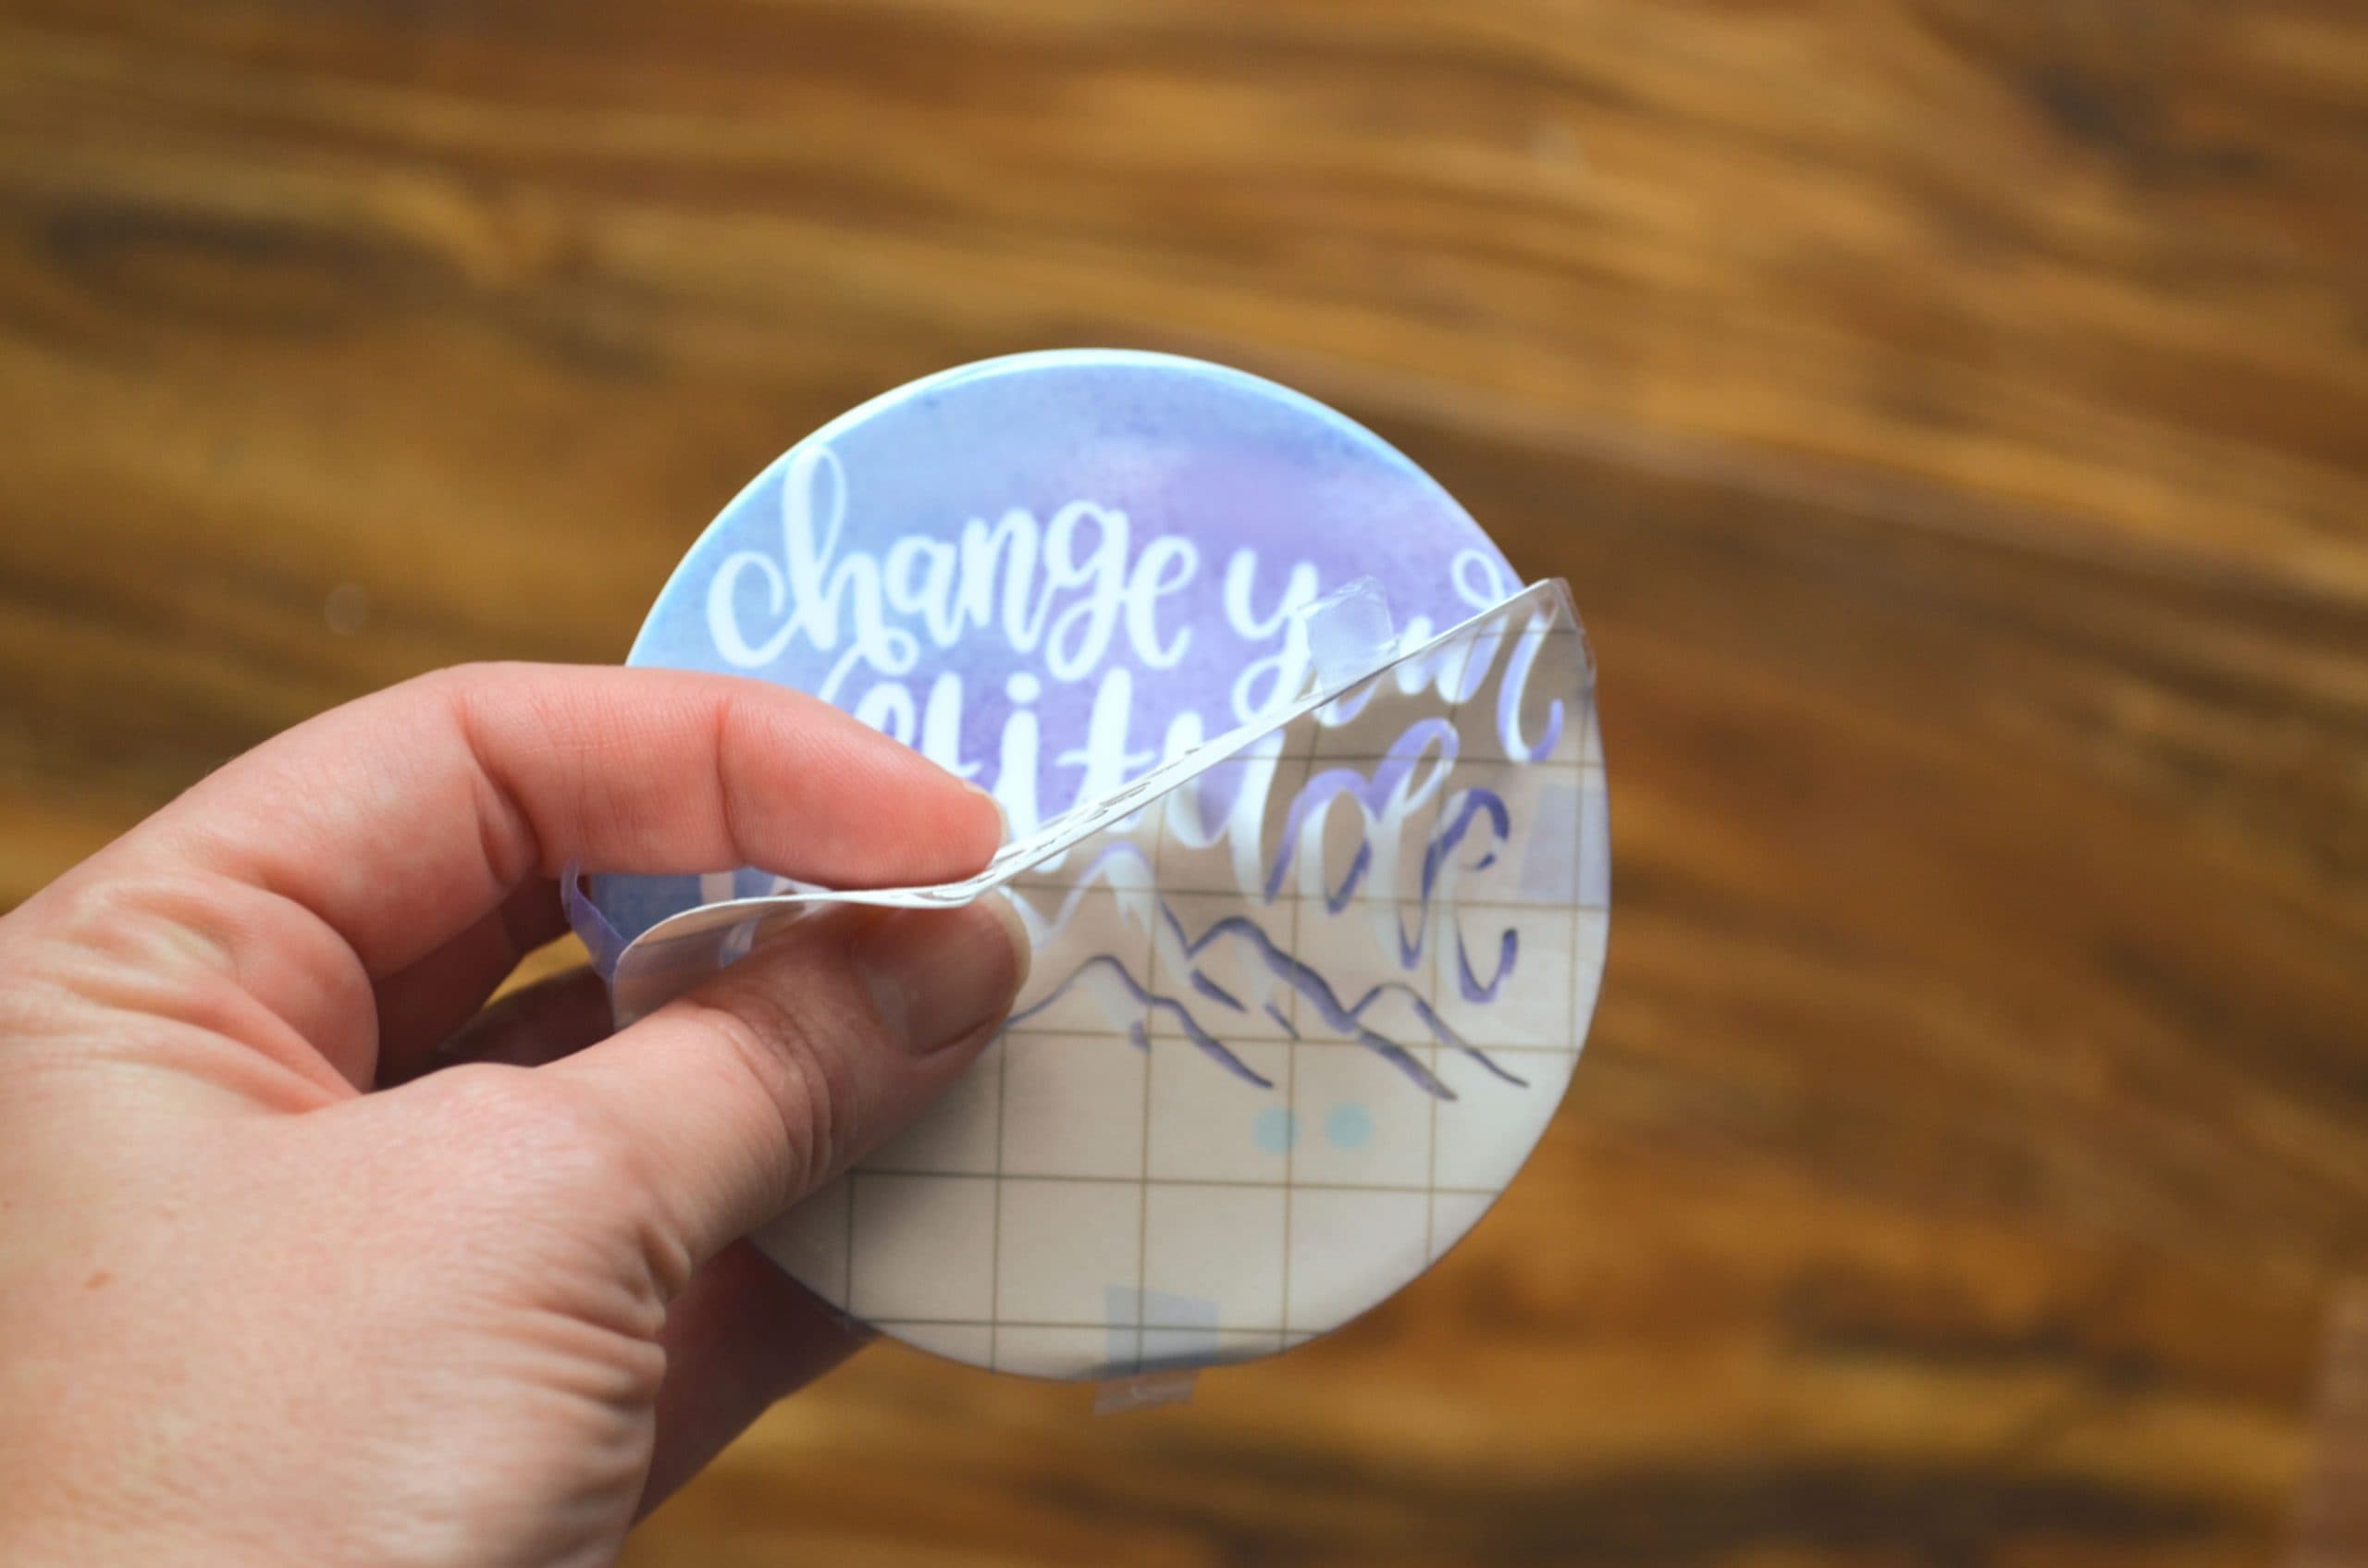
You are left with a beautiful, shinny coaster that is ready to gift to a special someone!
Please note that this tutorial is for the round coasters NOT the square coasters with the cork on the back. Those will have different heat settings so be sure to visit the heating guide for accurate information.
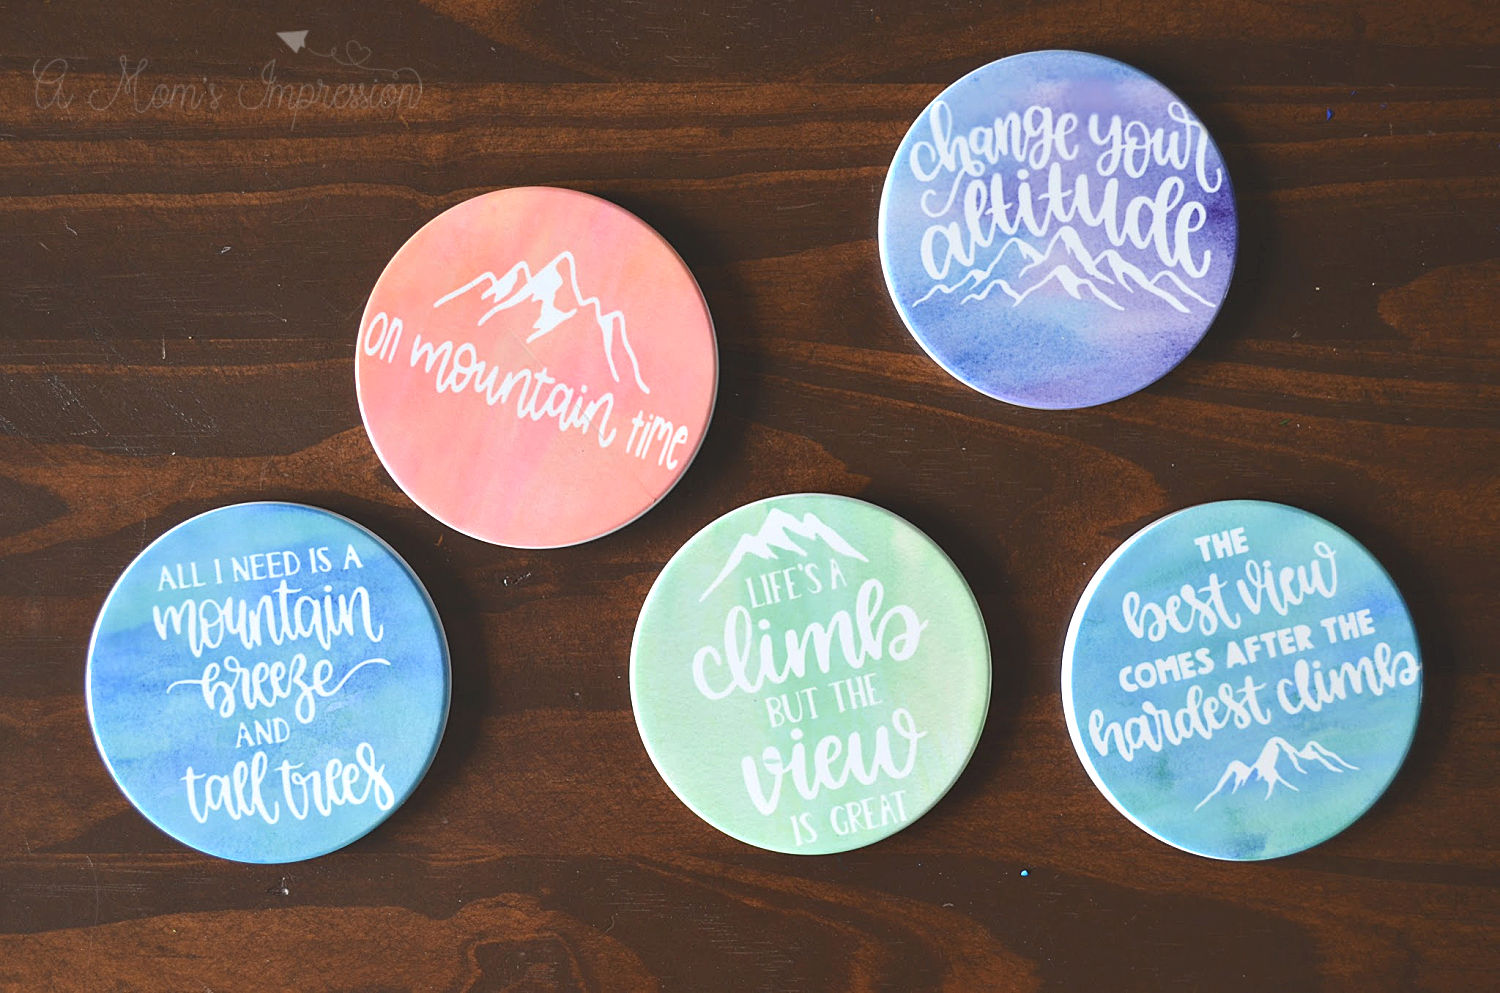
I loved making these DIY coasters. It was fun and they turned out beautiful. I mentioned at the beginning that this is a project you can get addicted to and I certainly am. I have ideas to make all kinds of coasters for family and friends so be sure to check back in to see what else I come up with.

design.cricut.com/setup says
Cricut is the ultimate DIY cutting machine with many features to make fun crafts. This machine is compatible with all operating systems, including Windows, Mac, Android, and iOS. Moreover, this machine can cut a range of materials in one go. By delivering the expected results, Cricut helps you make versatile projects. To set up a Cricut machine, you’ll need to download and install Cricut’s official app, Cricut Design Space. To do this, navigate to cricut.com/setup and setup your machine.
cricut new machine setup
cricut.com setup mac
design.cricut.com/setup
design.cricut.com/setup says
Cricut provides a variety of crafting machines that can cut various materials, including paper, plastic, fabric, balsa wood, etc. To use a Cricut machine, you will need to download the Cricut software (Cricut Design Space) on your device from cricut.com/setup. With this Cricut app, you can cut different shapes and sizes on your Cricut machine. Cricut Design Space also offers free designs, text fonts, and images. You can use these features to make your unique design and stunning projects.
cricut new machine setup
cricut.com/setup mac
design.cricut.com/setup