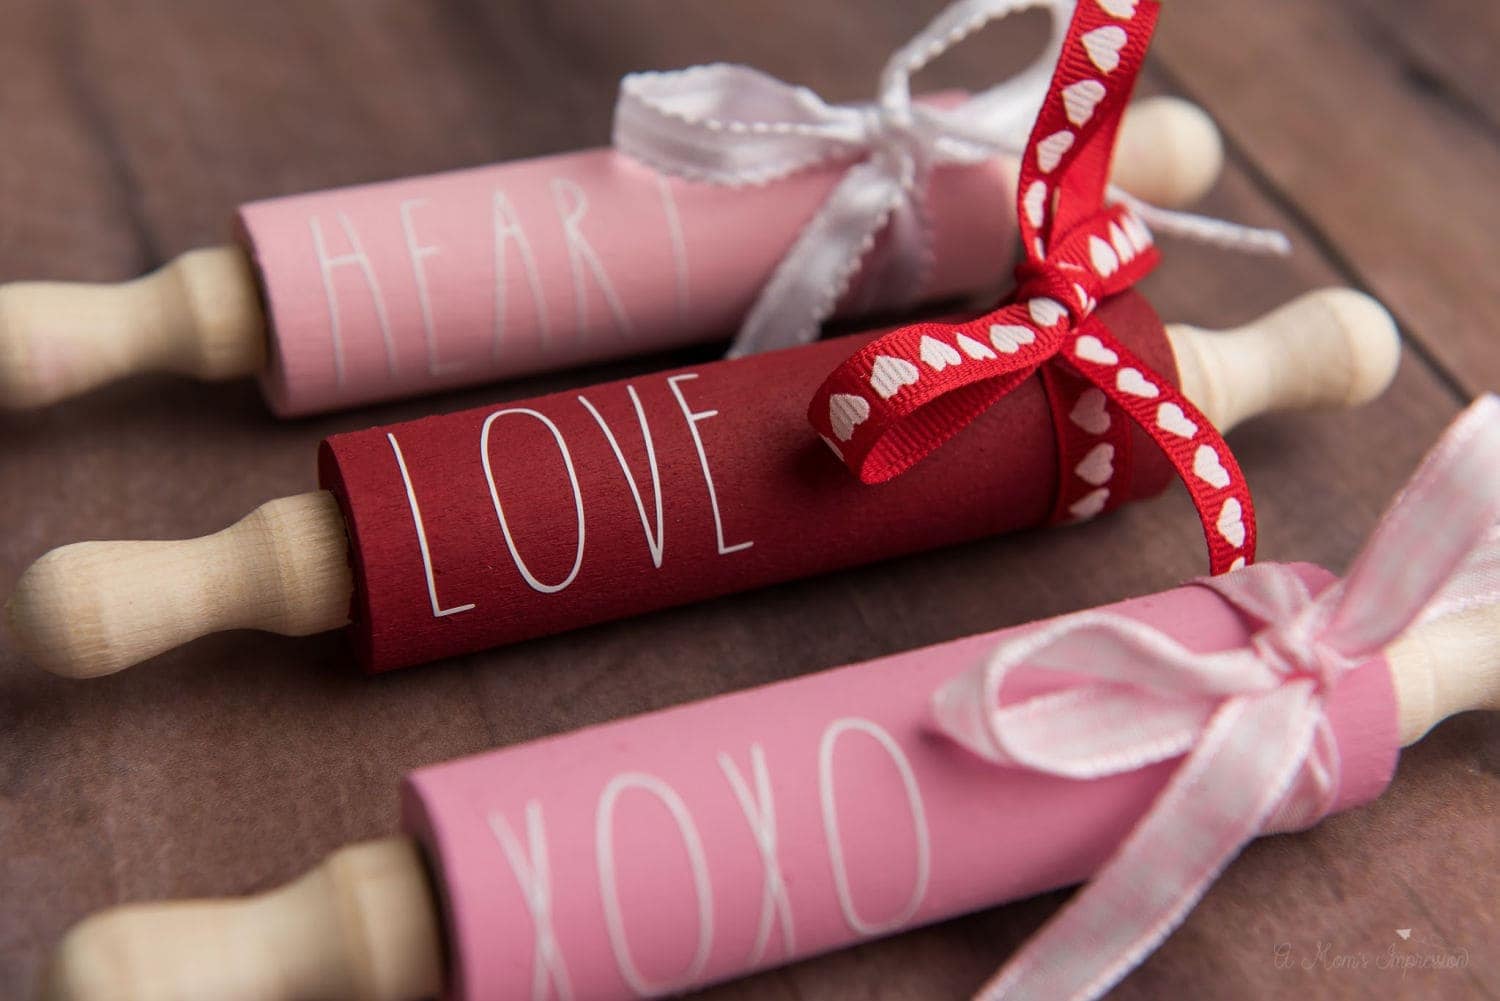
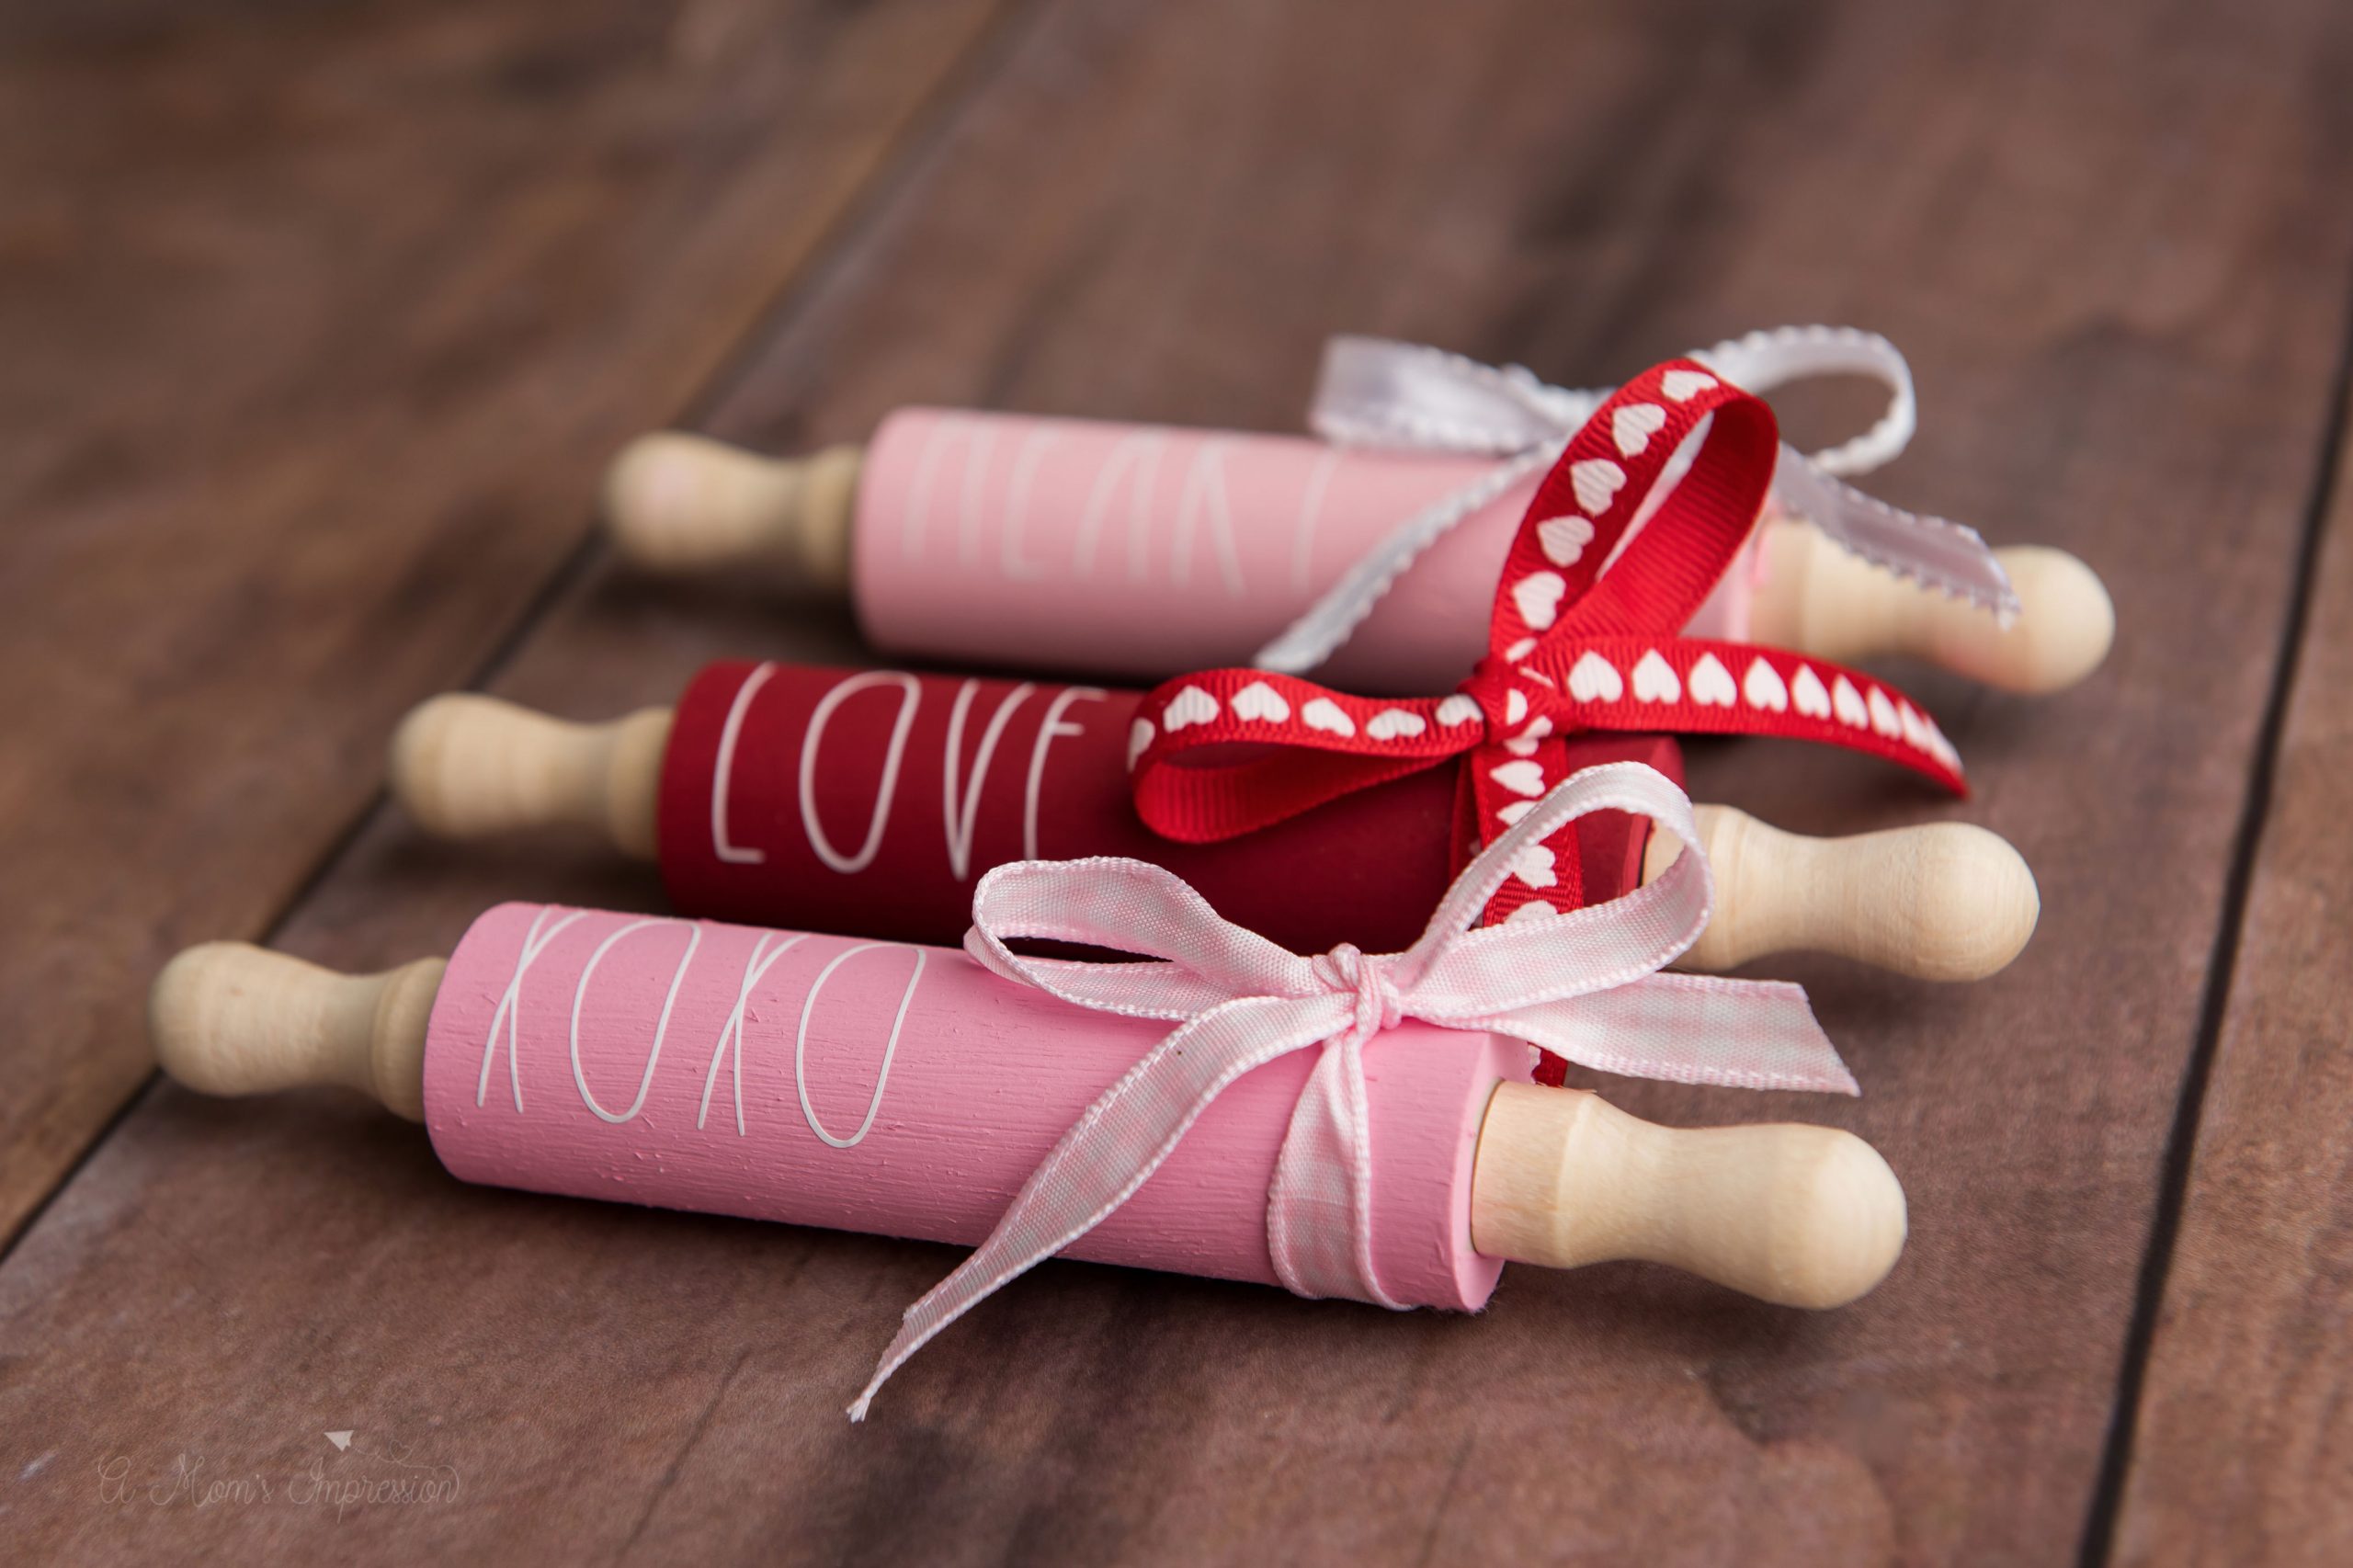
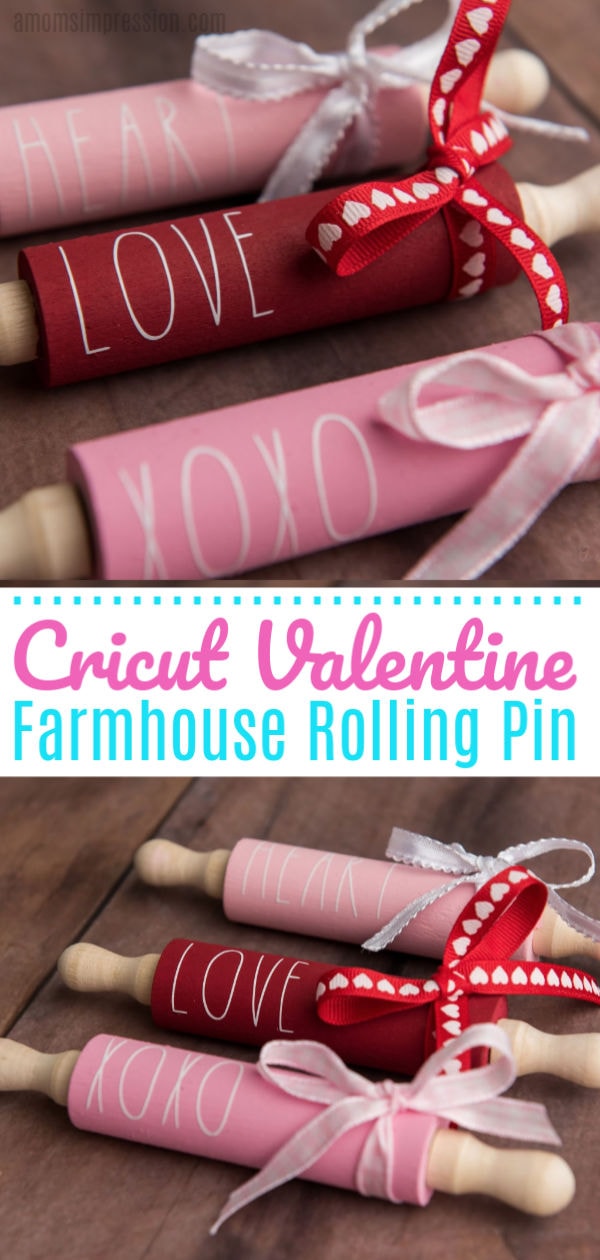
These adorable mini farmhouse rolling pins are the perfect Valentine’s Day gift for a baker or cook in your life. Made using a Cricut cutting machine, these are the perfect touch to any Valentine’s Day decor.
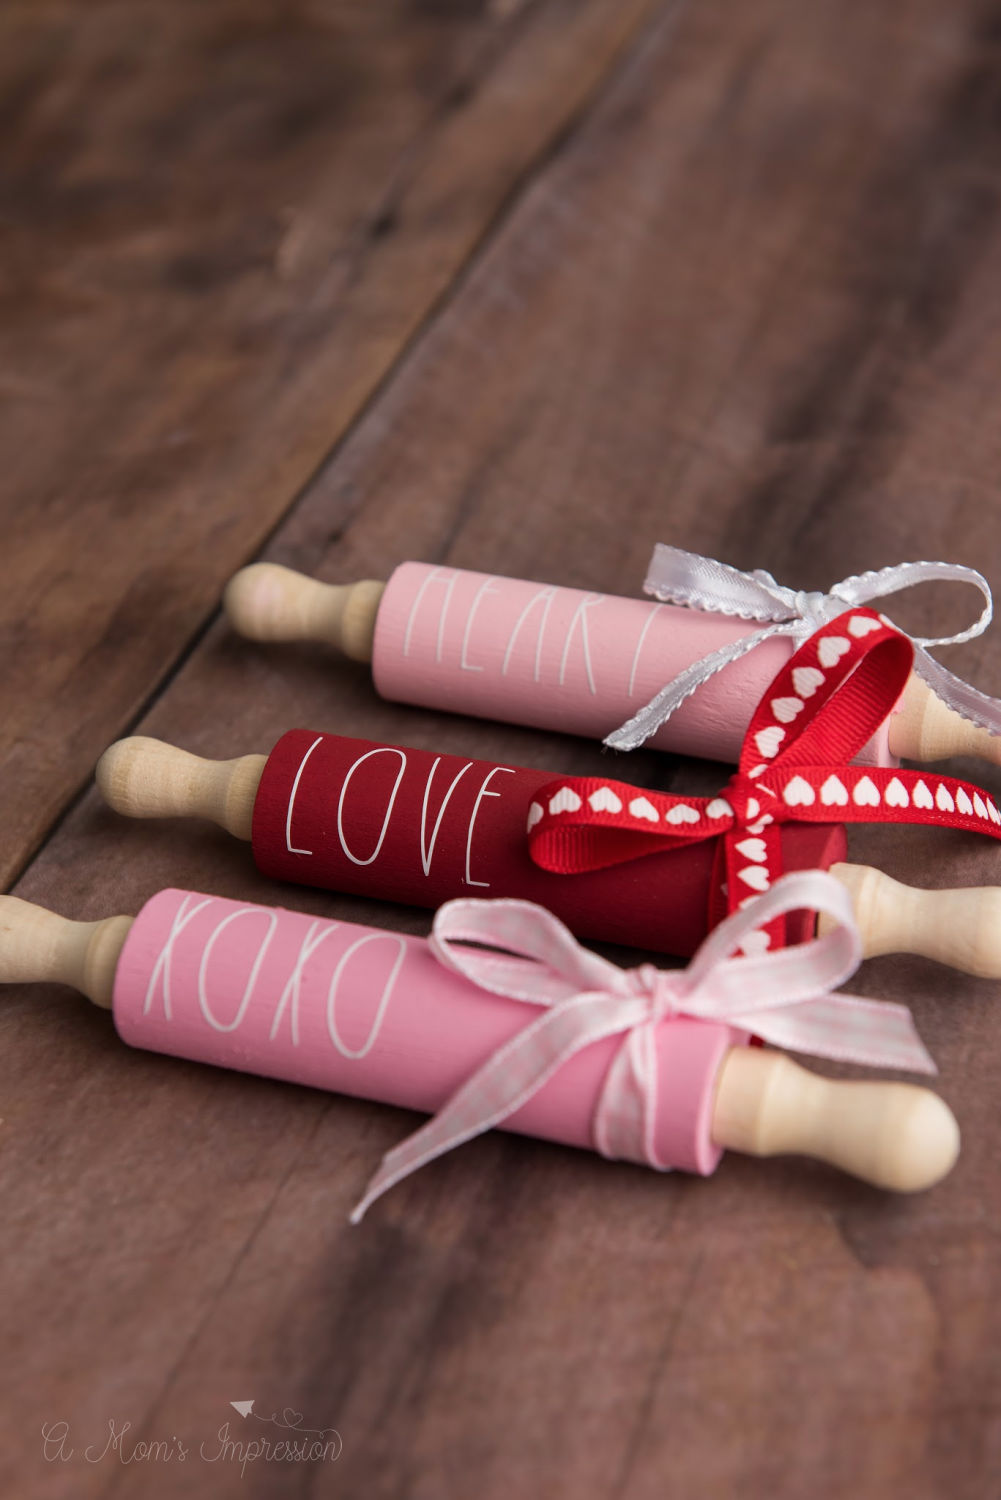
I love getting crafty around any holiday. I have a entry table that I decorate for every occasion and I am getting it ready for Valentine’s Day as we speak. Homemade gifts make the most thoughtful presents and these farmhouse rolling pins are perfect for your special someone or to decorate your farmhouse for Valentine’s Day!
The special touch is the Rae Dunn like sayings on the pins that are made with a Cricut cutting machine. You could even customize these with a name for an extra personal touch. They are really simple to make and they don’t take that long.
Related Crafts: Homemade Valentine Gift Ideas for Kids – DIY Mini Gumball Machine, Non Candy Valentine Ideas – Free Sip Sip Hooray Valentine Printable
How to Make Mini Farmhouse Rolling Pins
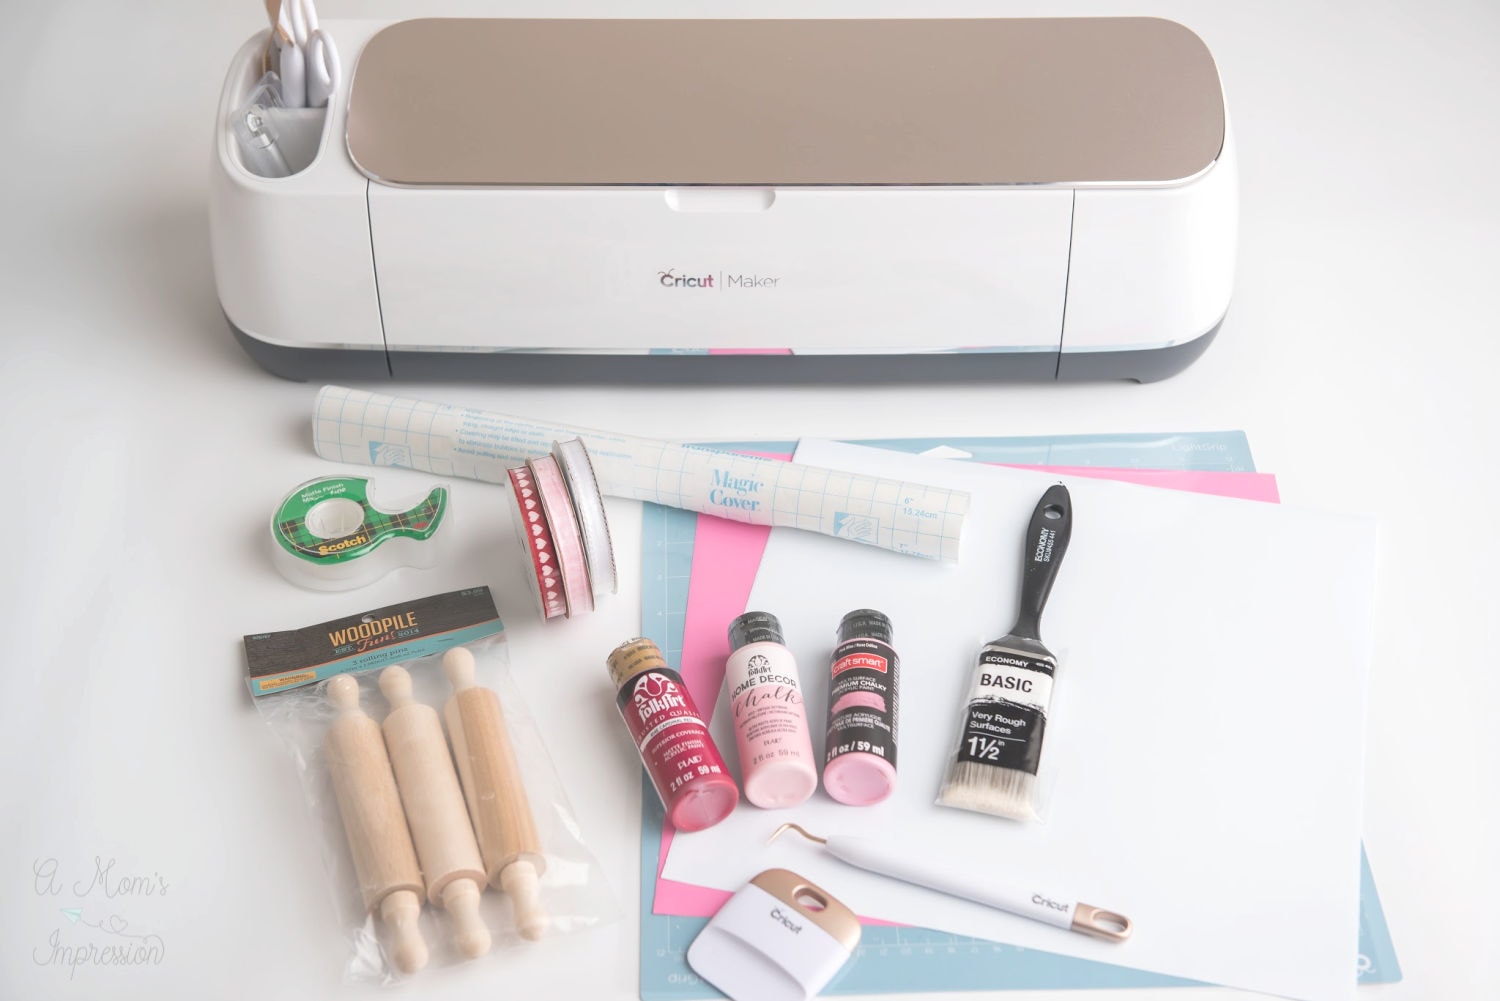
Materials
•Cricut machine (air or maker)
•Chalk Paint or matte paint (light pink, medium pink, red
•Ribbon (I used 1/4”)
•Blue light grip mat
•Transfer paper (any brand works)
•Oracle 651 vinyl (White, pink or color to your desire)
•Mini unfinished rolling pins (can be found here, similar ones on Amazon here)
•Paint brush
•Scotch or painters tape
•Weeding tool
•Scrapper tool
Directions
Step 1:
To ensure the handles of the rolling pins stay unpainted, start off by taping them with scotch tape or painters tape (see pic), or paint them your desired color first, then tape them after the paint has dried. (Be aware that some paint may get on the handles but taping them helps with that)

Step 2:
Using a 1 inch paint brush, paint the rolling pins with your desired colors. I’m used a light ballet pink, a medium bubble gum pink and a red but you can use whatever colors you would like!
The pins will probably need about 2-3 coats of paint.
Step 3:
Once the rolling pins are dry remove the tape from the handles.
Download a look alike Rae Dunn font and open up Design Space.
In design space prepare the design with the word or phrase you like. Because this are mini, one word phrases often work best. (ex. love, kisses, XOXO etc.)
In order for these for fit nicely on the pins, you will want to edit the text and adjust each phrase to be 1” height (the width will automatically adjust based on the length of the phrase chosen).
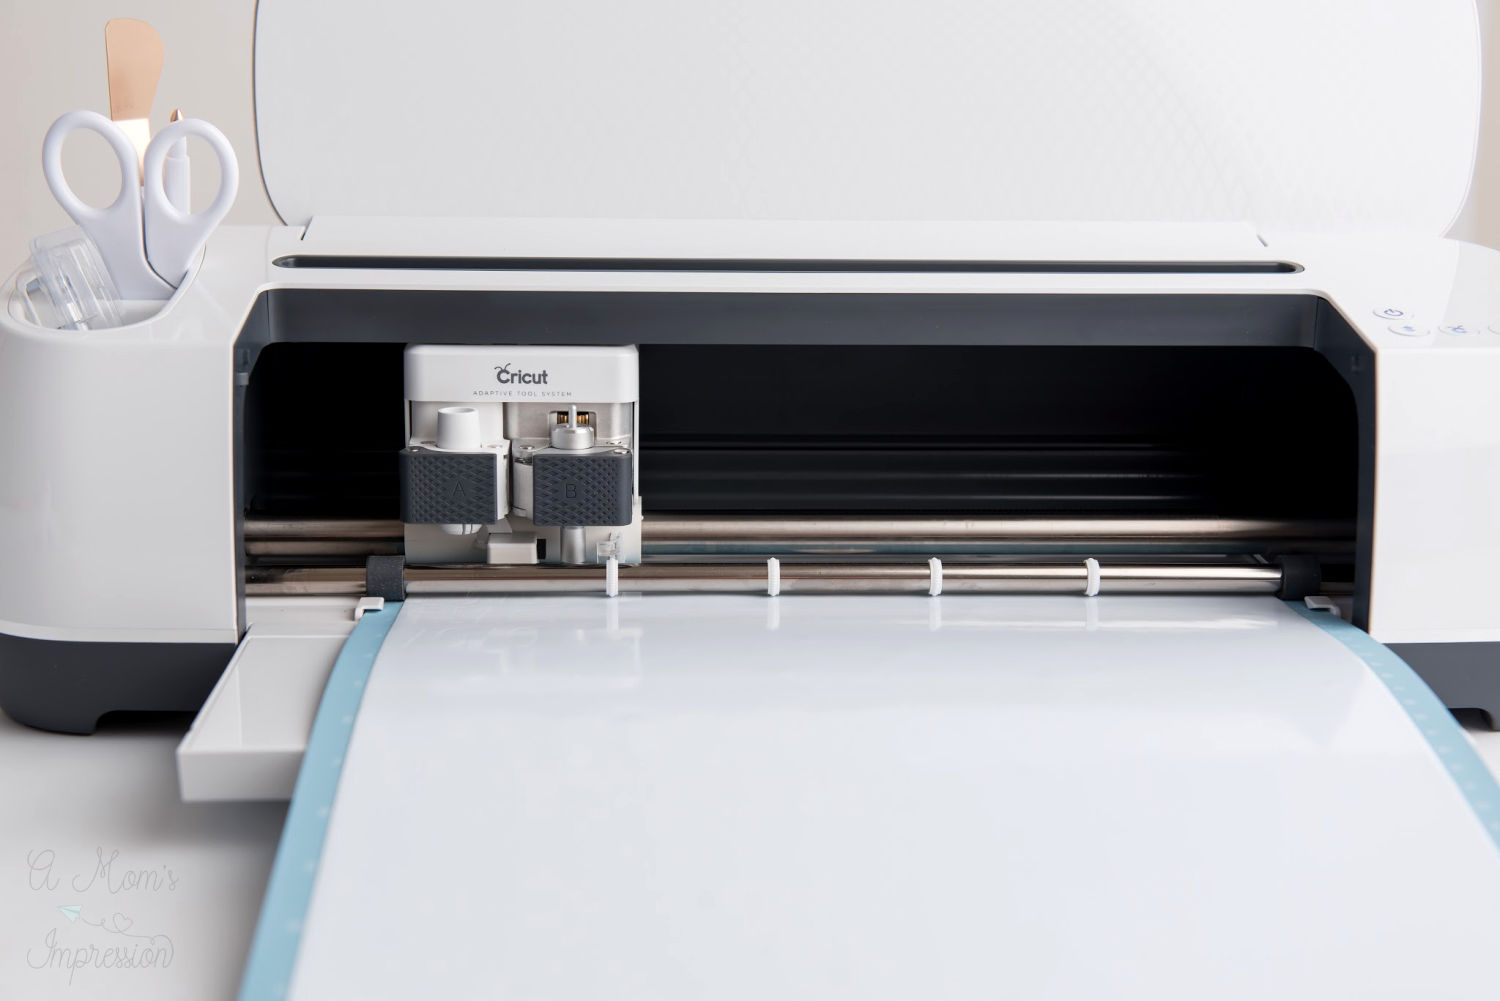
Place the oracle 651 vinyl onto the Light Grip (blue) mat, and load into the machine, adjust material dial or setting for the vinyl setting and click make it.
Step 4:
After the vinyl is finished cutting, use your weeding tool to remove the excess vinyl around and inside letters.
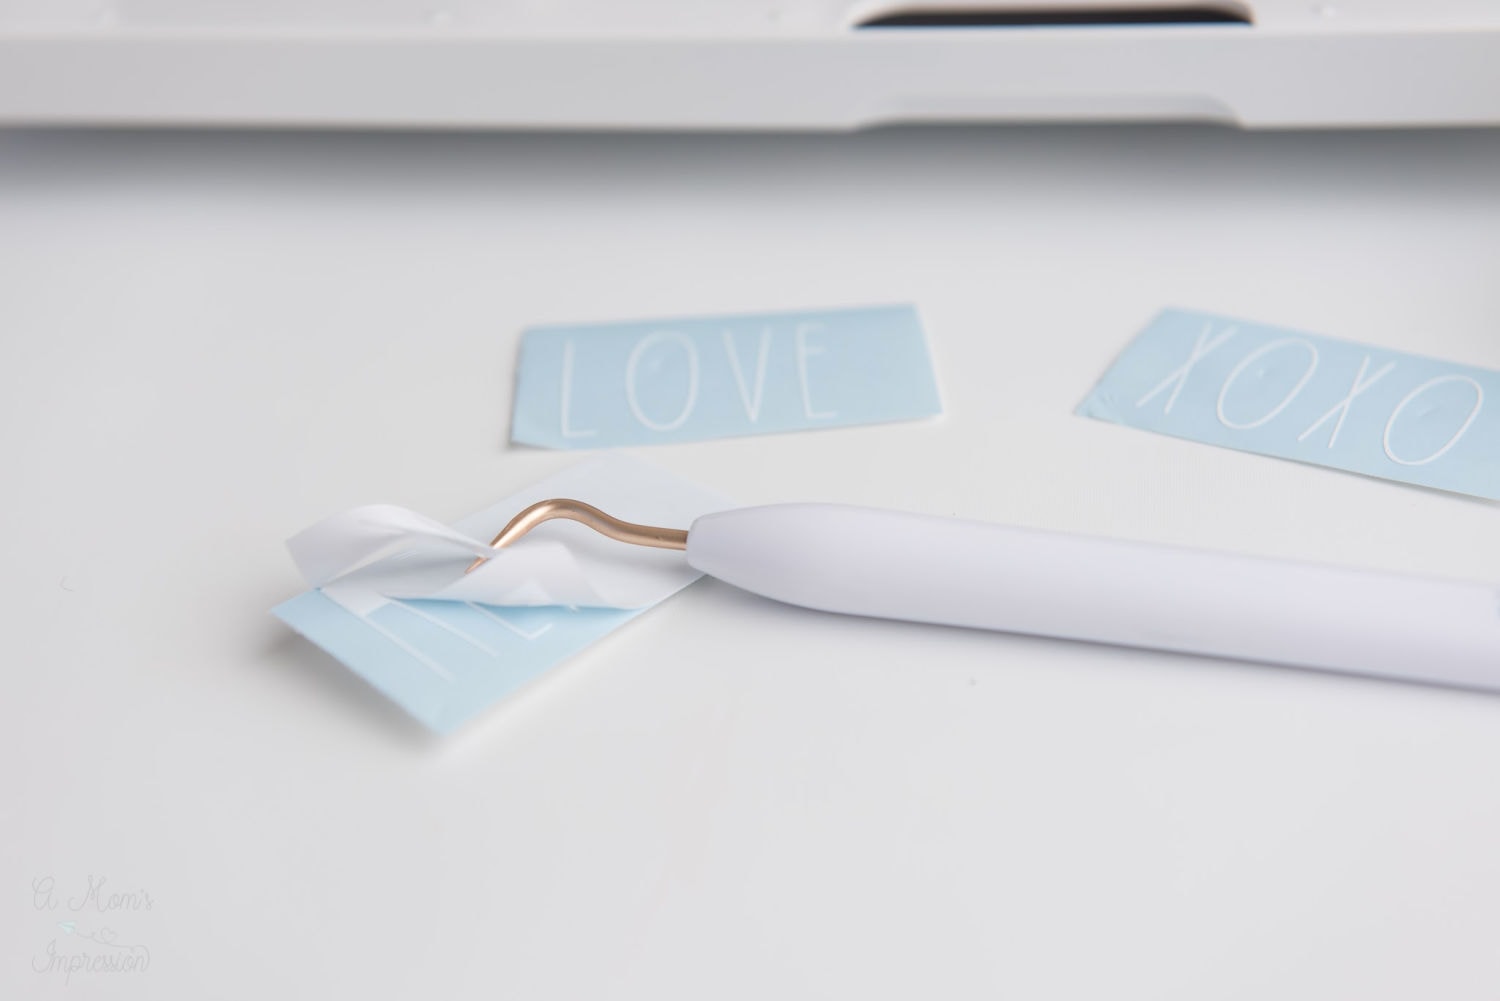
Step 5:
Cut off enough transfer tape and remove the carrier sheet. Lay the transfer paper on top of the weeded vinyl and apply pressure with scrapper tool and old credit card rubbing it back and forth to make sure it is stuck.
Flip the design face down and slowly remove the vinyl’s backing leaving the vinyl adhered to the transfer paper.
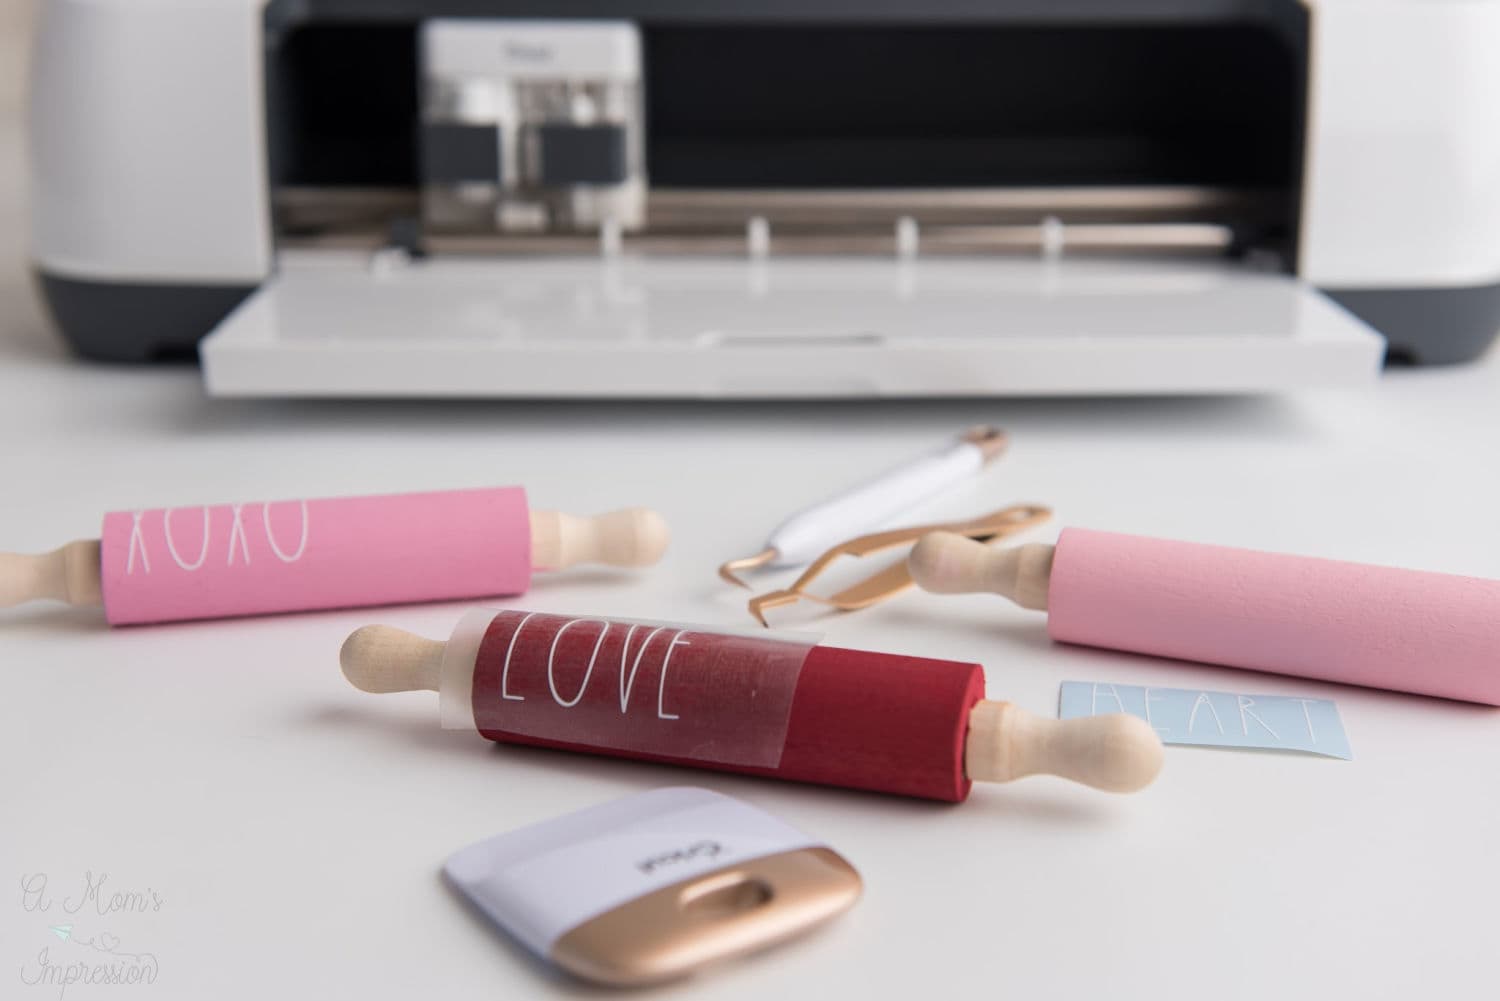
Step 6:
Apply the vinyl attached to the transfer paper to the surface of the rolling pin. Use the scrapper tool once again to apply pressure and friction to the vinyl. Remove the transfer paper off and away from the pin. The vinyl will remain and adhered to the pin.
Step 7:
Style up your rolling pins with ribbon or lace! Your craft is now ready to be gifted or displayed.
Video Directions
Pin for Later
Jeanette says
Is the paint food safe?
Mom says
No, these are for decoration not for actual use.
Rebecca says
I’ve done some research: applying polyurethane after painting will protect the paint, and most polyurethanes are food safe, given a sufficient amount of time to cure after applying.
https://www.homedepot.com/c/ab/food-safe-finishes/9ba683603be9fa5395fab901be46079b
I’m going to make these for my nieces and include in a Valentine cookie baking kit ♥️