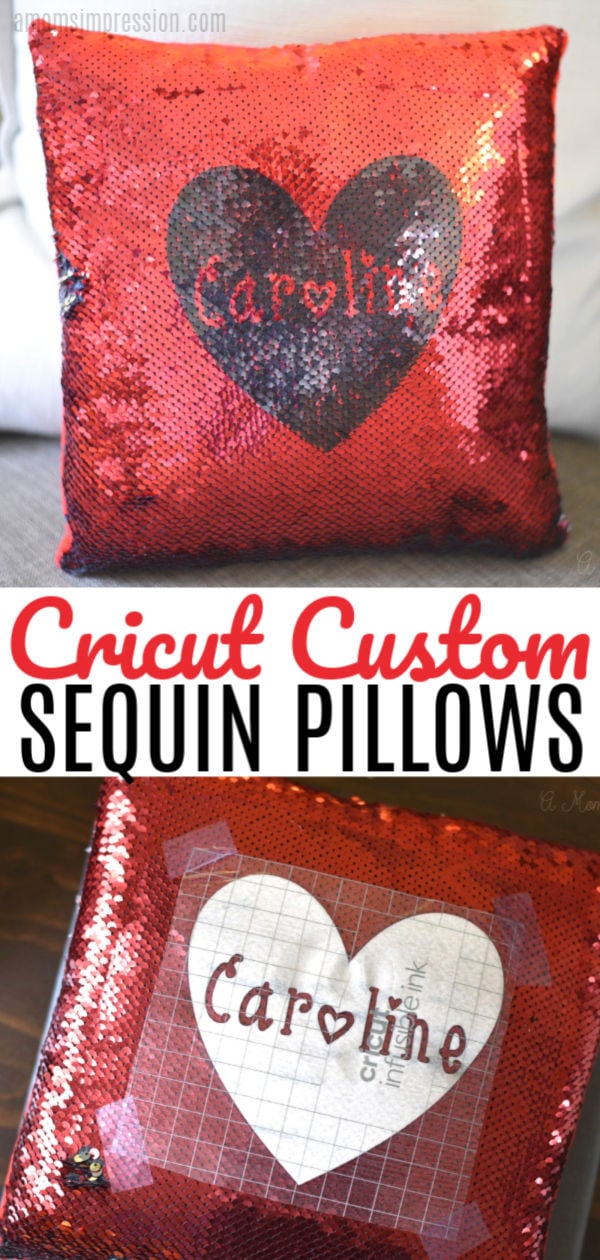
This super easy Cricut Custom Sequin Pillow tutorial takes about 15 minutes to make from start to finish using Cricut Infusible Ink. These personalized sequin pillows would make great gifts for kids or adults alike.
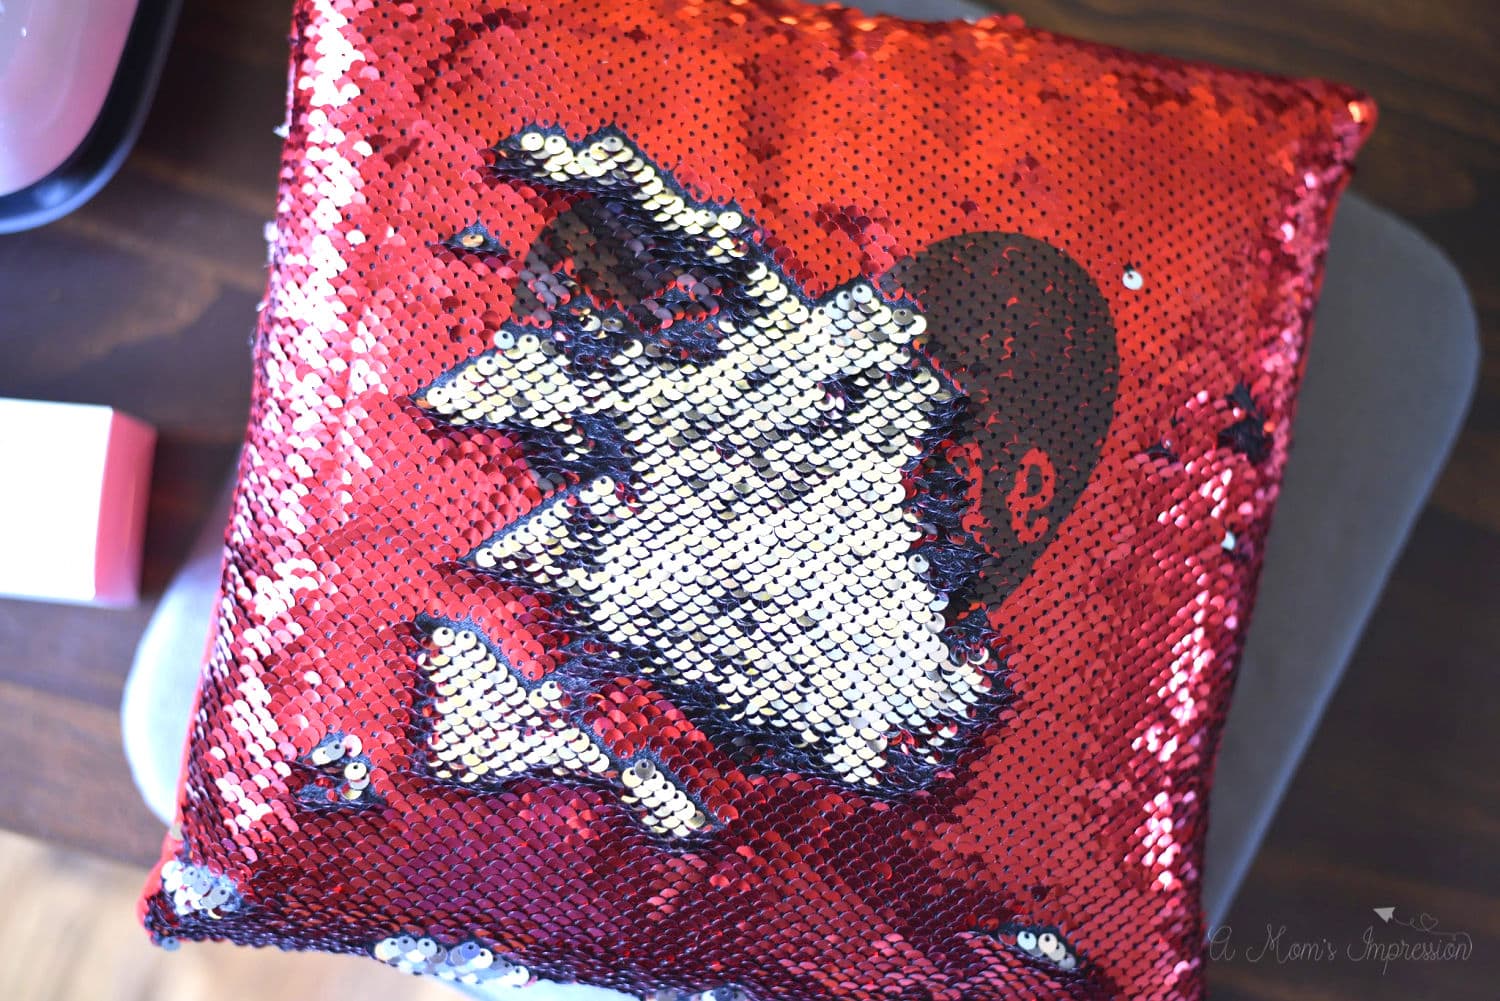
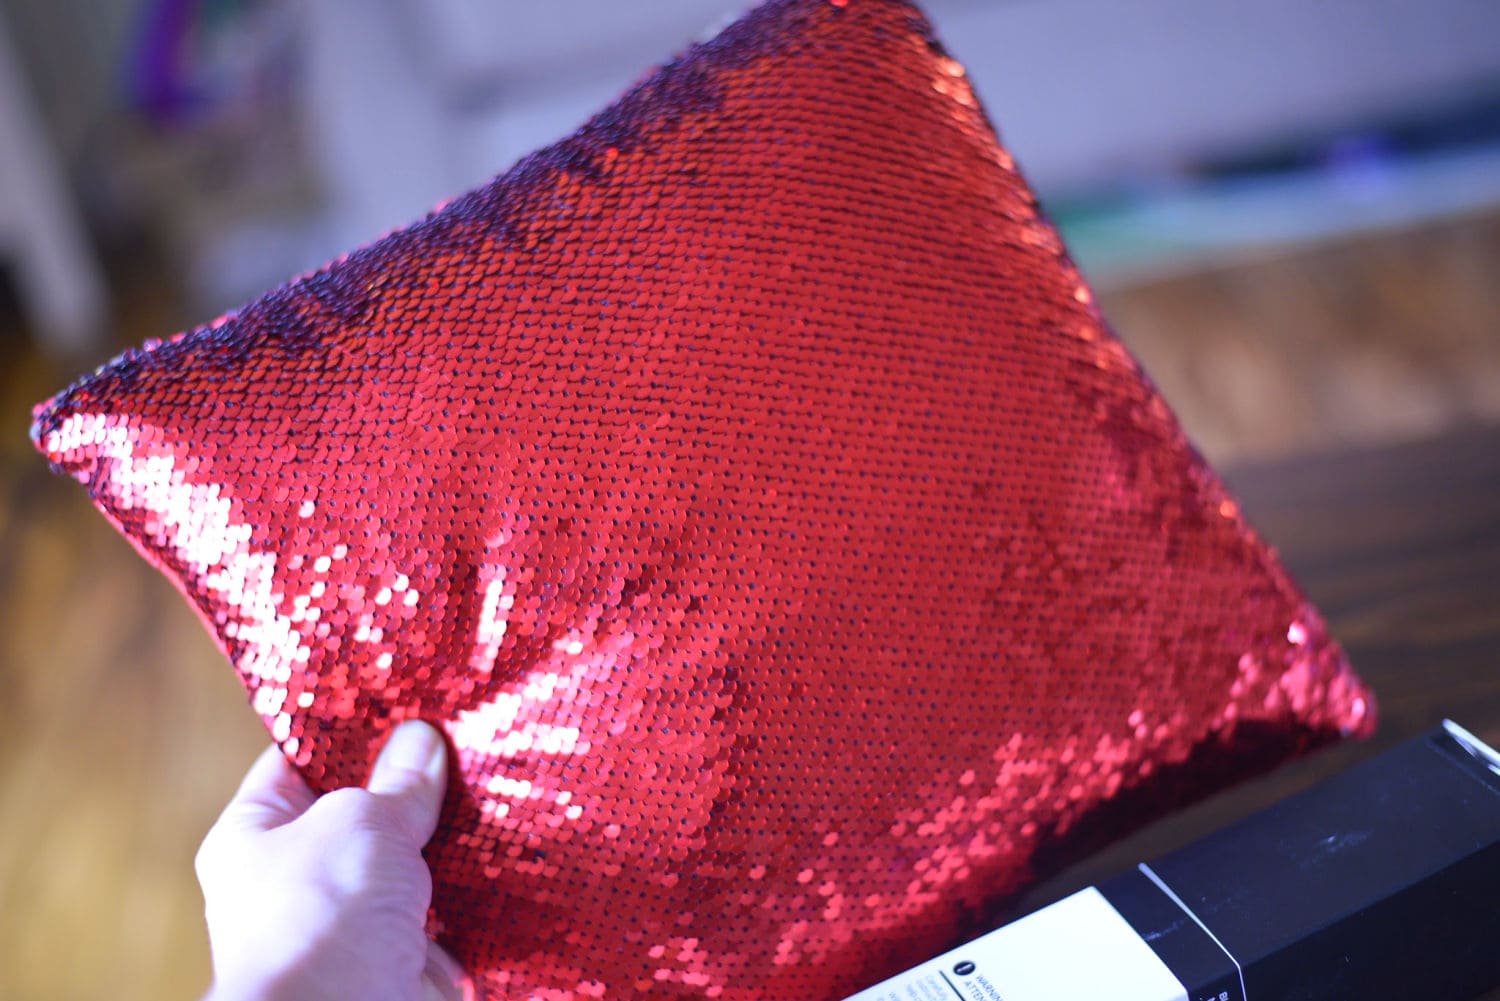
My daughter is obsessed with these color changing sequin pillows. I have to admit that when I first saw one, I got a little addicted to them too. There is something oddly satisfying and calming about changing the colors on those things.
When I heard that I could use Cricut Infusible Ink and my Cricut Explore Air 2 machine to make custom sequin pillows I knew I had to try it out.
*Thank you to Cricut for sending me a machine and Infusible Ink
These are super easy to customize and it took me like 15 minutes from start to finish to make it. These are the types of crafts I love to make when my day is full of work. It is satisfying and my daughter was thrilled when she came home from school and saw it.
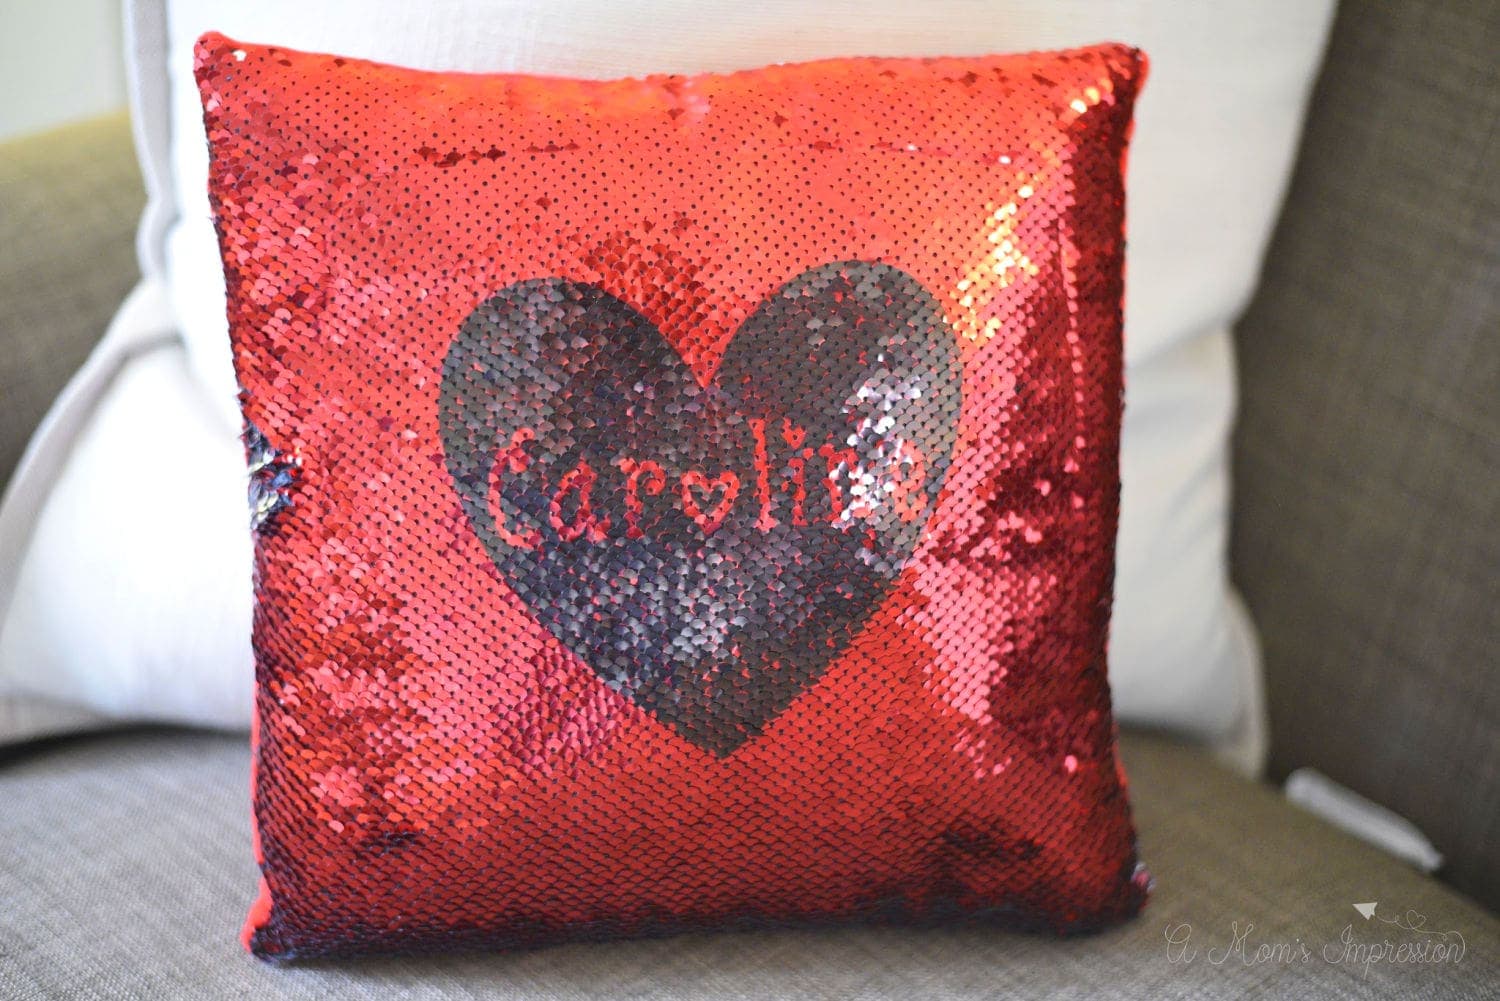
These would be perfect and easy gifts to give for Valentine’s Day.
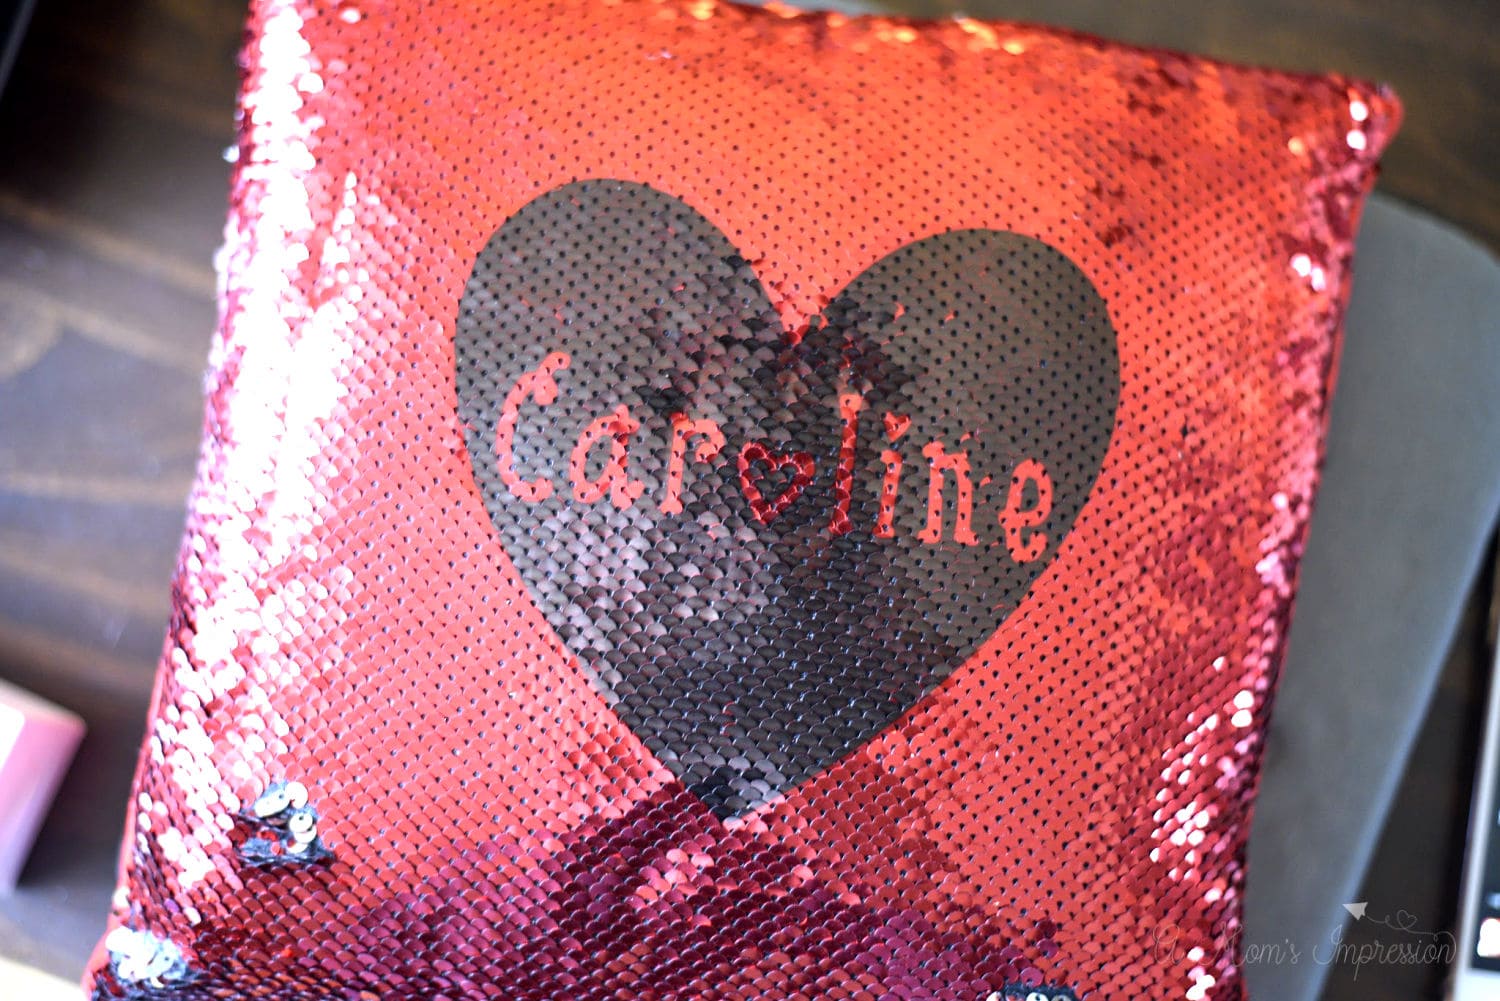
We made ours with a red/silver sequin pillow that I got from the Valentine’s Day section of my craft store, but I found similar ones on Amazon for under $8! To go for the Valentine’s Day theme I combined my daughter’s name with a heart shape using the black Infusible Ink. You can use any color or pattern Infusible Ink you would like, what ever you use you will see on the pillow. Doing a fun printed ink on a white sequin would be amazing!
What Do I need to Get Started Making Custom Sequin Pillows?
Materials
- Cricut Explore Air 2
- EasyPress 2
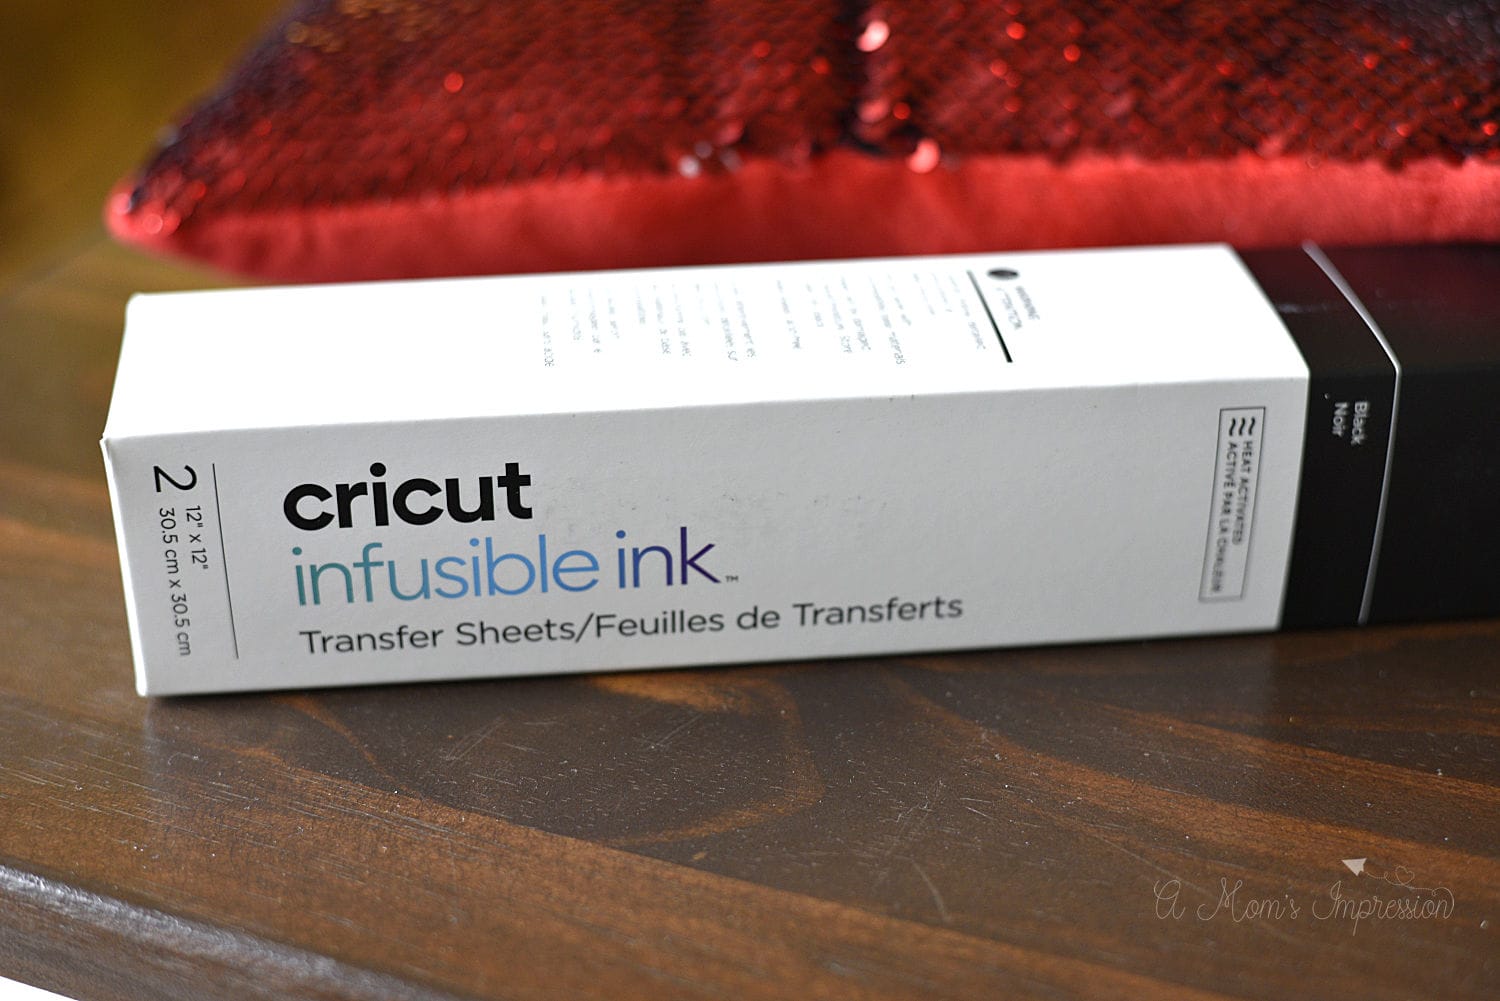
- Infusible Ink Transfer Sheets (Black)
- Heat Resistant Tape
- Weeding Tool
- Butcher Paper (comes with Infusible Ink Transfer Sheets)
- Light Grip Cutting Mat
- Blank Sequin Pillow
How to Make Cricut Custom Sequin Pillows
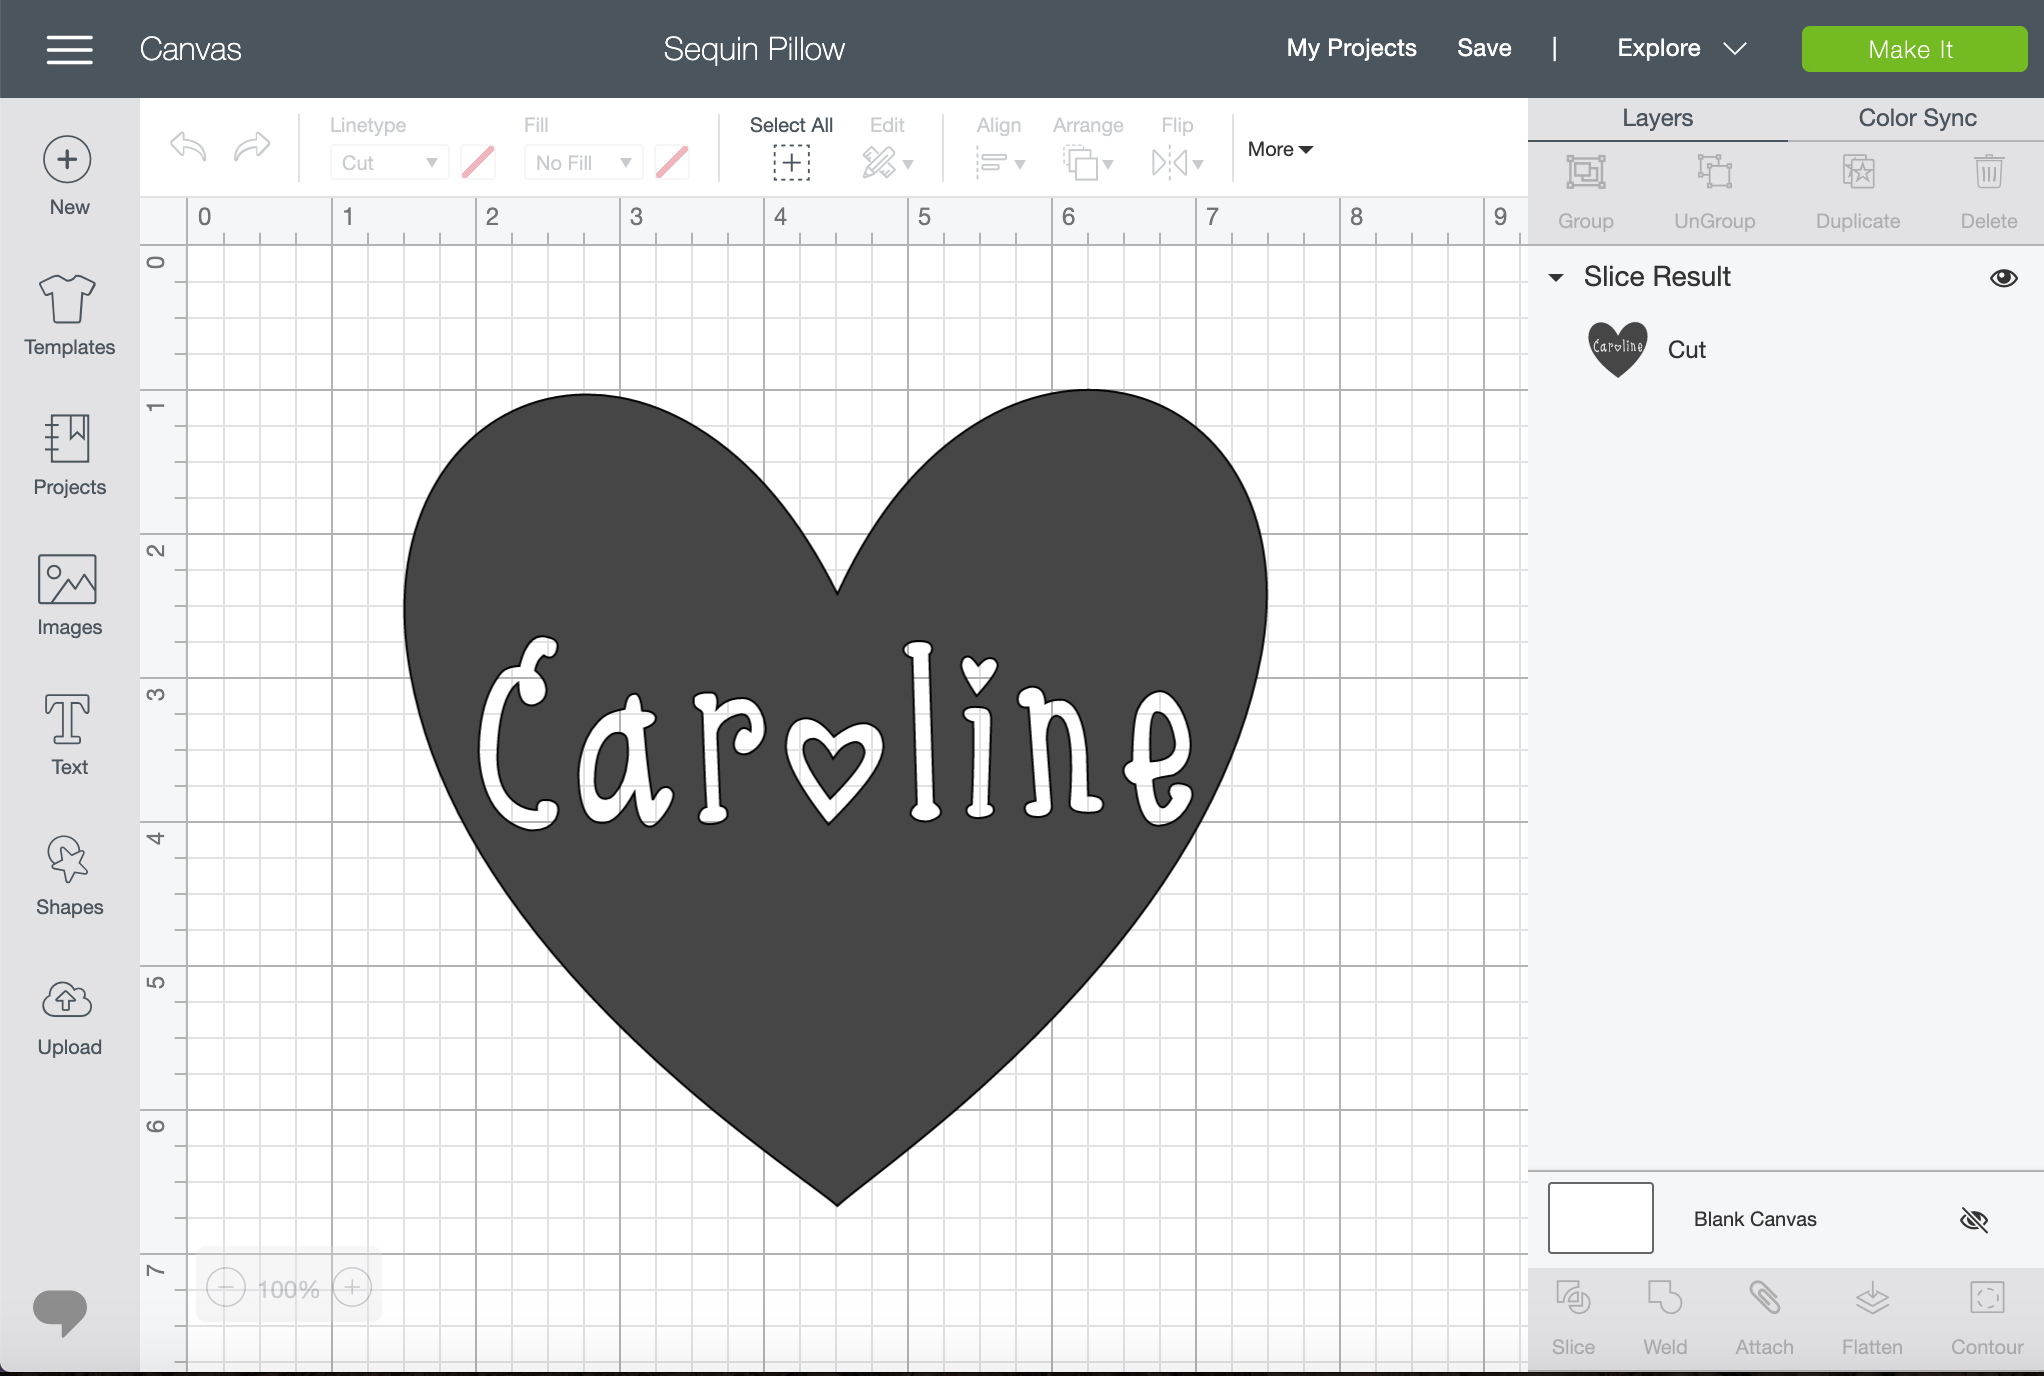
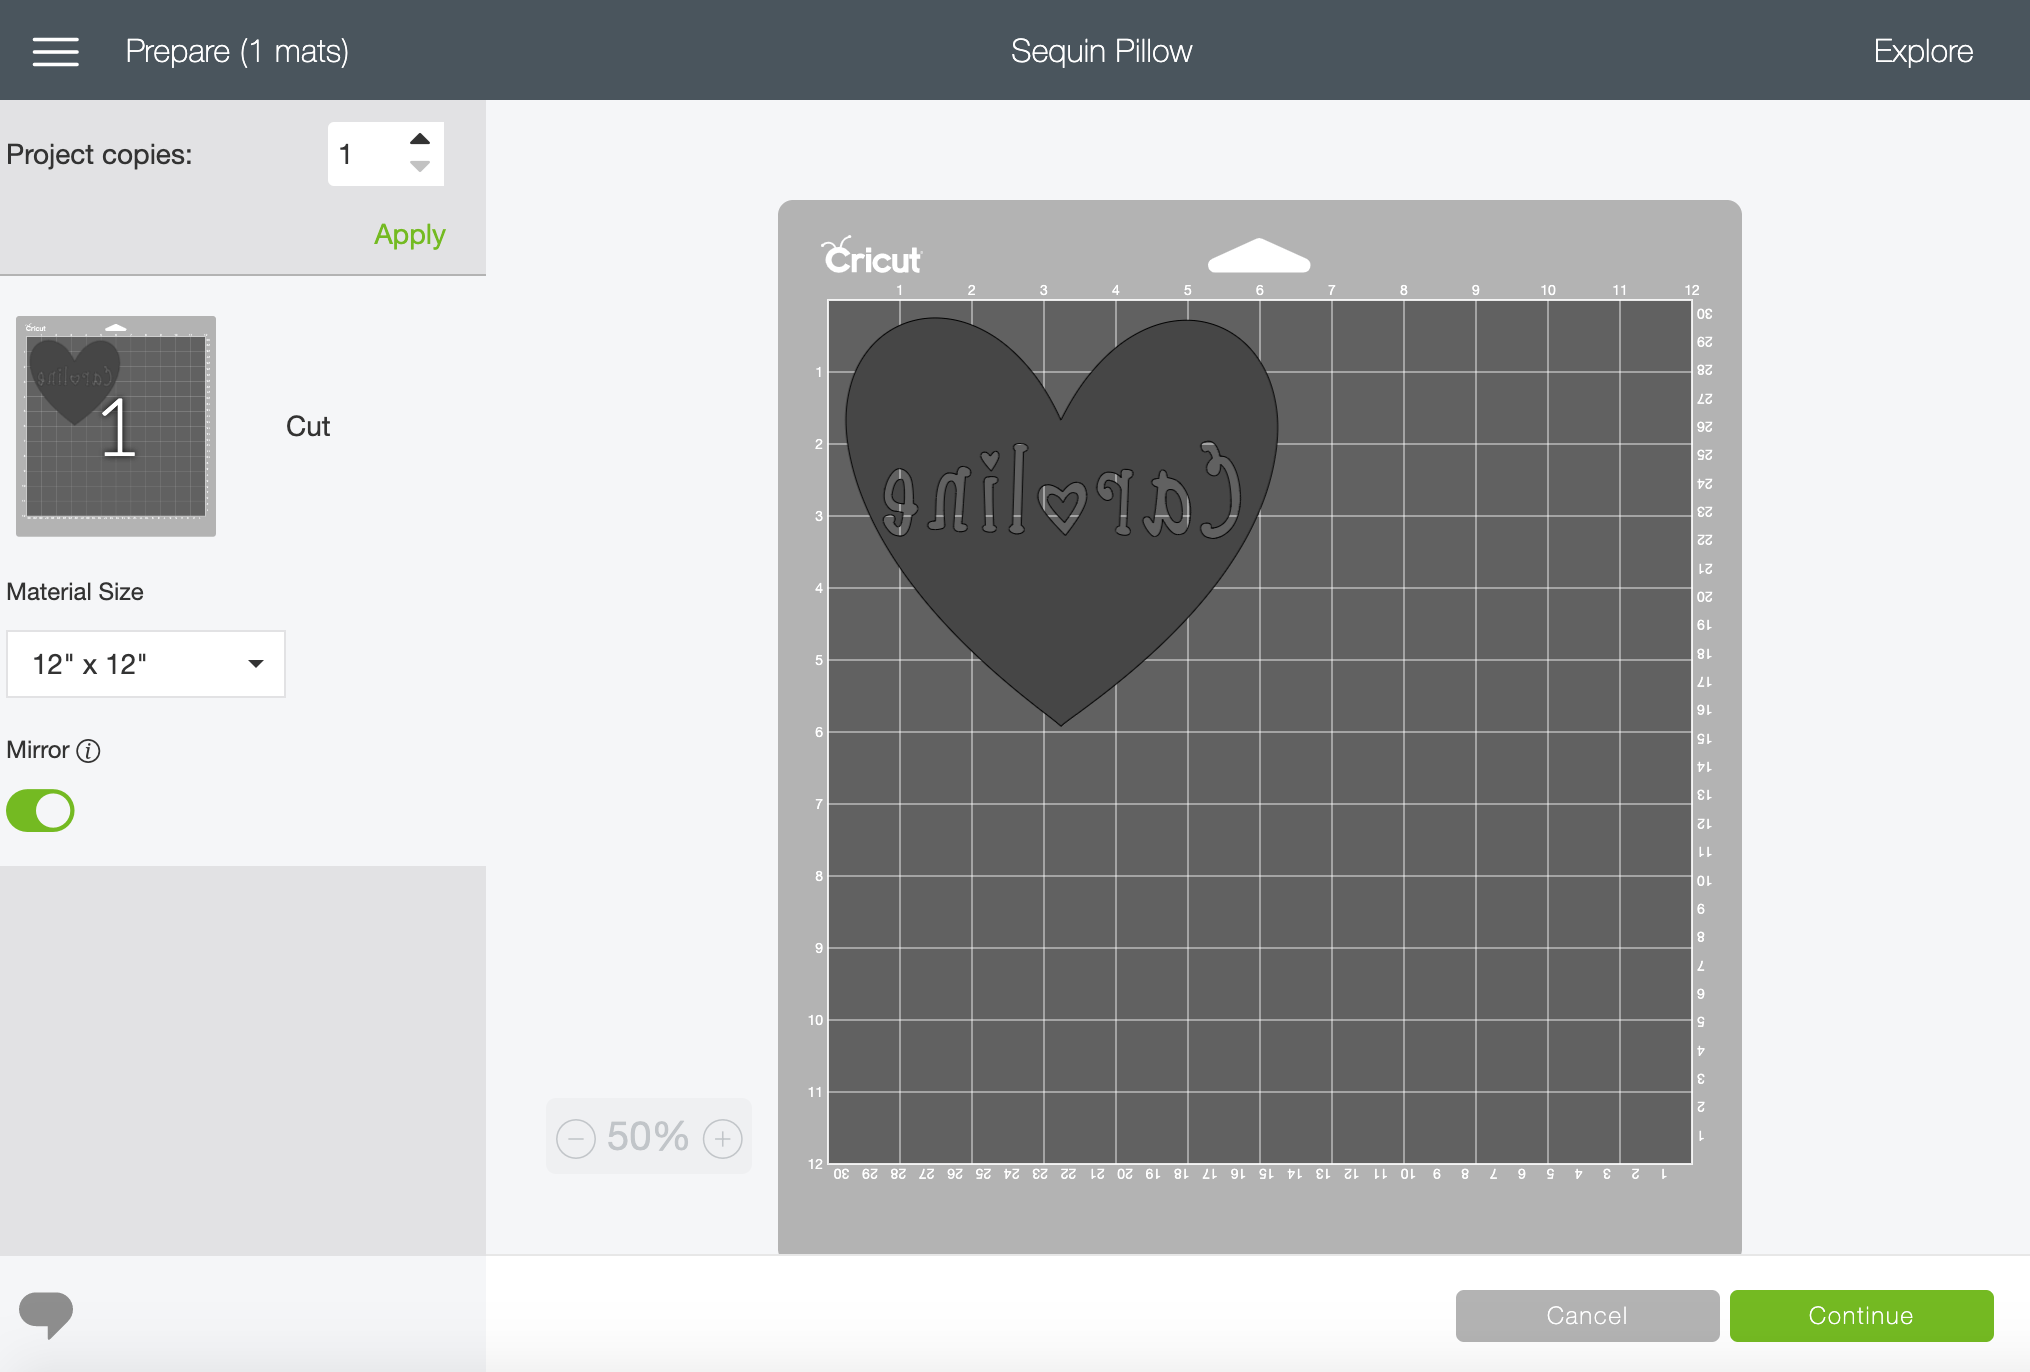
Create your image on Design Space. You can modify mine if you would like, you can find it here. I basically took a heart shape from the shapes menu, found a font I liked, entered my daughter’s name and sliced it out of the heart, weld it together and there you go!
Size your image for your pillow. My pillow was about 12 inches long so I made my image 6 inches in the width and let Design Space set the height.
Click on Make It and then be sure to mirror the image! Don’t forget this step or your pillow design will be backwards. That might not be a big deal if its just an image but it will be a big deal if you have any wording like a name.
Load your Infusible Ink paper onto your Blue Light Grip Cutting Mat. Caution, the black Infusible Ink paper looks brown when it isn’t heated up. I promise that it is going to come out black, trust me! You can cut the Infusible Ink paper before you load it onto the mat or after, it doesn’t matter.
Be sure to select Infusible Ink as your cutting material. You do this by turning your dial to custom on the Cricut Explore Air 2 and then selecting the material on Design Space. I used my new light blue mat, but it would also work with the green mat.
Load your mat and hit the Cricut button to begin your cuts. Cut away the access if you have any.
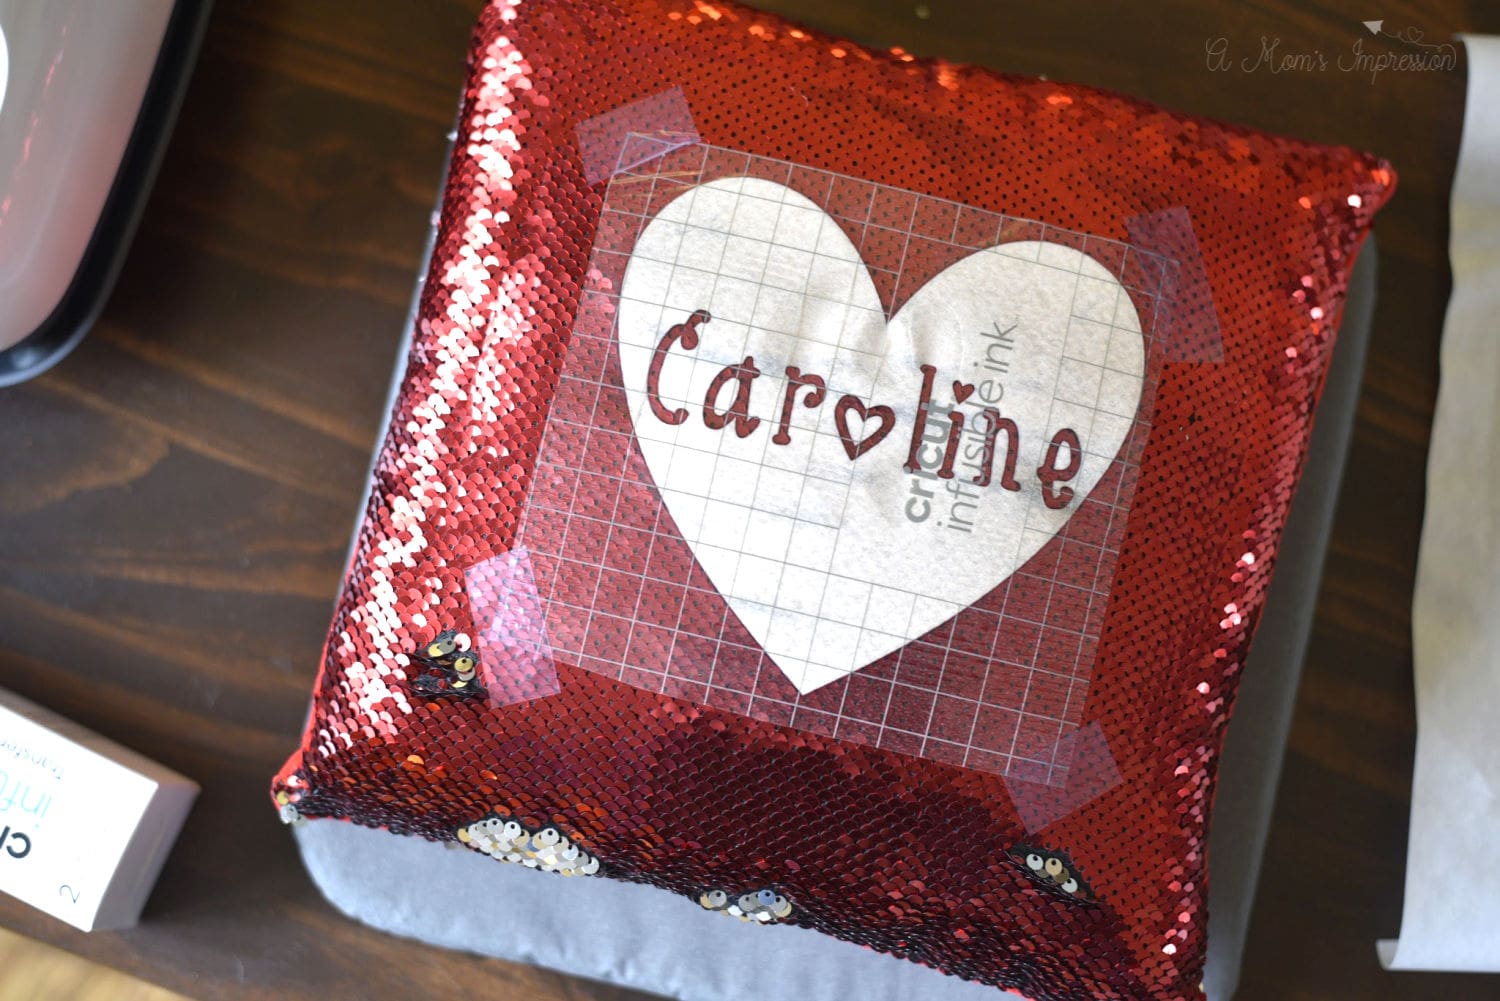
When you are done, use your hands to weed out all the transfer paper you can. If there is small words, like mine, you might need to use a weeding tool. I then trimmed some of the access clear backing away from my design so that it was easier to work with on the pillow.
Using a little heat resistant tape, tape the sides down around the image onto the pillow. Make sure you have the sequins all facing the same way on the side that you want the image to appear on. I eyeballed the positioning of my heart but feel free to measure and get the exact center before you tape the image down. This ensures that the transfer paper won’t move when you are pressing it.
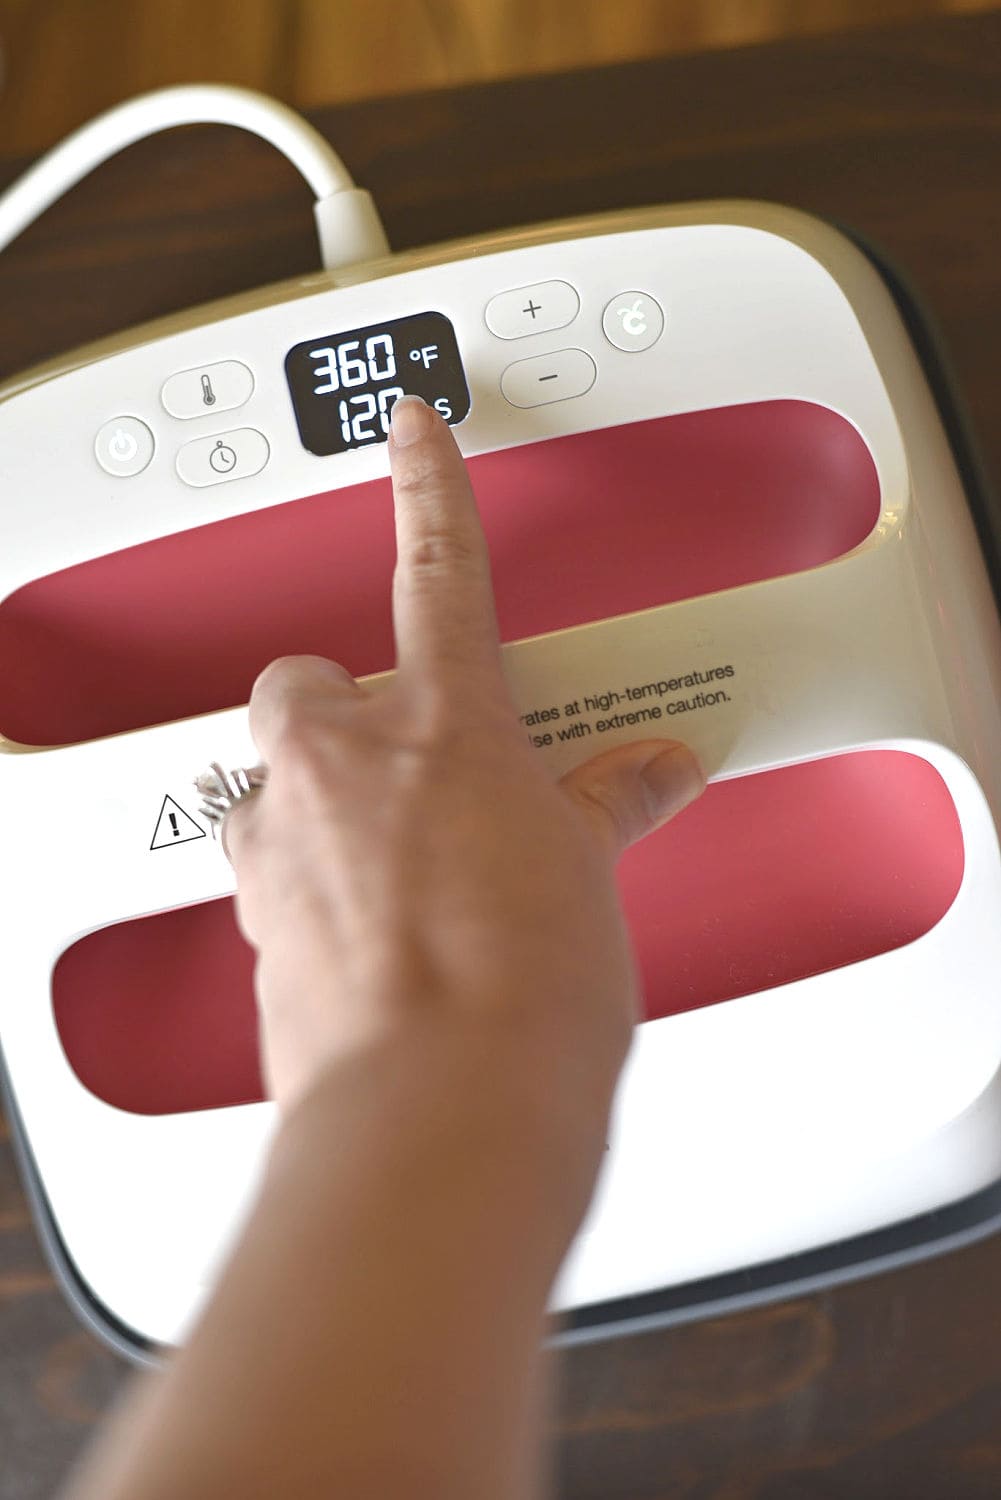
Plug in your EasyPress and heat to 360 degrees. Set the timer for 120 seconds. While your EasyPress is heating place the EasyPress mat down on your work surface. Place the pillow on top of it with your image facing up.
Next place a piece of butcher paper on top of the pillow. When the EasyPress is heated up place the press on top of the butcher paper and push the timer. Be sure to apply medium pressure for the entire 120 seconds.
When the timer goes off, remove the EasyPress and allow the paper and pillow to cool before touching it, this takes just a few minutes. When the pillow and image are completely cooled down, remove the transfer tape and gently peel the image off of the pillow.
Enjoy your new custom pillow!
For more fun Cricut crafts be sure to check out: Cricut Infusible Ink Coasters with Mountain Quotes our Mini Farmhouse Rolling Pins or our American Girl Joss Inspired Girl and Doll Matching Outfits (Video Tutorial).
Share Your Thoughts