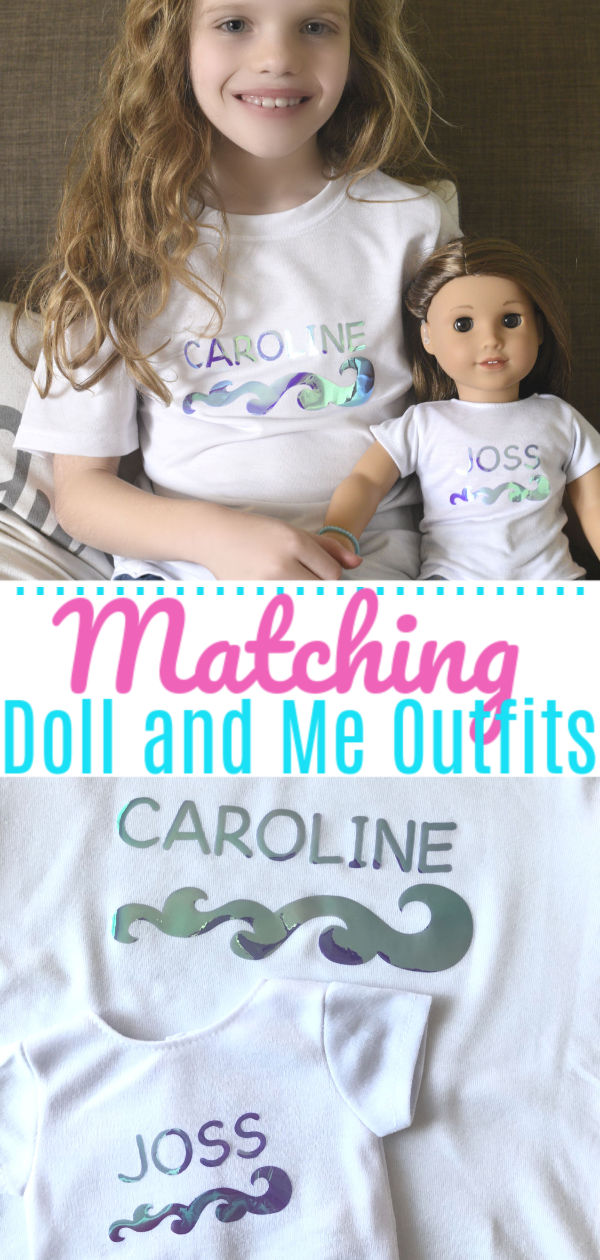
These American Girl Doll Joss inspired girl and doll matching outfits are adorable and super easy to make. This video tutorial will guide you through the easy steps to make your own doll and girl shirt using your Cricut cutting machine.
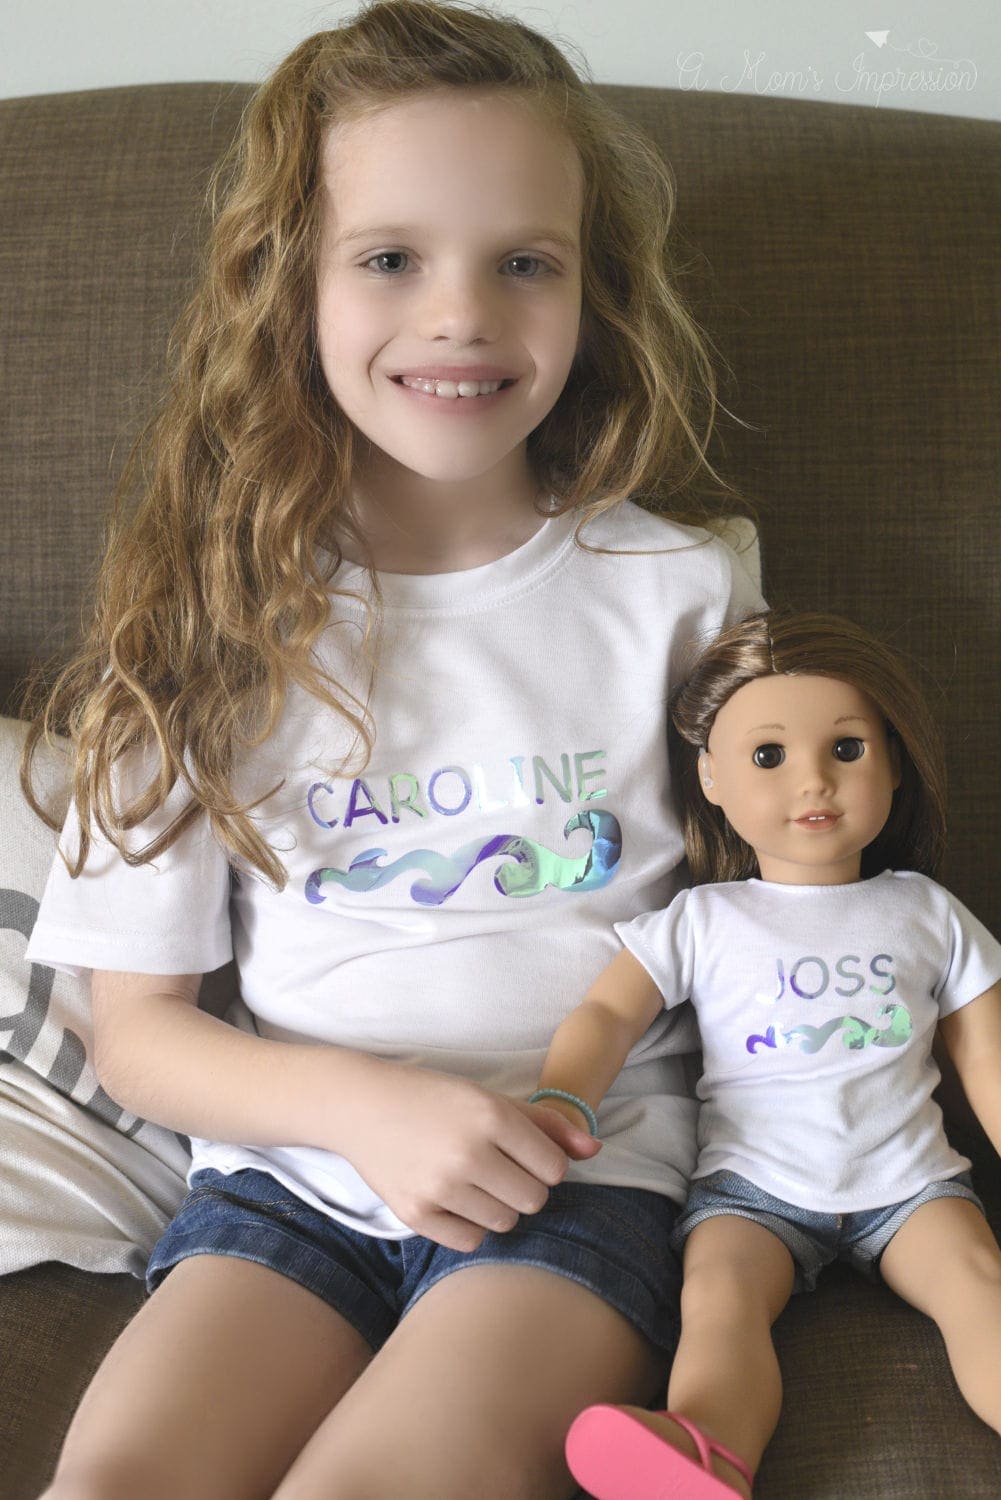
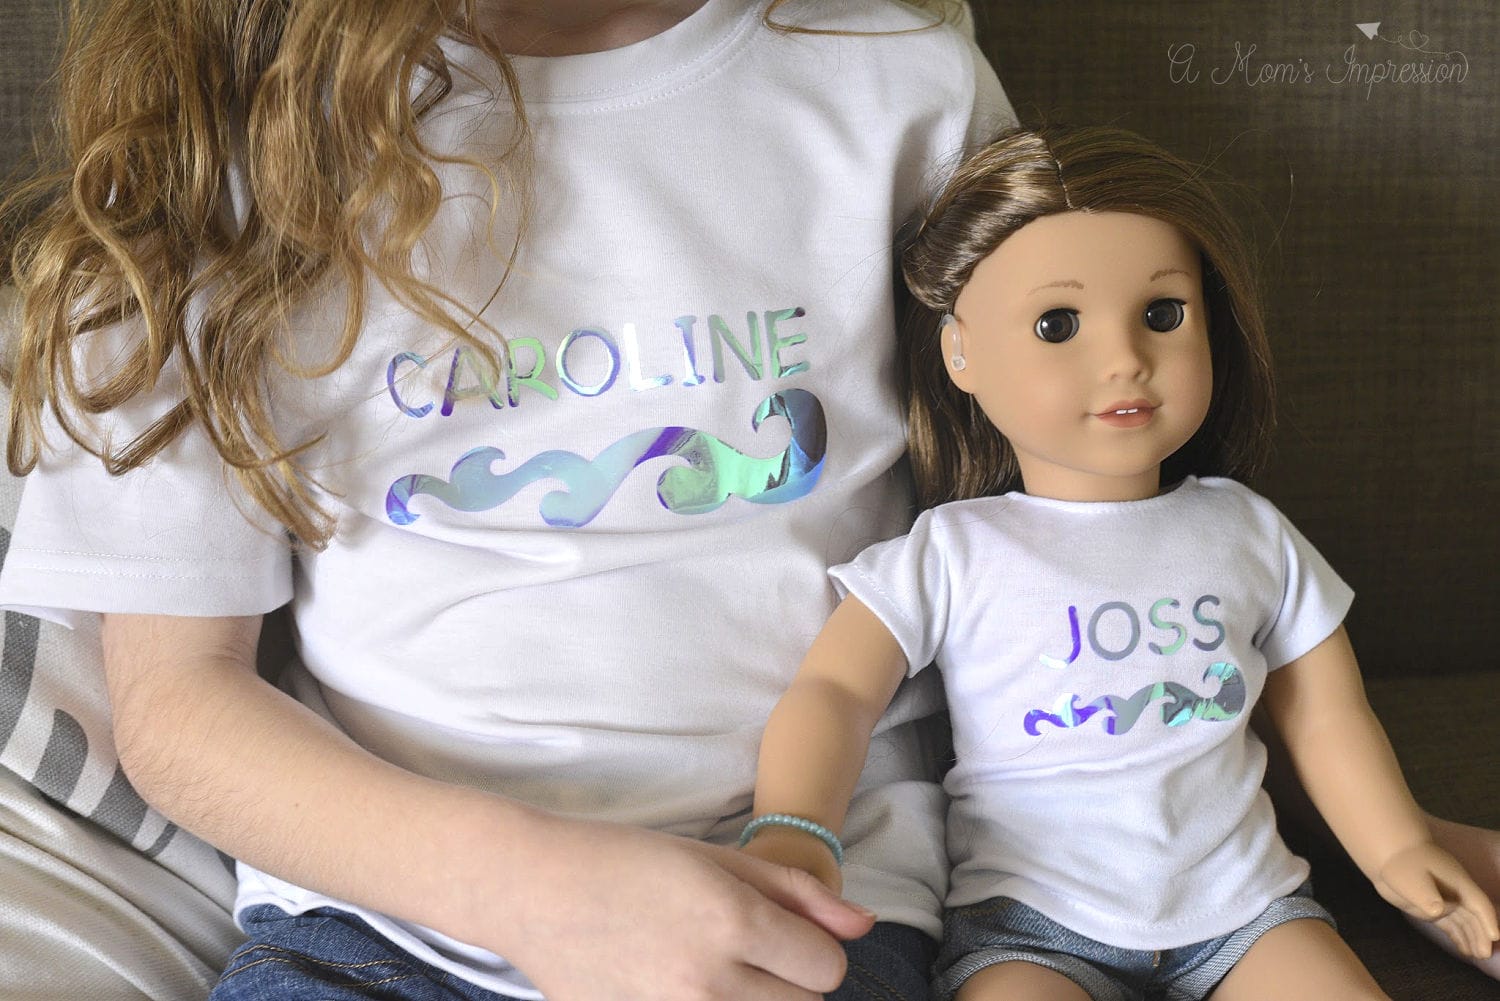
Like most girls her age, my daughter is obsessed with American Girl dolls. We were recently sent Joss, the newest member of the AG family (Thank you American Girl), and Caroline was ecstatic. You can learn all about Joss Kendrick, the American Girl of the Year for 2020 in our previous blog post.
Joss has quickly become one of Caroline’s favorite dolls and she asked me if I could make her matching t-shirts. We often wear mommy and me matching shirts so naturally she wanted her doll to match her as well.
I thought it was a great idea so I broke out my Cricut cutting machine and got to work! I thought they turned out so cute!
Custom Matching Doll and Me Shirts
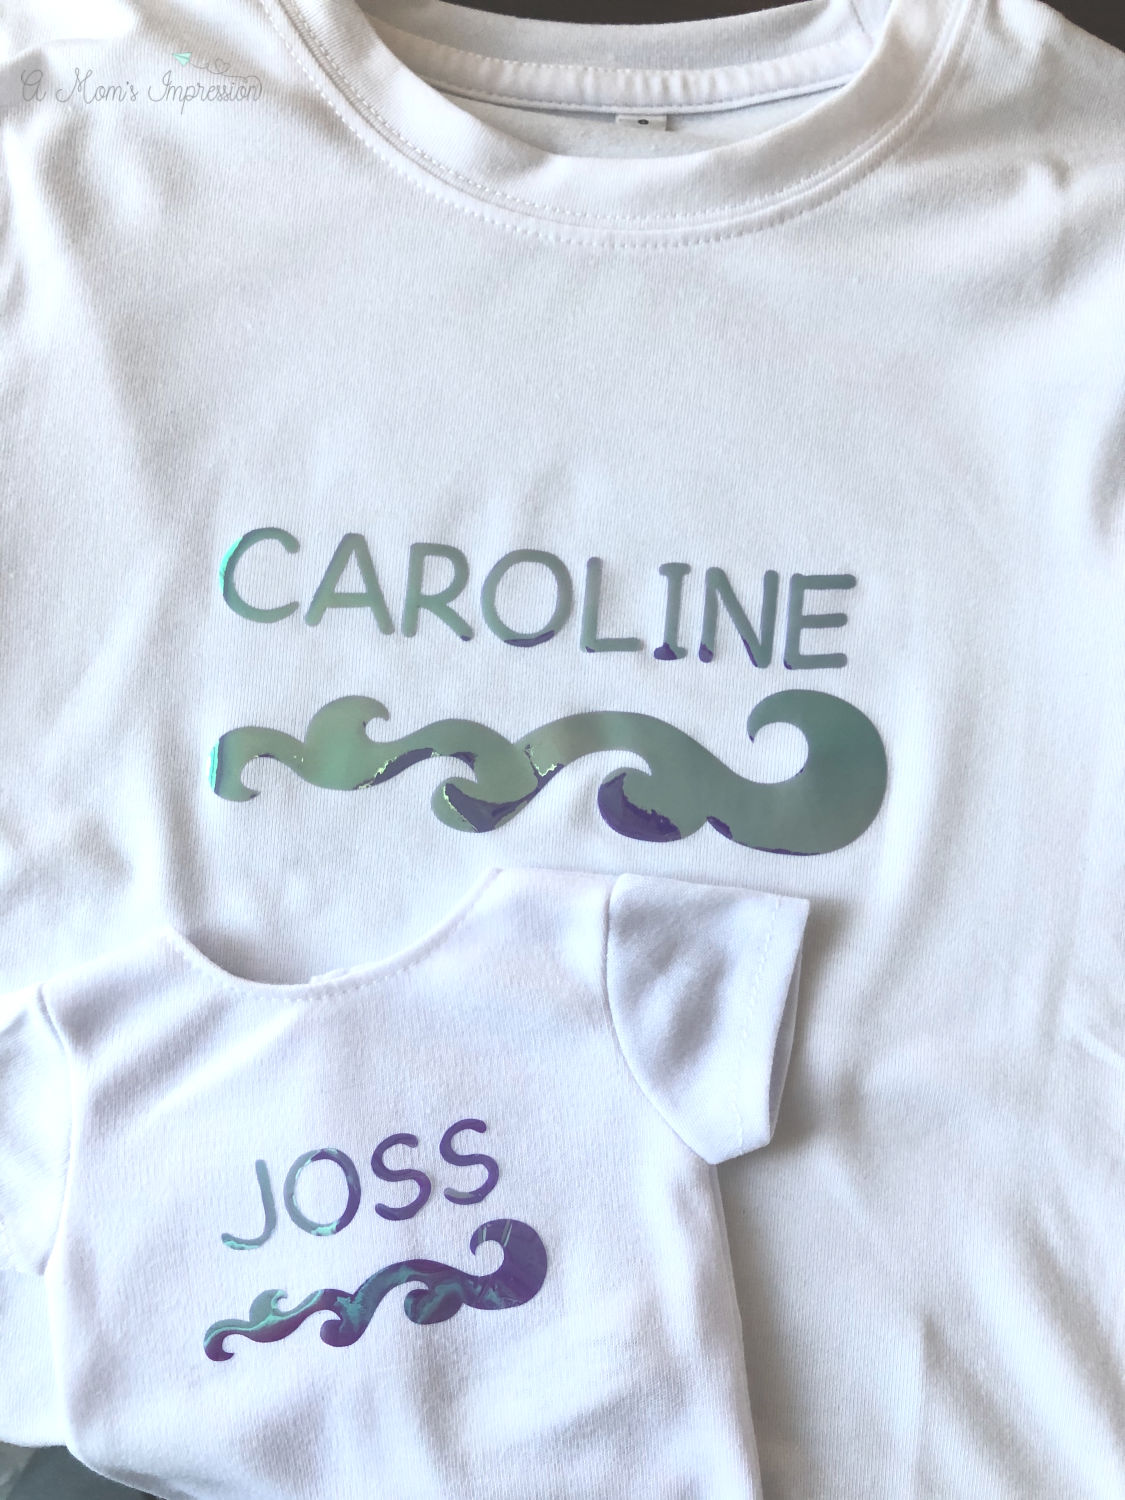
Every American Girl of the Year comes with a story and Joss loves to surf and swim. I was inspired by the waves in her hoodie that she was wearing when we got her and added a little wave design to their matching shirts.
What Heat Press is Best for this Project?
I love using my EasyPress 2. For my projects it works really, really well.
The EasyPress 2 comes in several different sizes for your project needs. The large press (12 x 10) allows you do press an entire shirt evenly in one go which makes for a much better transfer. This project would also be perfect for the new EasyPress Mini. The small size is perfect for doll clothes, socks, hats and little stuffed animals.
Do you need the EasyPress Mat?
I highly recommend using the additional EasyPress Mat. It protects your working surface and helps achieve perfect results. This project uses a very high heat for a long period of time and the mat makes me confident that I am not ruining my work surface.
Materials:
- Cricut Explore Air 2
- EasyPress 2
- EasyPress Mat
- Holographic Iron-On
- Brayer
- Weeding Tool
- StandardGrip Cutting Mat
- Youth T-Shirt
- Doll T-Shirt
Video Demonstration
Directions:
- Head on over to my Matching Doll and Kid Shirts on Design Space. Click on Customize and change the name to your child’s name. I used the Cartoon Script font with my Cricut Access. When you have made your design to your liking click on Make It.
- Because we are using iron-on be sure to mirror the image! Don’t forget this step or your design will be backwards. Cricut Design Space will remind you to do this when you tell it what kind of material you are working with, but it is good to get in the habit.
- For this project I used holographic iron-on and the green StandardGrip cutting mat. For the holographic vinyl I recommend using a brayer to ensure that the vinyl is smooth and to take out as many bubbles as you can.
- Be sure to select Holographic iron-on as your cutting material. Be sure to turn your dial to Iron-On on the Cricut Explore Air 2 and then selecting the material on Design Space.
- Load your mat and hit the Cricut button to begin your cuts.
- When you are done, use your hands or your weeding tool to weed out your Iron On.
- Plug in your EasyPress and heat to 330 degrees. Set the timer for 30 seconds. I used the Cricut heat guide to find these settings.
- Place your shirt on top of your EasyPress Mat (or ironing board). And place your EasyPress on it for 5 seconds. Allow the shirt to completely cool before placing your vinyl on your shirt. I just eyeballed the placement of the decal, but you can measure to make sure it is centered. Then place your EasyPress ontop and press for 30 seconds. Flip the shirt over and press for an additional 15 seconds. The heating guide says it is a warm peel, but I allow mine to cool completely before I remove the transfer film.
- Repeat the process for the second shirt.
Enjoy!
I hope you enjoyed our newest Cricut project. For more projects be sure to check out our Cricut Custom Sequin Pillows Tutorial as well as our Cricut Infusible Ink Coasters with Mountain Quotes.
PIN FOR LATER
Share Your Thoughts