This is a sponsored post written by me on behalf of Cricut. All opinions are 100% mine.
Back to School time is here and it looks like nothing I can remember. One thing is for sure, I am going to remember this school year for a very long time. I am a first grade public school teacher and mom to two kids who started back to school in person last week. There are many new procedures and policies in place to keep everyone safe and one of the most important is wearing face masks.
Over this past week I have seen that for most of my students, face masks are kinda fun and a new way to show off your personality. I have been enjoying seeing all the patterns staring back at me.
Another big change this year is that students aren’t allowed to share supplies and having things labeled is critical. My daughter and I decided to have a little fun with this and we made her a personalized mask and jazzed up her set of headphones for school.
This tutorial is really simple and the result is adorable. All you need is your Cricut Cutting machine and your child’s masks and headphones.
What Do I need to Get Started Making Personalized Masks and Headphones?
Materials
- Cricut Explore Air 2
- EasyPress Mini
- Cricut Glitter Iron On
- Cricut Premium Vinyl
- Weeding Tool
- Standard Grip Cutting Mat
- Blank Masks
- Headphones
How to Make Custom Mask Designs
The first thing you will want to do is find a cute mask design on Cricut Design Space. There are many fun options to choose from, or you can create your own. I let my daughter choose and she found this adorable animal face design she loved. She picked out some magenta Glitter Iron On and we were set to go.
You will need to click on customize to change the name to your child’s name before you cut. If you want to adjust the size (make it larger for an adult mask) then you can customize it for your project. As for us, this size was perfect for our child sized mask.
Click on Make It and then be sure to mirror the image! Don’t forget this step or your mask design will be backwards. That might not be a big deal if its just an image but it will be a big deal if you have any wording like a name.
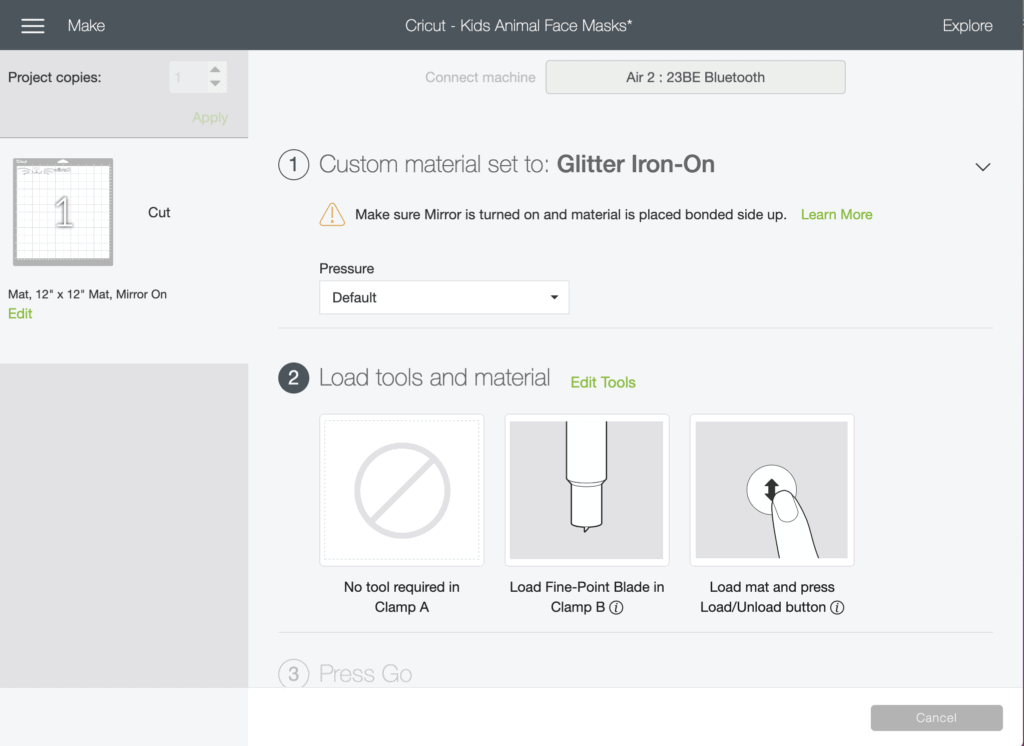
Load your Glitter Iron On onto your Green Standard Grip Cutting Mat. Follow the directions on Cricut Design Space after you set the material to Glitter Iron On.
Load your mat and hit the Cricut button to begin your cuts. Cut away the access if you have any.
When you are done, use your hands to weed out all the access vinyl you can. If there is small words, like mine, you might need to use a weeding tool. I then trimmed some of the access clear backing away from my design so that it was easier to work with on the mask.
Plug in your EasyPress Mini and heat to the highest. Set a timer for 30 seconds. I used the Cricut heat guide to find these settings. While your EasyPress is heating place the EasyPress mat down on your work surface.
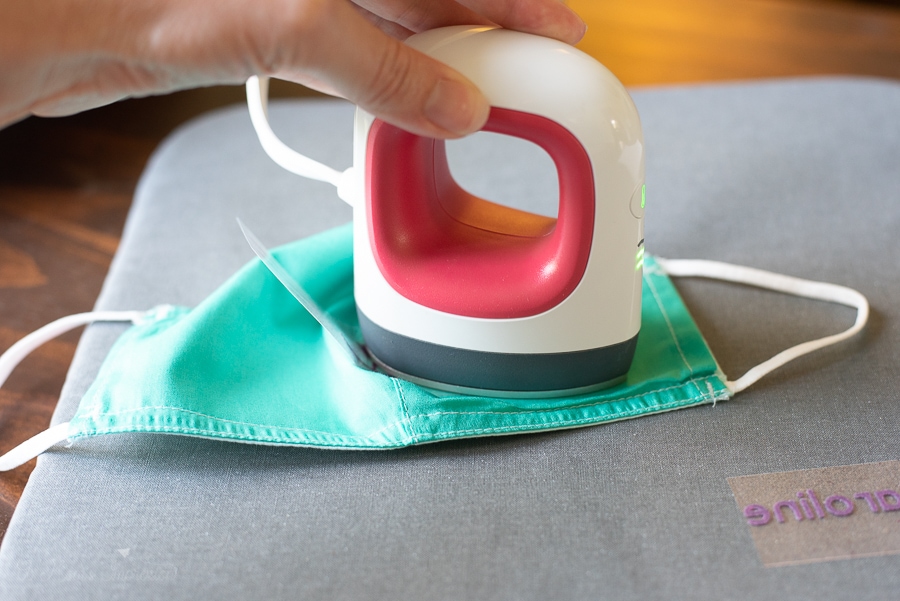
When the EasyPress is heated up place the press right on top of the shiny liner and start your timer. Be sure to apply medium pressure for the entire 30 seconds. I ended up doing mine in chunks to help ensure the face design went on evenly on the curved mask surface.
When the timer goes off, remove the EasyPress and allow the paper and pillow to cool before touching it, this takes just a few minutes. When the image is slightly warm, gently peel the image off of the mask. Then I repeated the steps to add my child’s name.
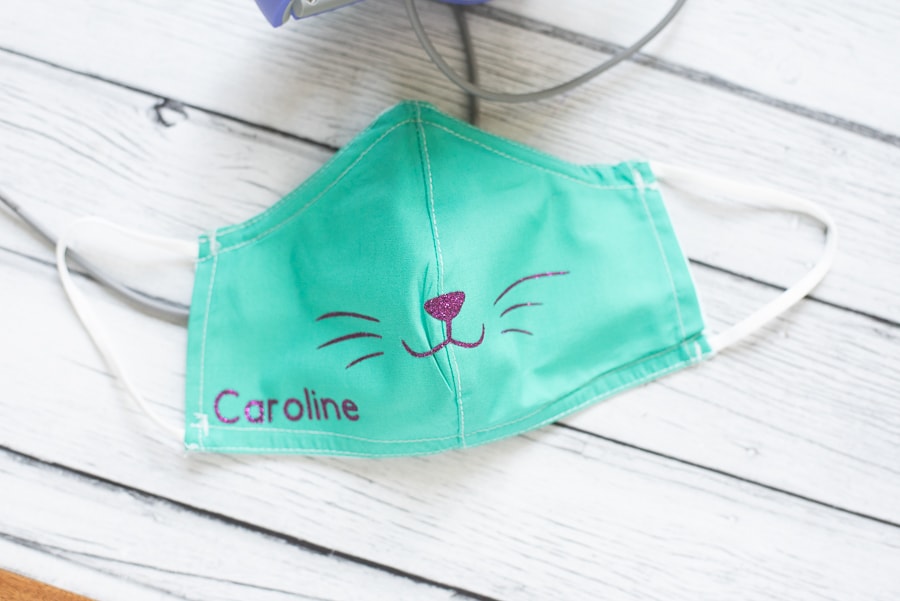
This is such a great idea to have your child’s name on his or her mask. From experience, I also find it really helpful that I can read the name and identify my student quickly. I know a guest teacher would really appreciate it.
Enjoy your new custom mask!
Personalized Headphones
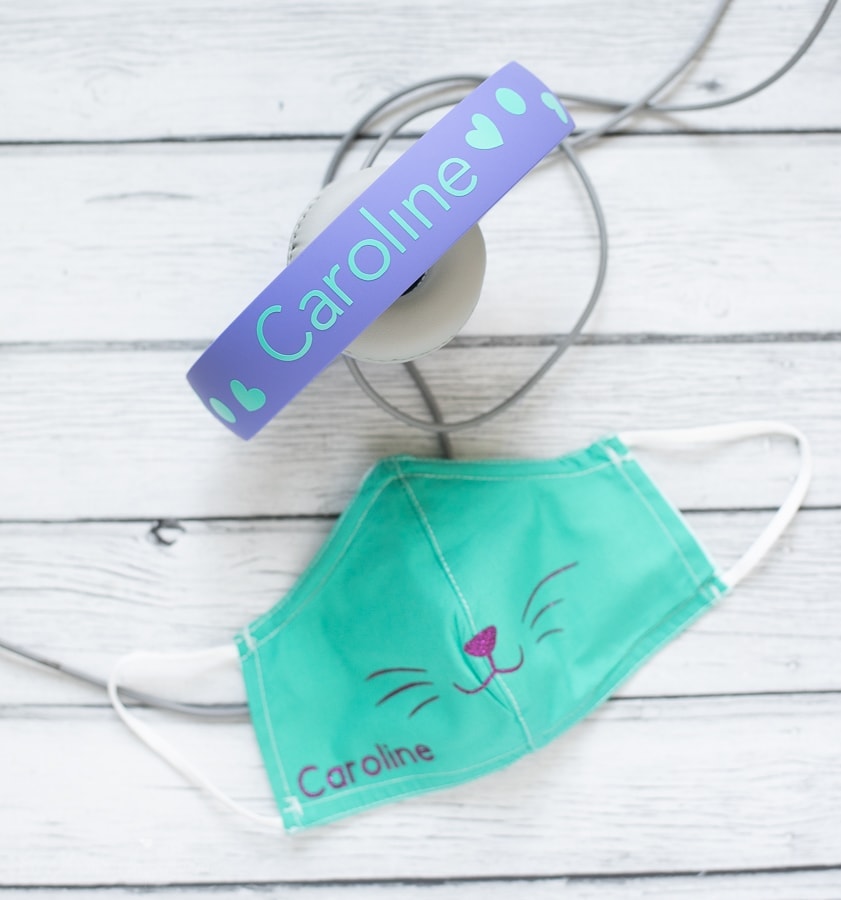
To make the headphones, I just used the shape cut outs that are already in the workspace on Cricut Design Space and then found a font that I liked for Caroline’s name.
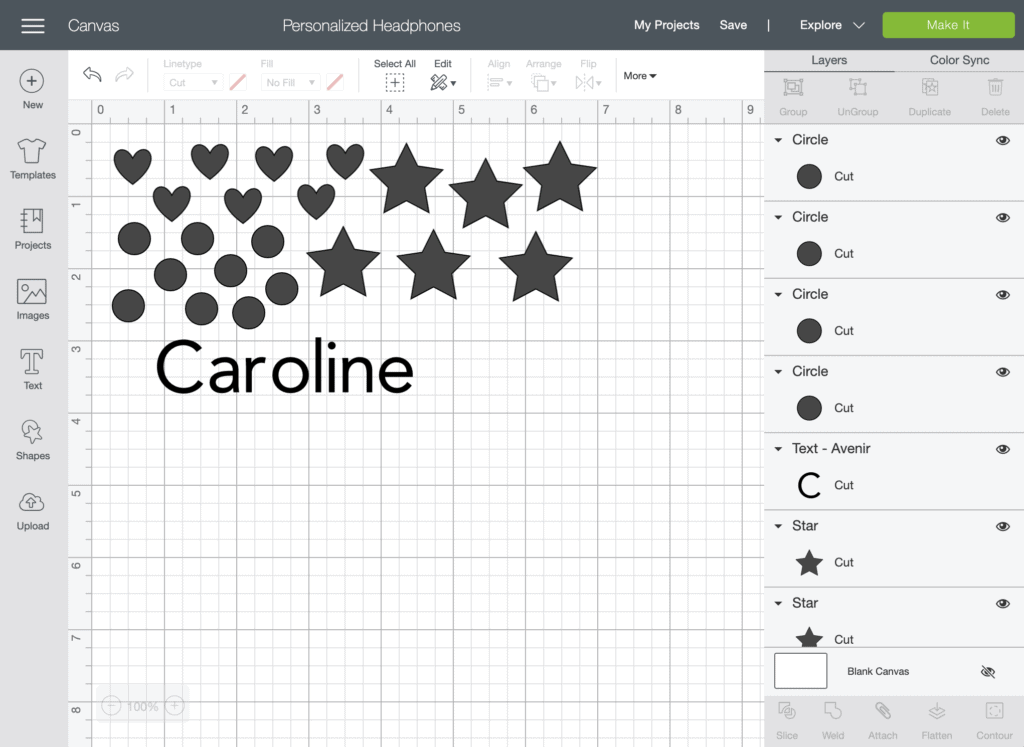
My daughter only wanted to use one color, but I think this would be a lot of fun to do with multiple colors too. I used Cricut Premium Vinyl, this is the perfect opportunity to use up any scraps you might been saving.
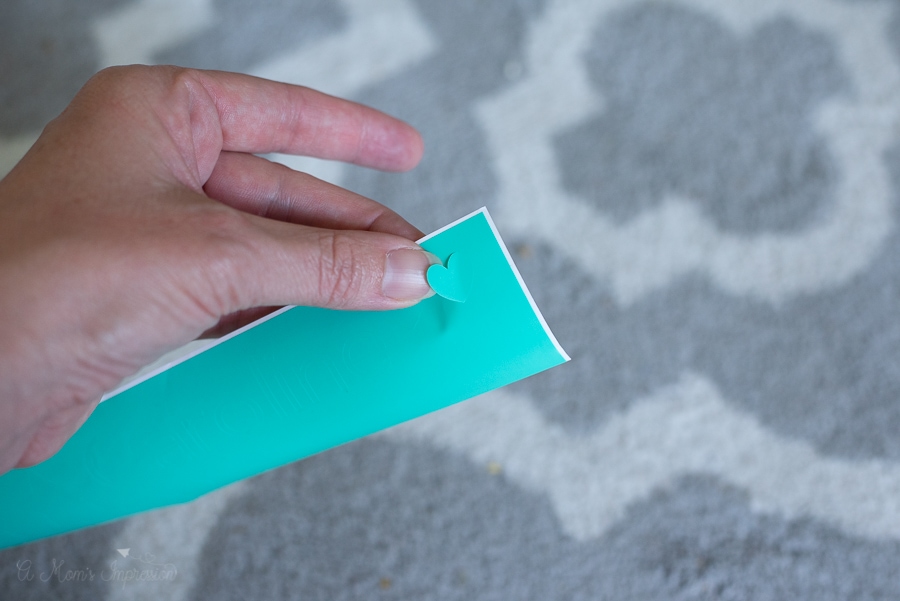
The only think you need to keep in mind is the size of your child’s headphone width when sizing your “stickers”. I call them stickers because that is essentially what you are creating, I just peeled them right from the page onto the headphones when they were done cutting.
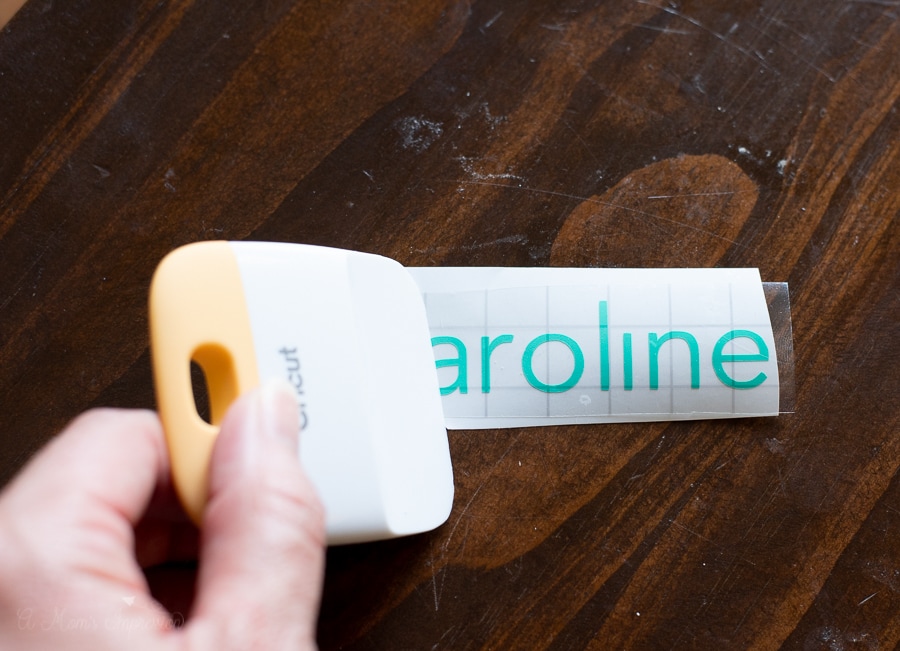
I did use a piece of Cricut Transfer Tape for Caroline’s Name to make sure it was spaced properly.
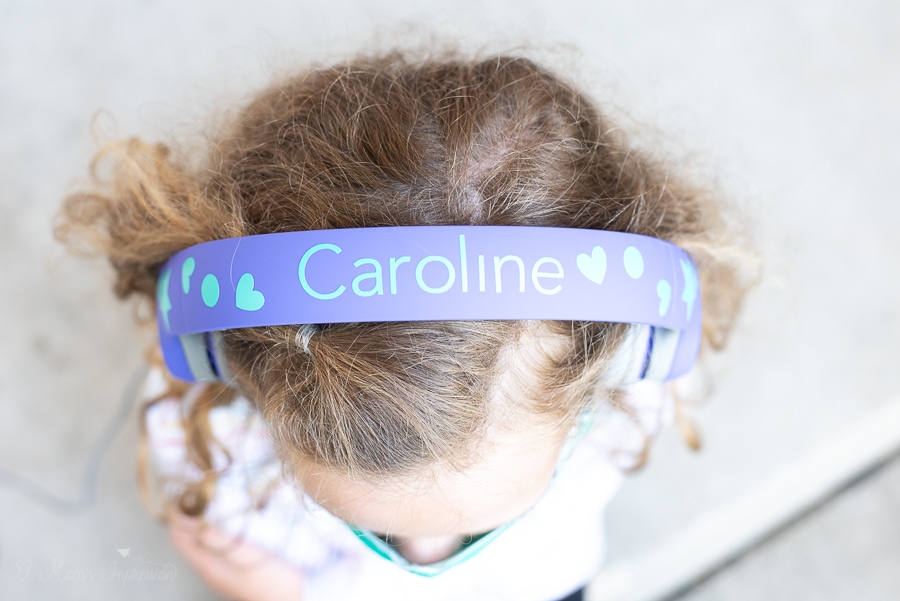
Caroline is going to be the star of the show when she breaks off into her small groups and pulls out her headphones. No matter how crazy this year might look, at least we can have a little fun with it!
For more fun Cricut crafts be sure to check out: Cricut Infusible Ink Coasters with Mountain Quotes our Mini Farmhouse Rolling Pins or our American Girl Joss Inspired Girl and Doll Matching Outfits (Video Tutorial).