This is a sponsored post written by me on behalf of Cricut. All opinions are 100% mine.
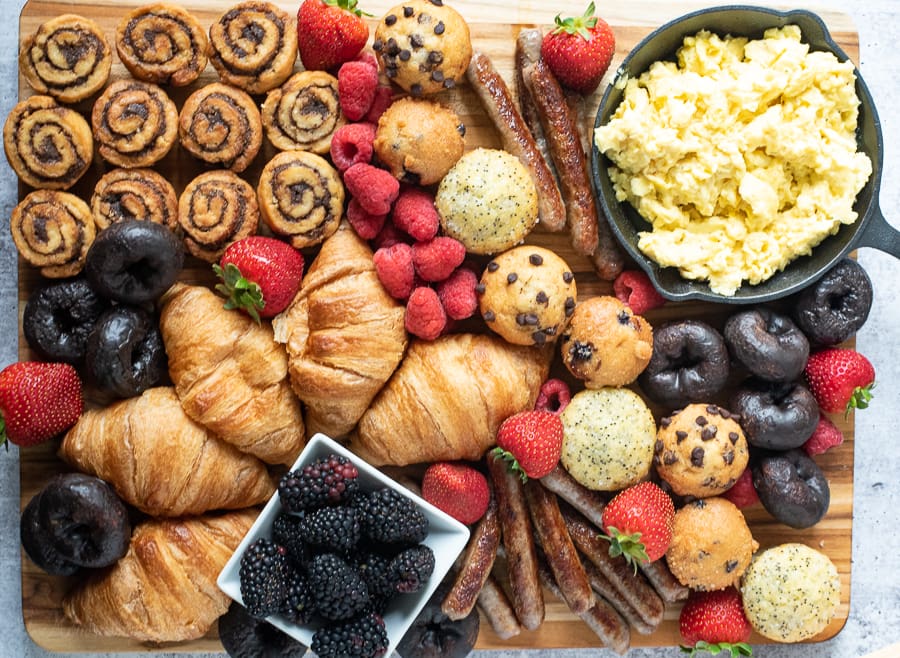
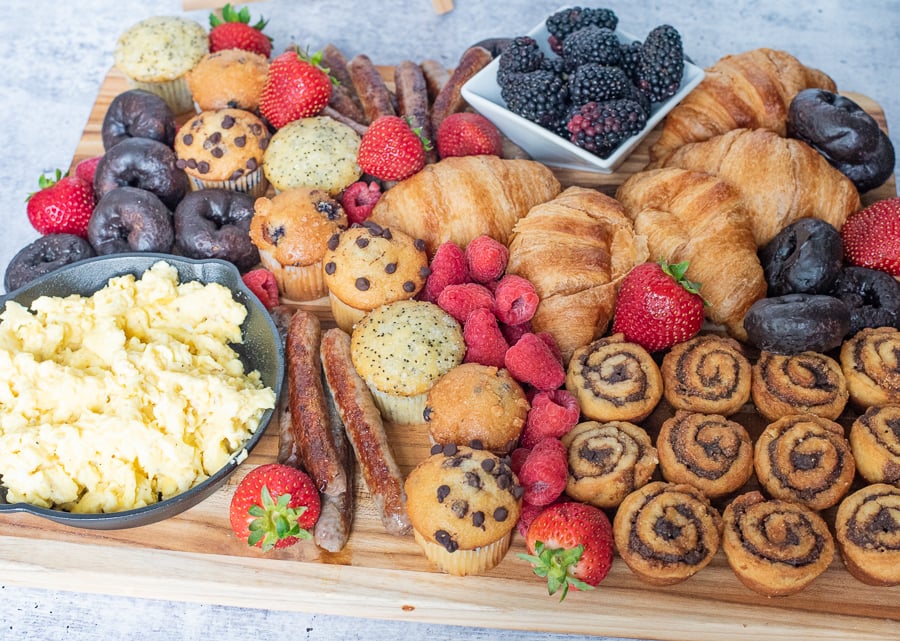
A breakfast charcuterie board is an amazing idea to make for a brunch or a special breakfast gathering. It looks amazing but only takes just a few simple steps to make. Add a custom created menu and you will amaze your friends at your next brunch party!
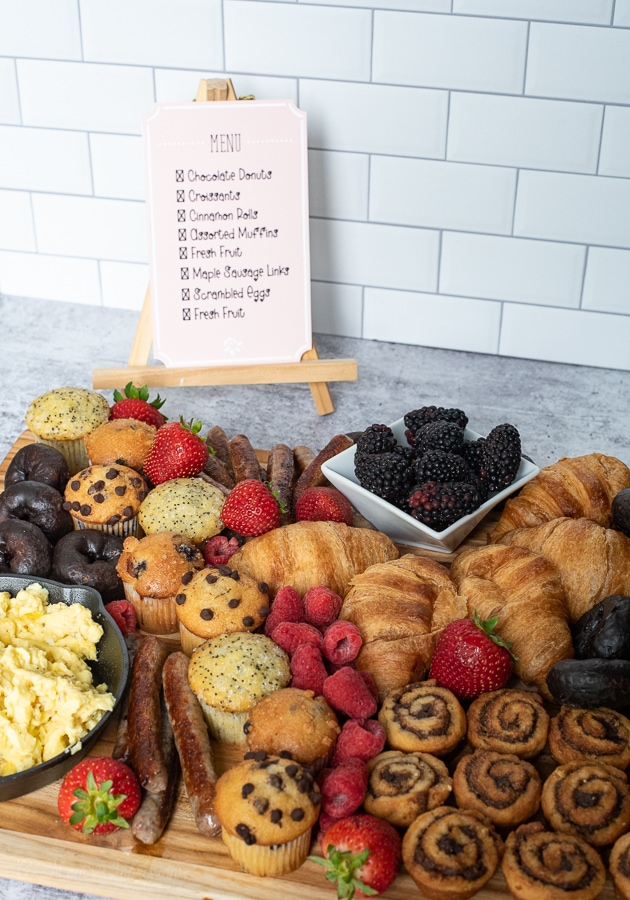
One of my favorite things to make for a party is a charcuterie board. I have been making them for a few years. I was searching Pinterest the other day and I fell upon the brilliance of a breakfast charcuterie board. All the wonderful parts of breakfast are included in a beautiful display of food. I knew I had to make one!
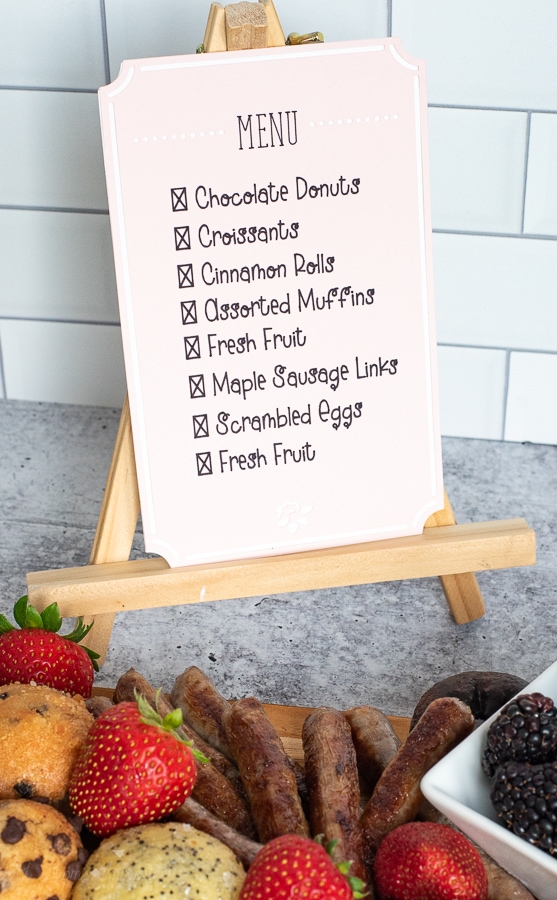
Of course I had to make a plan first and that involved breaking out my Cricut cutting machine to create a custom menu that I could display with all of my breakfast items. It is the little touches like this that will make a big impression with your guests. It is also a great way to ensure that your guests are not consuming anything that they might have sensitivities to.
Custom Menu Tutorial
Materials:
- Cricut Explore Air 2
- Weeding Tool
- StandardGrip Cutting Mat
- Cardstock Colors of Choice
- Black Cricut Pen or any other Cricut Pen
- Double Sided Tape
- Display Easel
Directions
I love quick and easy crafts that make a big impact and to me that is what this Cricut Menu craft is all about. The hardest part is typing in all of your menu items and then using the weeding tool to make sure all of those little dots get punched out.
The first step is to head to Design Space and find a menu design. You could use any of the designs that are already on Design Space, use mine if you like it (linked here) or create your own. I used the menu template and created my own.
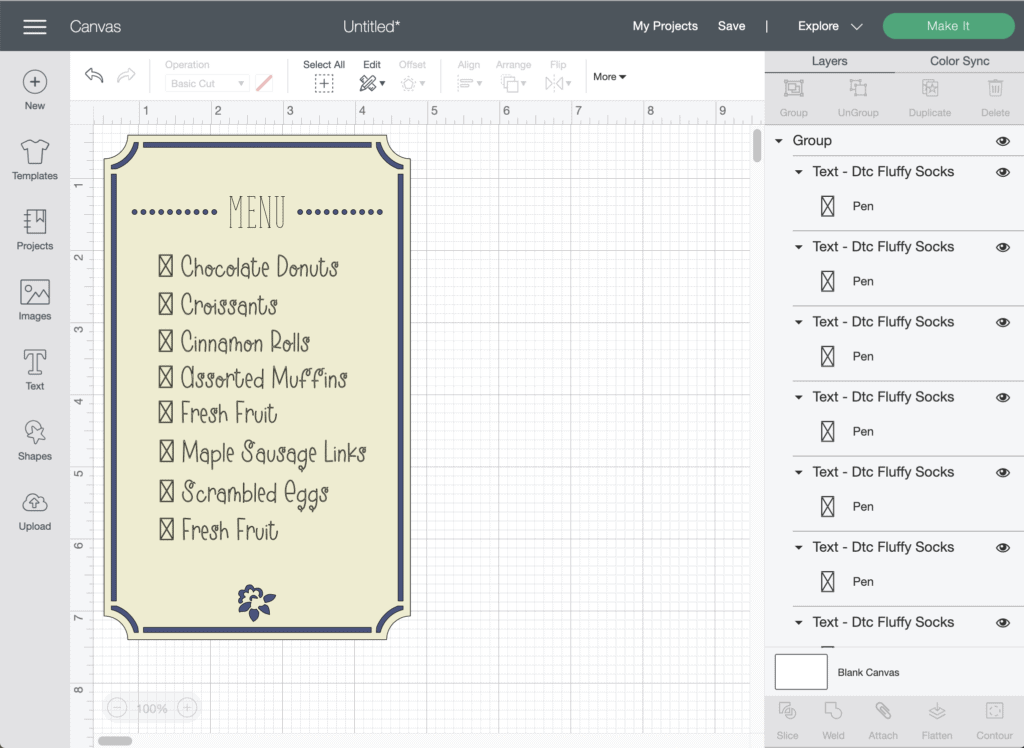
I like the idea of using the pen with this menu because it can give it a handwritten look that you can’t sometimes get with a print then cut craft. I also love the option to use specialty pens from Cricut like the Glitter Gel Pens to give it a little something extra.
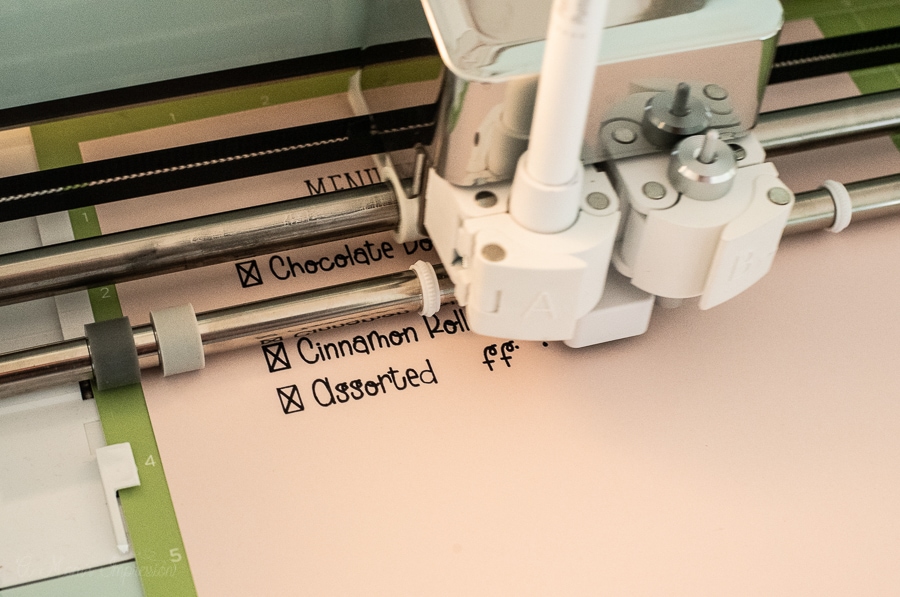
After you create your menu, you will load your first color of card stock onto the green StandardGrip Cutting Mat and follow the directions on the screen. You will need to load both the pen and the blade into the machine.You will then carefully peel the mat away from the card stock. Use the weeding tool to make sure all the cutouts are weeded away.
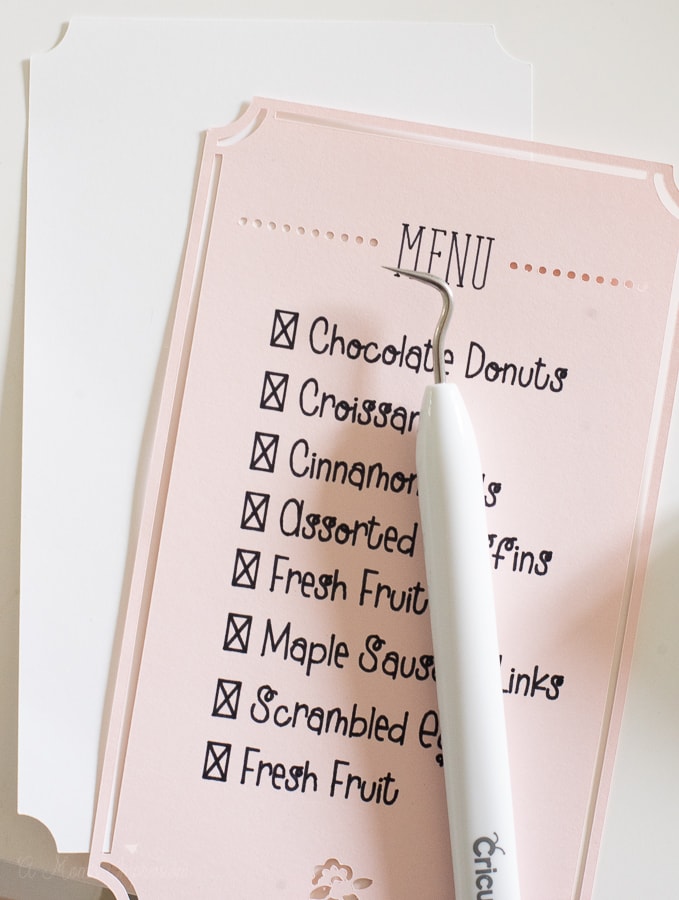
Next, you will load the second color (background) onto the mat. Peel off the mat when you are finished.
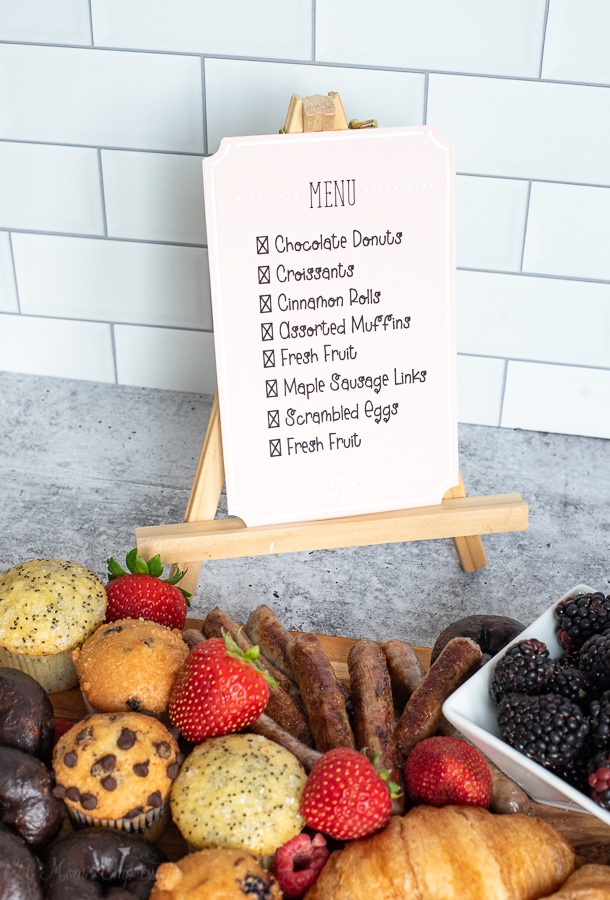
Finally use double sided tape to tape the front of the menu to the background. Display on an easel next to your charcuterie Board
Directions for Making the Breakfast Charcuterie Board
Step 1
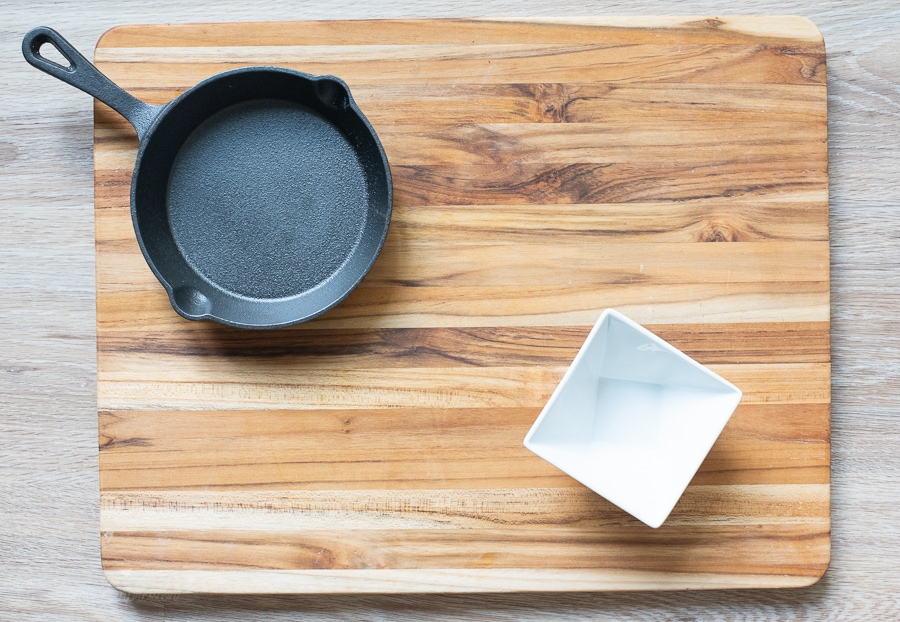
On a cutting board or a charcuterie board arrange your mini skillet and cups that you will be using. If you are doing pancakes or waffles you will want a vessel for your syrup. I had my mini-skillet as well as a cup for my fresh fruit. These items will give your display some dimension and height so that everything isn’t just flat across the board.
Step 2
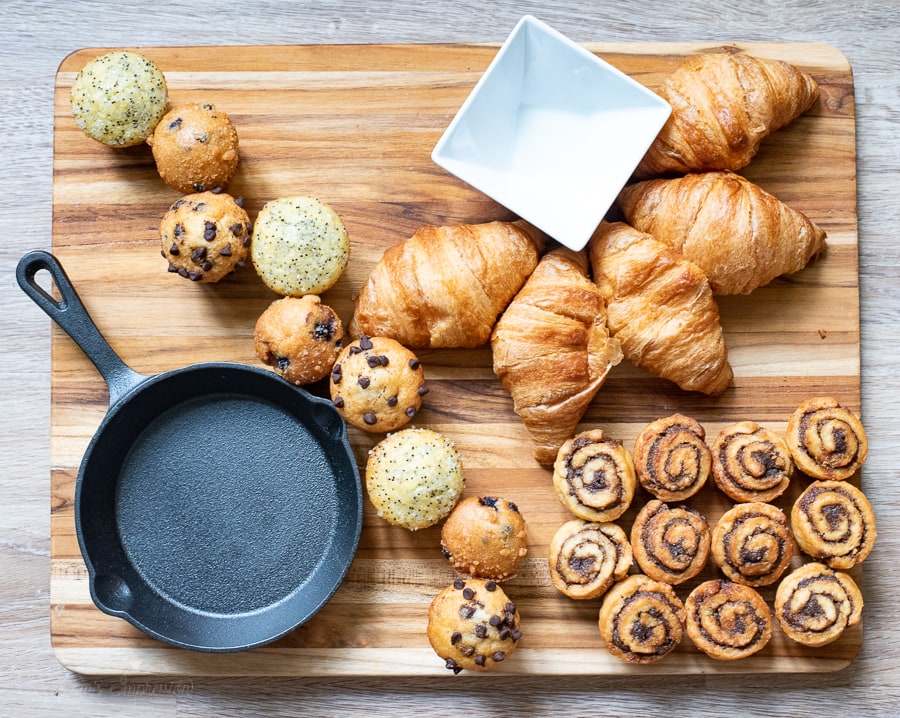
Next I started arranging some of the bigger items like the croissants and the muffins and the sausage links. I like to arrange them in a pattern or a wavy line across the board.If you wanted to cook bacon instead of sausage this would be the time to add it to the board.
Step 3
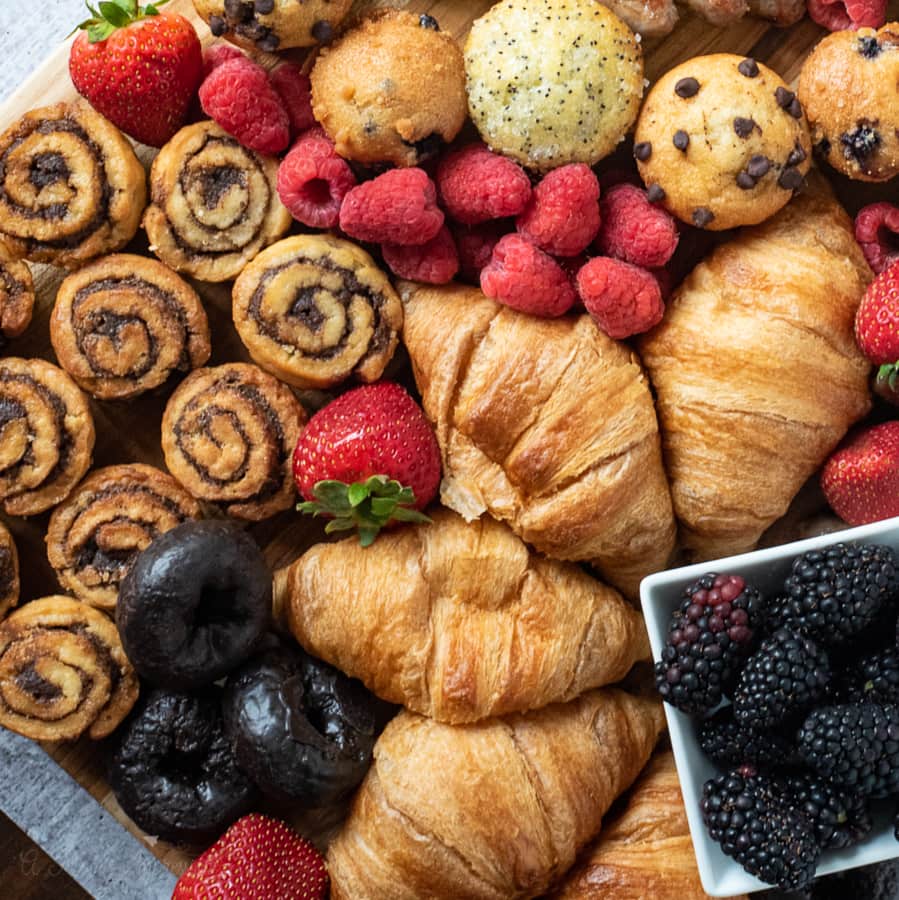
For the next step add the smaller donuts and some of the fruit. I used a variety of fresh fruit in different sizes, who doesn’t love fresh fruit for breakfast? I also added the cinnamon rolls down in the corner. I started arranging them but then left them all in the corner because I thought it looked good.

Step 4
Then I filled in all the small spaces with the fruit that I had left. Raspberries and strawberries are great fillers. You can put them just about anywhere so that you can no longer see the cutting board.
Step 5
Finally, I filled my skillet with scrambled eggs and the white cup with blackberries. The result is your very own breakfast charcuterie board.
Enjoy!