This is a sponsored post written by me on behalf of Cricut. All opinions are 100% mine.
Hoodies and bleaching are all the rage right now so I thought I would combine the two to make some trendy custom hoodies for my kids for the school year. These bleached designs might look difficult to make, but with a few steps they are actually very easy to do.
Creating Custom Hoodies
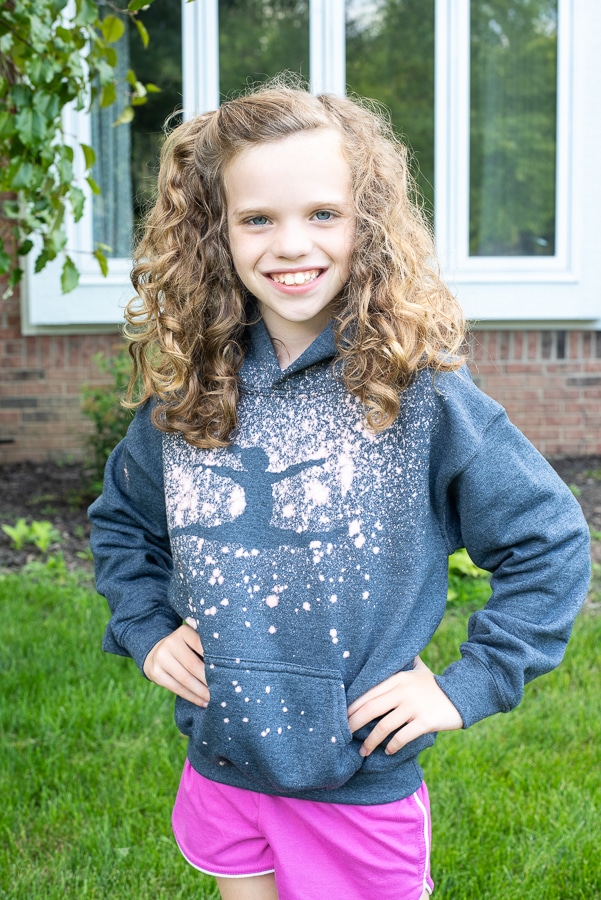
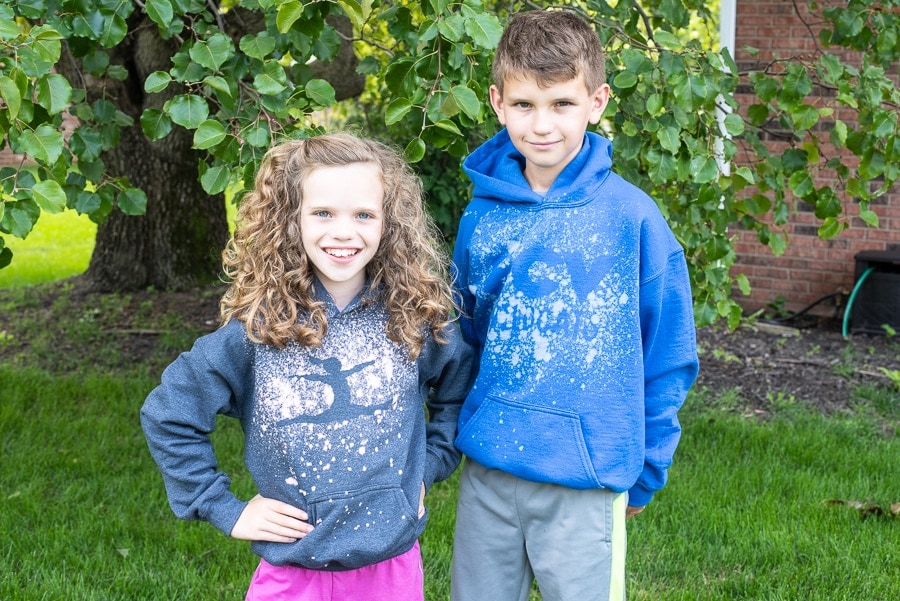
I can’t believe how fast this summer has flown by. Teachers start back this week and I have been frantically putting my classroom together to get ready. Not only does my classroom need to be ready, but my kids need to be ready for the new school year as well. My son is starting a new school and I thought it would be fun to make him his own spirit wear. My daughter wanted a custom hoodie that she could wear to her gymnastics class so I thought I would try this bleaching technique that I have seen on Pinterest.
I loved the results!
It is easy to make your family or friends a custom hoodie or t-shirt using this bleaching technique.
Bleach Hoodie Tutorial
Materials:
- Cricut Explore Air 2
- Weeding Tool
- StandardGrip Cutting Mat
- Premium Vinyl (any color)
- Brayer
- Cricut Transfer Tape
- XL Scraper tool
- Bleach
- Spray Bottle
- Paper Towels
- Funnel
- Cardboard
- Solid Colored Hoodies
- Tape measure
Directions
While this project might seem a little hard, it is actually simple and easy to do, just follow all of the steps and you will have a custom hoodie or t-shirt of your own. While I decided to do the actual bleaching outdoors to speed up the process (it was a very hot and sunny day) you could do this indoors and dry it faster with a hair dryer.
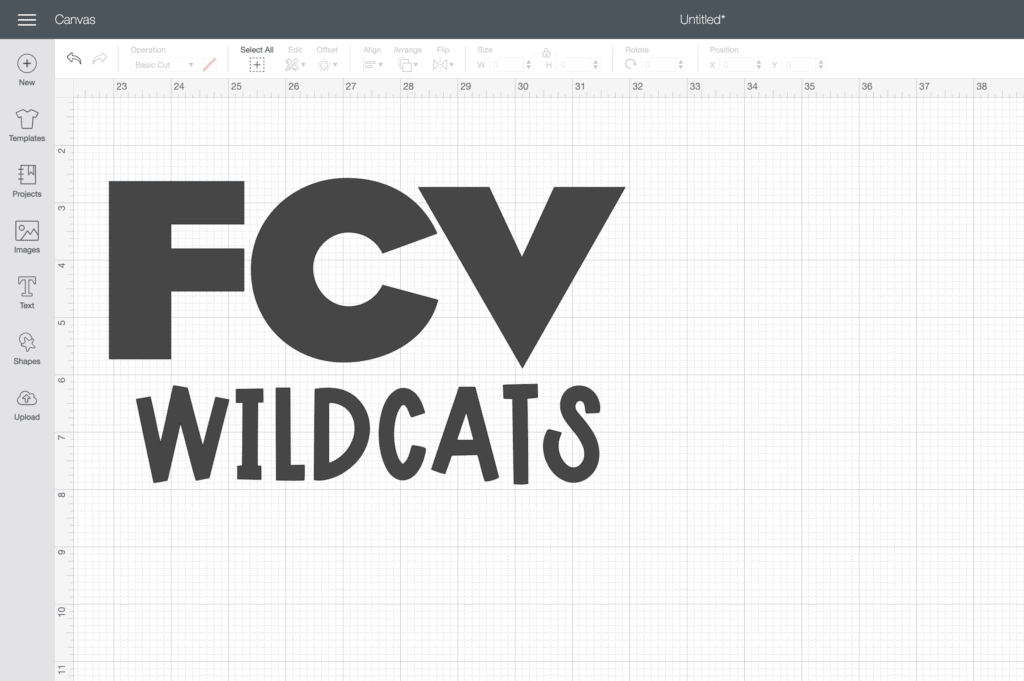
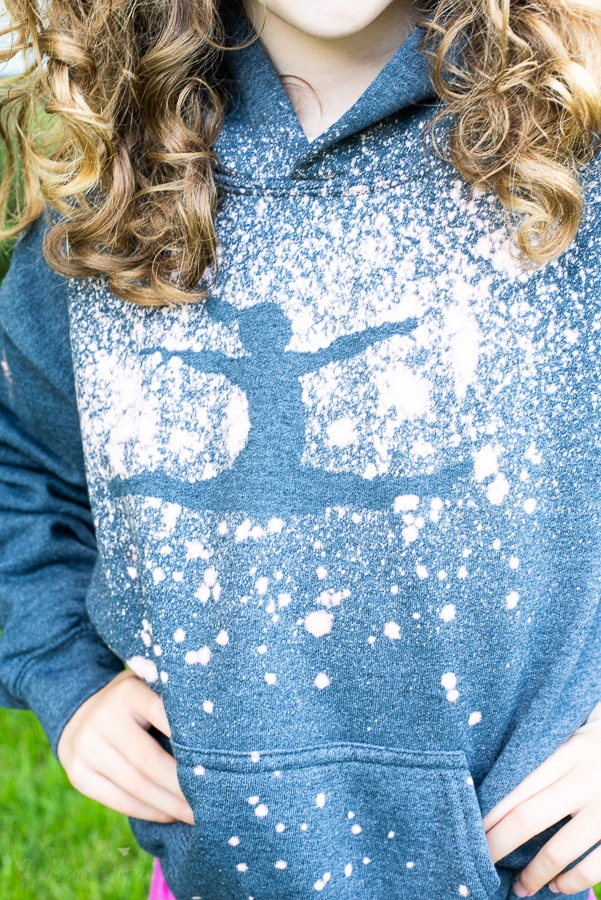
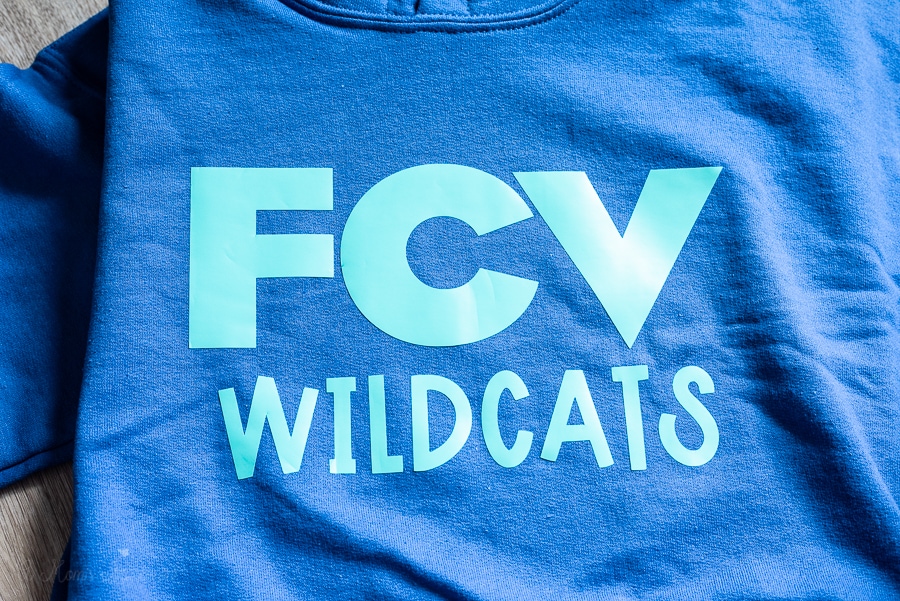
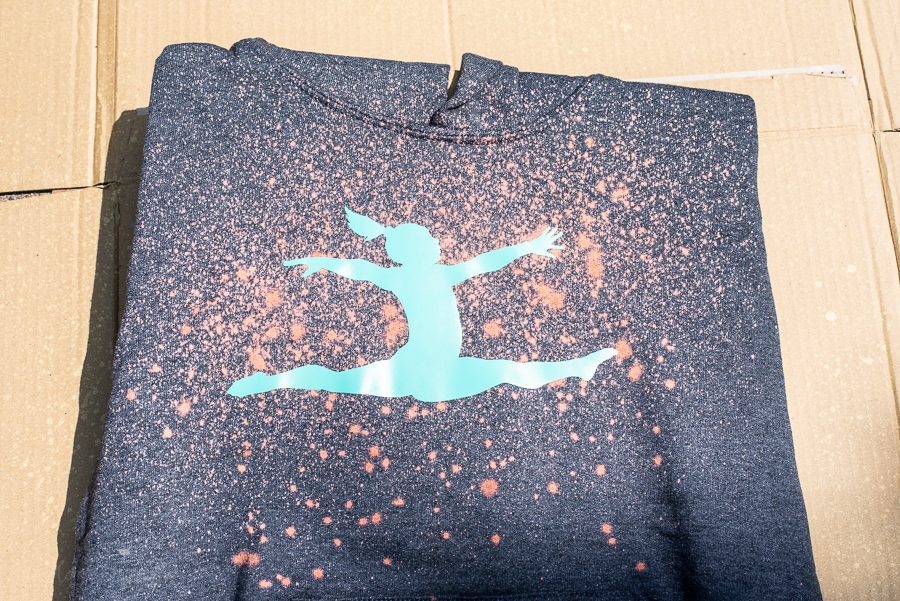
The first step is to head to Design Space to figure out what your design will be. You could use any of the designs that are already on Design Space like the gymnast decal (#MD26CC42) we used for my daughter’s hoodie, or you can create a custom decal like we did for my son.
My son is starting middle school in just a few weeks so I wanted to make him a custom hoodie with his school’s initials on it. To do this I used the Cricut font Eagle Bold for the Letters and DTC Peach Cakes for the “Wildcats” font.
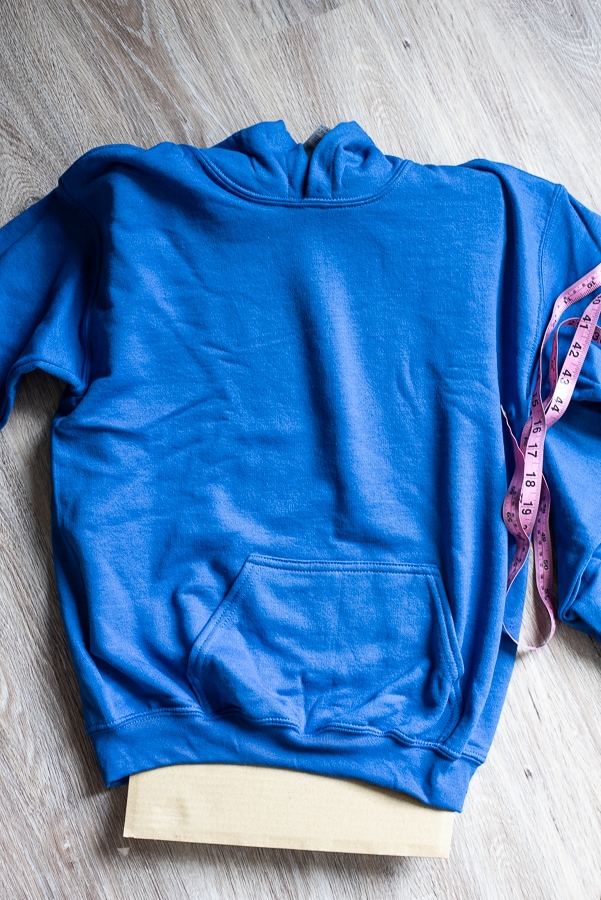
I measured the hoodie to figure out what size I wanted the decal to be. Everyone’s might be a little different depending on the size of the hoodie that you are working with. I made these 7 inches long. Be sure to “weld” your design together before you print so that it will come out together and not split up.
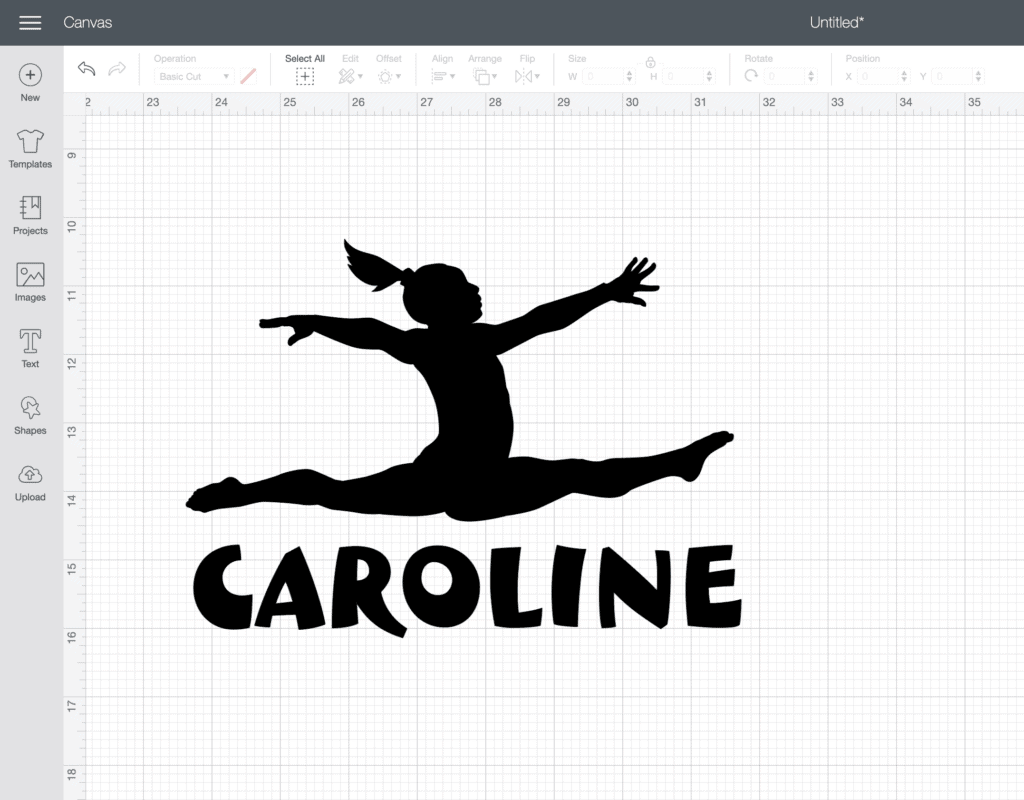
My daughter wanted her name and a gymnast decal on it. She ended up taking the name off at the last minute so that is why it isn’t on the final project.
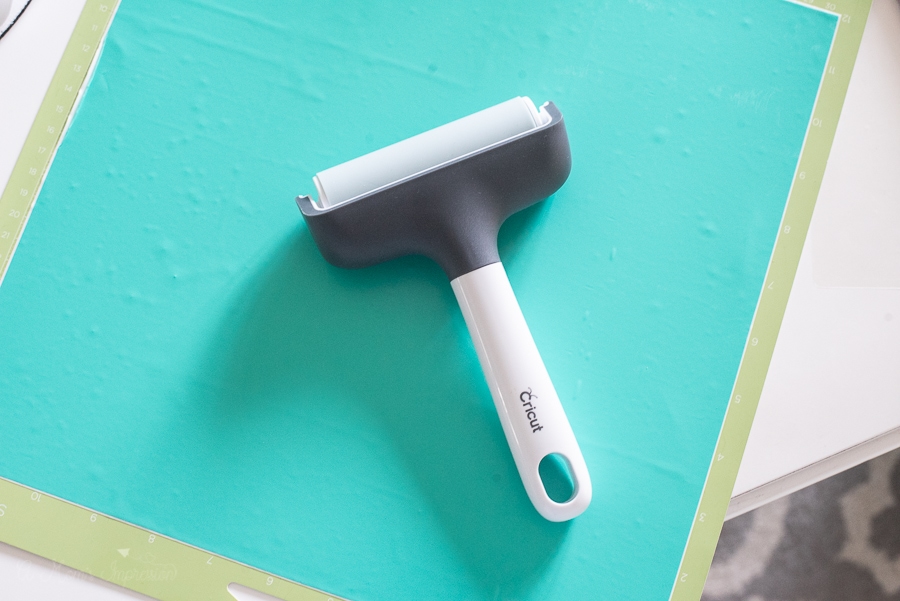
When you have your decals made, choose any color of Premium Vinyl that you have a lot of. It isn’t going to matter what color you choose because it isn’t going to stay on the shirt. Use the green StandardGrip Cutting Mat.
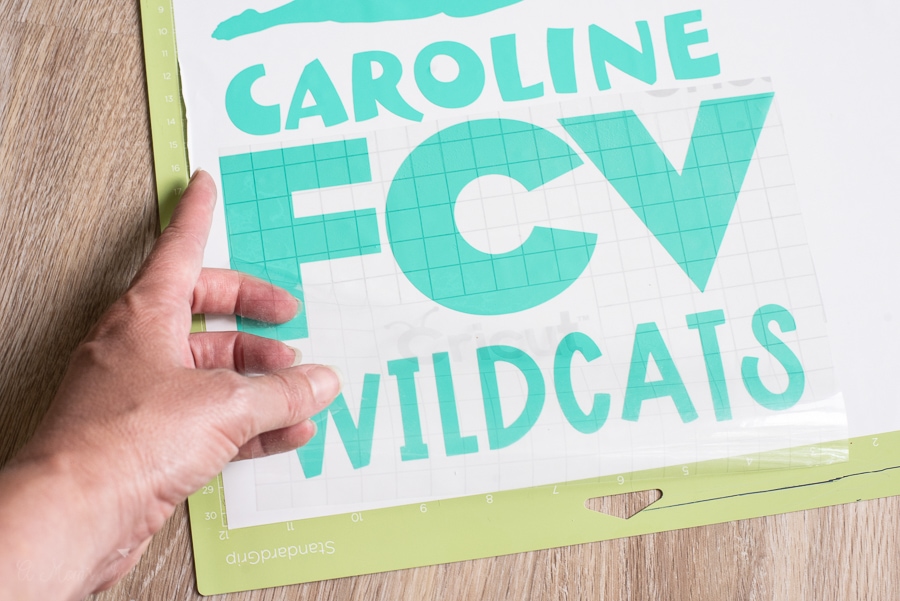
Using your Cricut cutting machine, cut out the design and weed out the excess vinyl using your Weeding Tool. When you are finished use some Cricut Transfer Tape to transfer your decal to your hoodie. For this part I started measuring to find the middle of the shirt, but in the end I just eyeballed it and they both turned out just fine.
You will need to ensure that the decal is stuck firmly onto the shirt. I found that the XL Scraper tool was a great help when ensuring all of the vinyl was stuck to the shirt. It there are any little gaps, the bleach can get under the vinyl and ruin the look of the decal. Another trick is to put your cardboard inside of the hoodie so that there is a firm surface that you can press on when applying the decal. This also ensures that the bleach will not bleed onto the back of the hoodie. If you are customizing a t-shirt this step is critical.
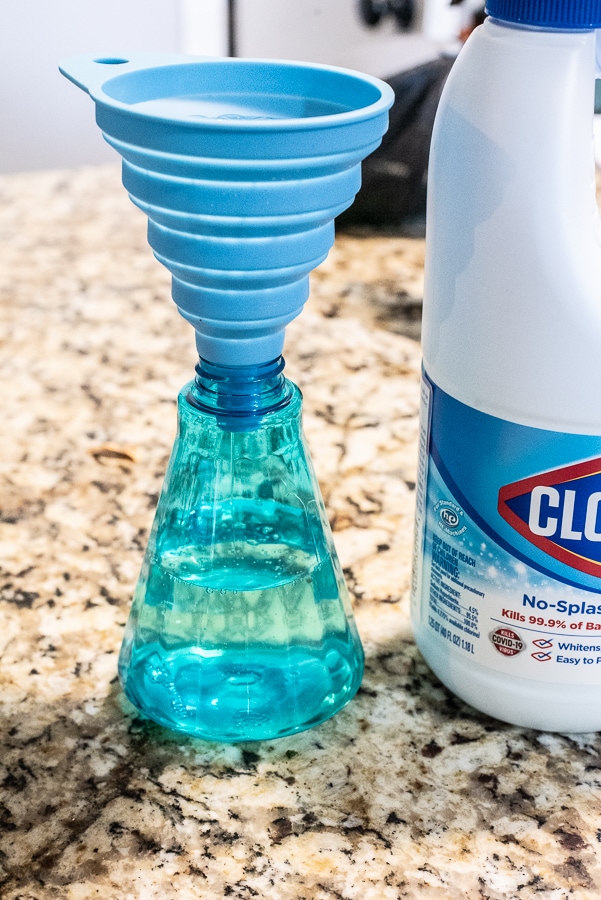
After your hoodies are prepped and ready to be bleached, fill up an empty spray bottle with bleach. I found that a funnel made this much easier and it didn’t spill at all. Bleach is a chemical so it is really important that you take safety precautions. Use gloves whenever you work with bleach. You should not dilute the bleach.
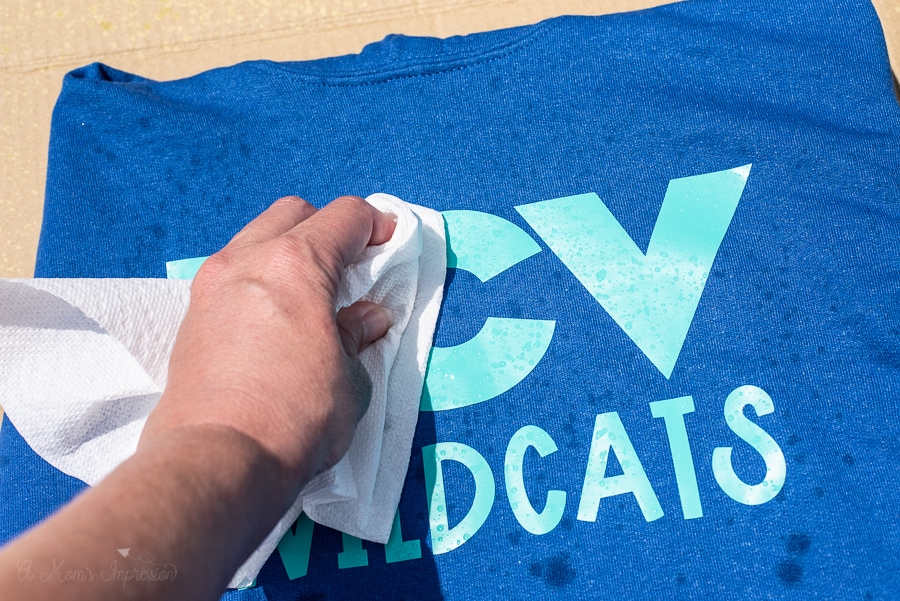
Next is the fun part! Place some cardboard down (I did this outside) and place your hoodie on top. Fold the arms and hood behind the main part of the hoodie to make sure that the bleach doesn’t get on these parts.

Take the spray bottle a few feet above the shirt and lightly spray 1-3 sprays. Quickly blot all of the bleach off of the vinyl decal. Repeat this process until you think you have sprayed it enough times. I did this about 3 different times for a total of 6 sprays. It is important to wipe off the vinyl so that it doesn’t get under the decal and ruin your shirt design.
Wait until the hoodie has dried and then remove the decal.
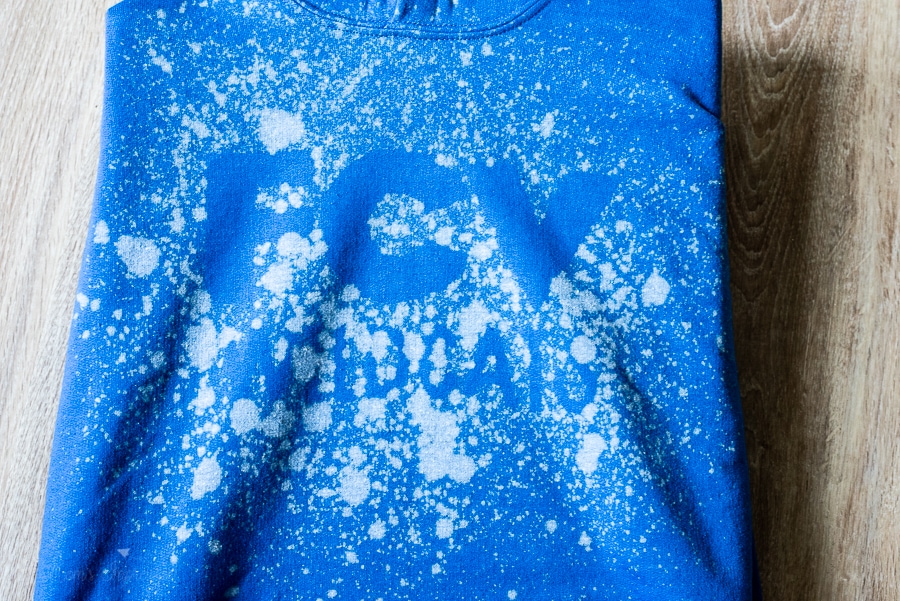
Place hoodies in the washer on cold for a quick cycle and dry as normal.
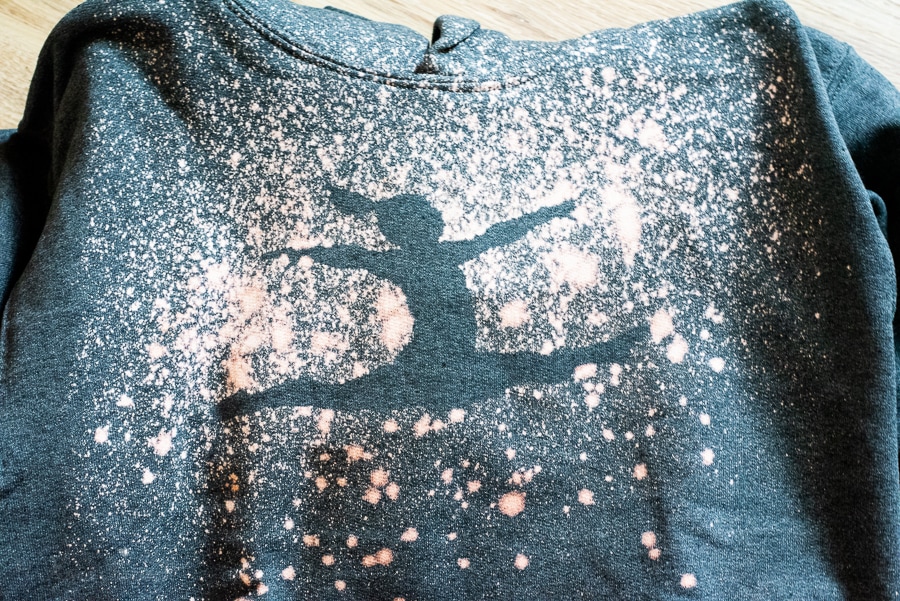
Enjoy your new custom hoodie!