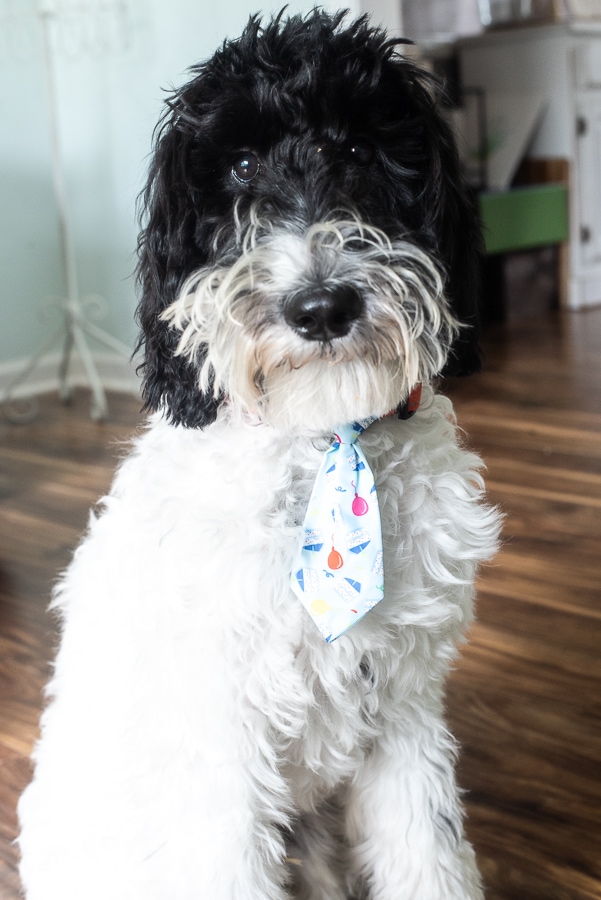
This is a sponsored post written by me on behalf of Cricut. All opinions are 100% mine.
Throwing your pet an amazing Dog Birthday Party is so simple thanks to a couple of easy pet birthday crafts. We made this puppy party hat and this amazing Dog Birthday Banner using our Cricut Cutting Machine. Making a Pinterest worthy pet birthday party has never been easier!
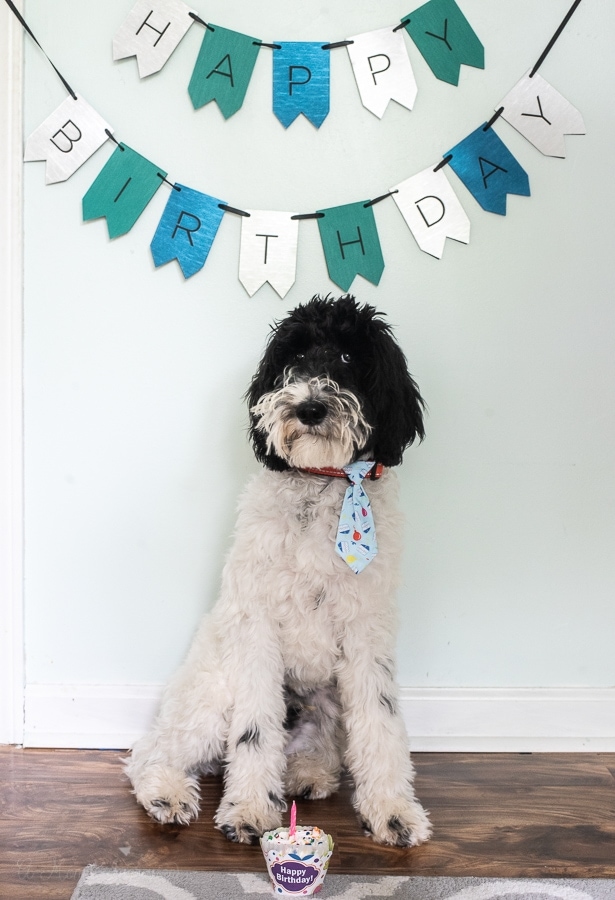
It has been awhile since we have had a fur baby in the house. We said goodbye to our amazing dog Eli about six years ago and there has been a huge hole in hearts ever since. We weren’t ready for a dog right after he left us and it took some time for us to feel ready to open our hearts up again.
Well after years of begging, the parents finally gave in and we welcomed our “pandemic puppy” Quincy into our family.
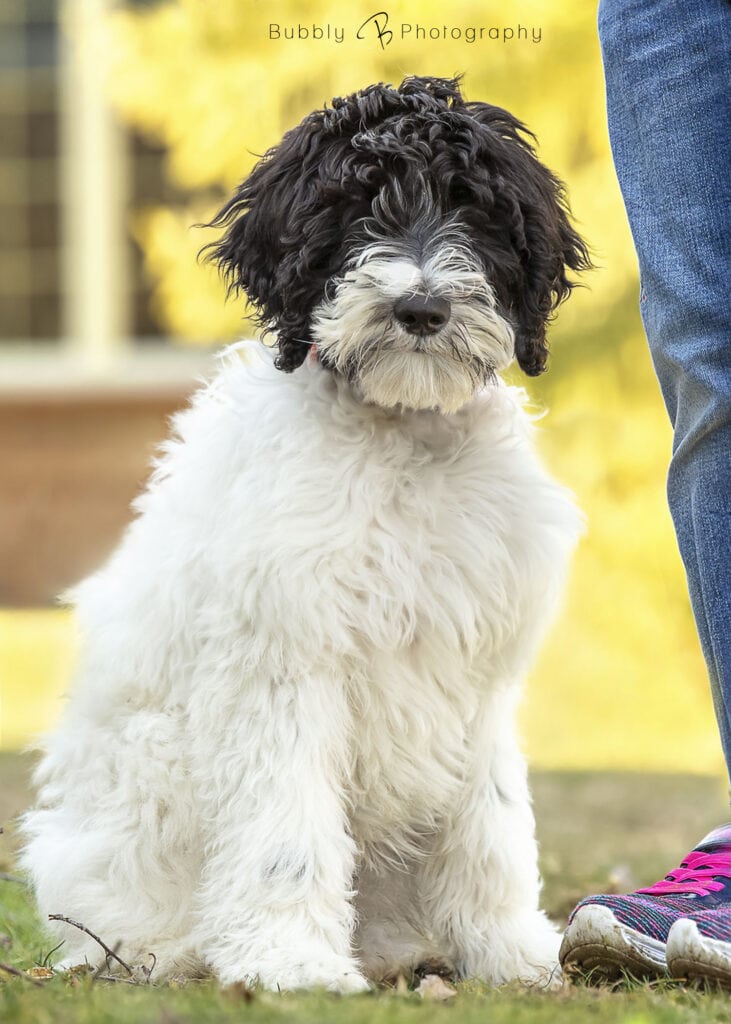
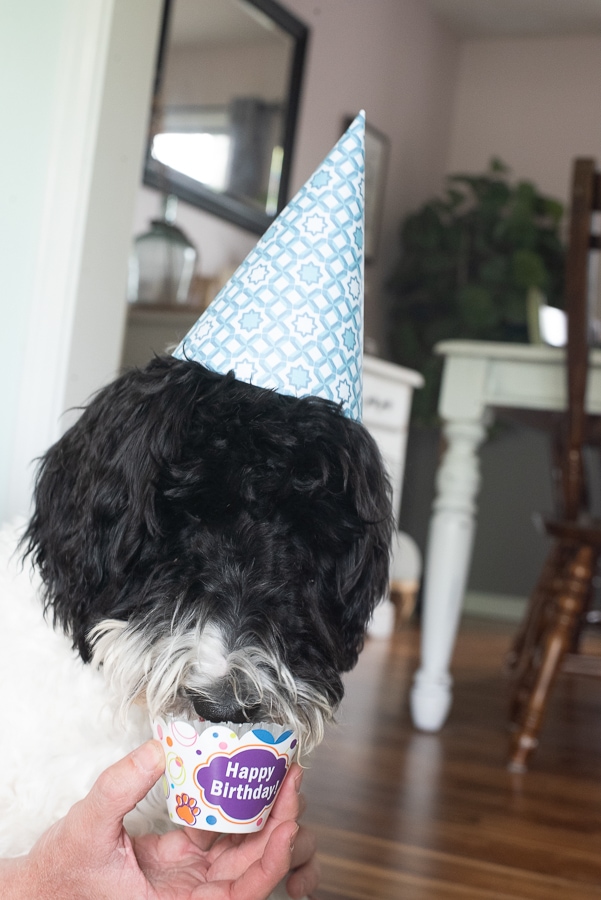
Quincy just celebrated his 6 month birthday and of course we had to celebrate in style!
A party isn’t a party around here without breaking out our Cricut cutting machine! I love using my Cricut for projects like this pet birthday banner because I can create custom designs and make things very personal.
For our puppy birthday party we created a simple Dog Party Hat and a custom Pet Happy Birthday Banner for our Pinterest worthy backdrop!
DIY Dog Party Hat
I can’t tell you enough how super easy it is to make this party hat. While you can search Design space for a custom dog party hat, there are many amazing ones, I preferred a plain one for my puppy. I knew that he would try to eat any of the fun tassels or pom poms that I would put on it. To jazz it up a bit, I used some of my favorite patterned card stock from Cricut! These Rob & Bob Geometric prints are some of my favorite pieces of cardstock and the blue pattern was perfect for our blue themed doggy birthday party!
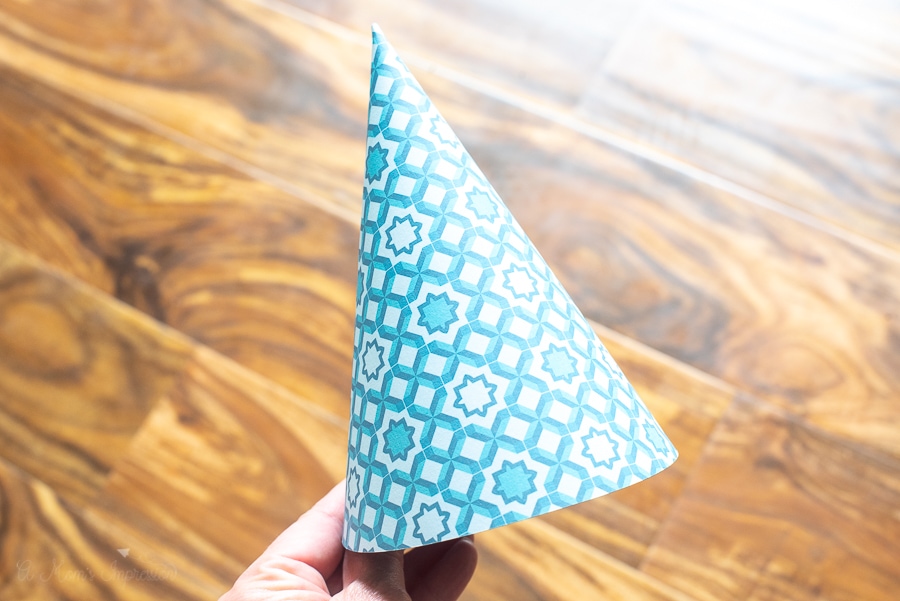
To make this party hat I used this simple dog party hat design. It takes about 5 minutes from start to finish to make each one so you could create one for every guest, furry or not so furry!
You don’t need any other materials so this is a craft that your kiddos can help out with while you make the Happy Birthday Banner. I love getting everyone in the family involved.
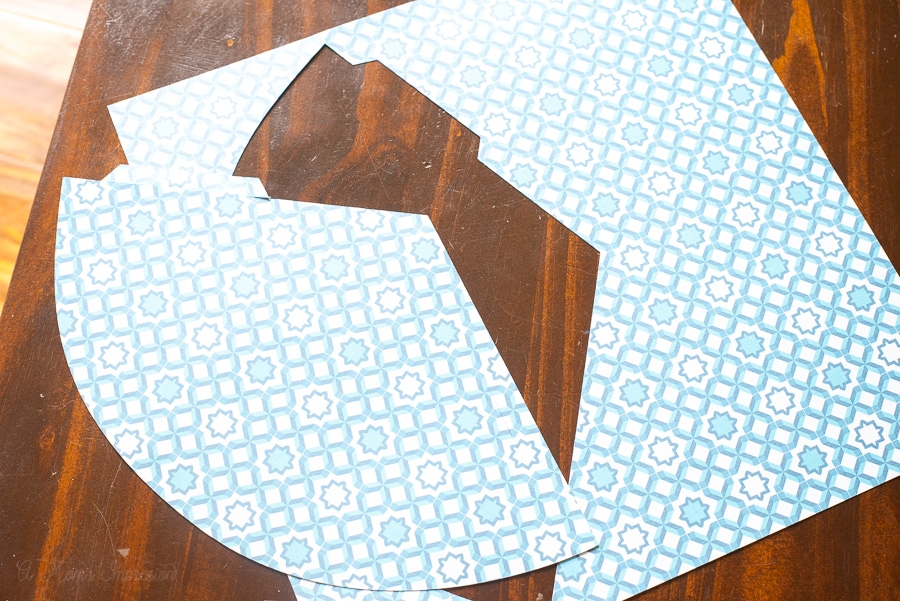
Please note that this project suggests that you use the 12 x 24 inch StandardGrip Cutting Mat. I used this mat myself and it makes working with the hat design a lot easier, but it is not absolutely necessary. You can use a regular sized cutting mat.
Dog Birthday Party Banner
Materials:
- Cricut Explore Air 2
- Weeding Tool
- True Brushed Paper in Cool Water
- Black Cardstock
- StandardGrip Cutting Mat
- Double Sided Tape
- Black Ribbon
Directions
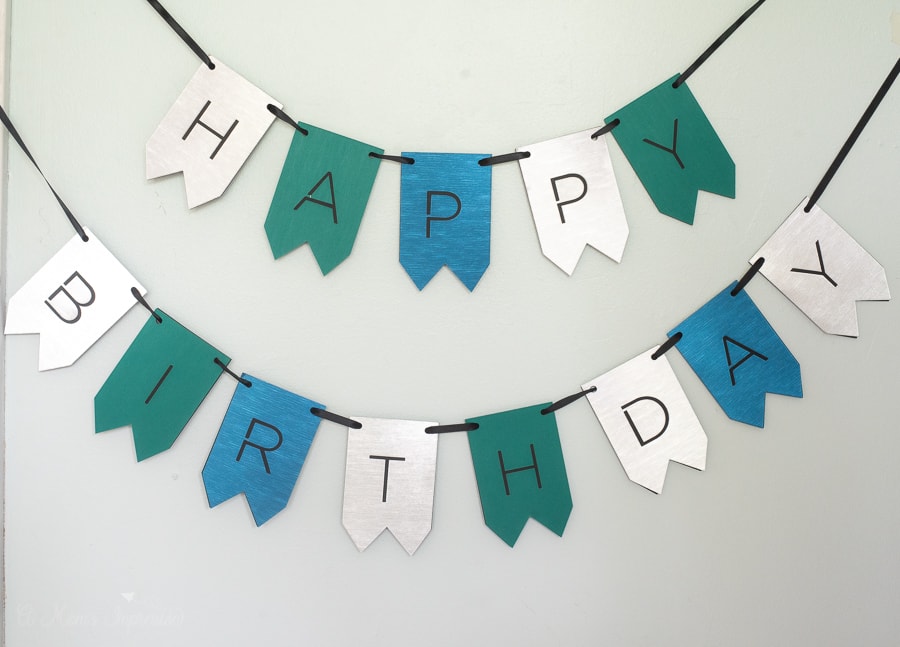
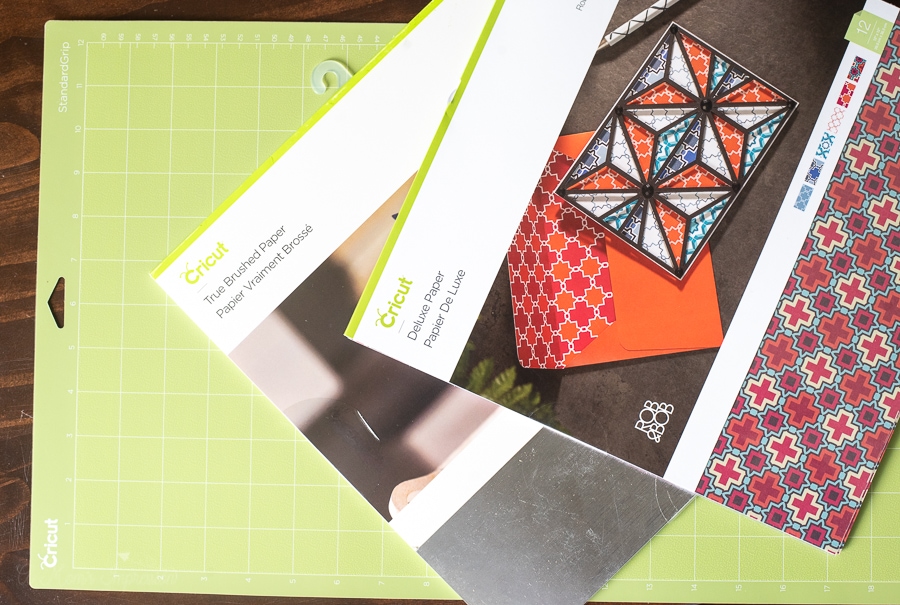
I found this fun Happy Birthday Banner on Design Space. I modified it a little bit by taking off the very top layer of each flag. I just thought it looked nice this simple way. It also allows for the beauty of the True Brushed Paper to show through. I used three of the colors from the package, I love how they all coordinate so I could have used any of them and it would have looked nice.
After you finish customizing the banner (if you chose to), click on Make It and then be sure to change the paper size if you need to! Don’t forget this step or your banner won’t print out the correct way. I had some 9×12 pieces of cardstock to use up so I changed the size to fit.
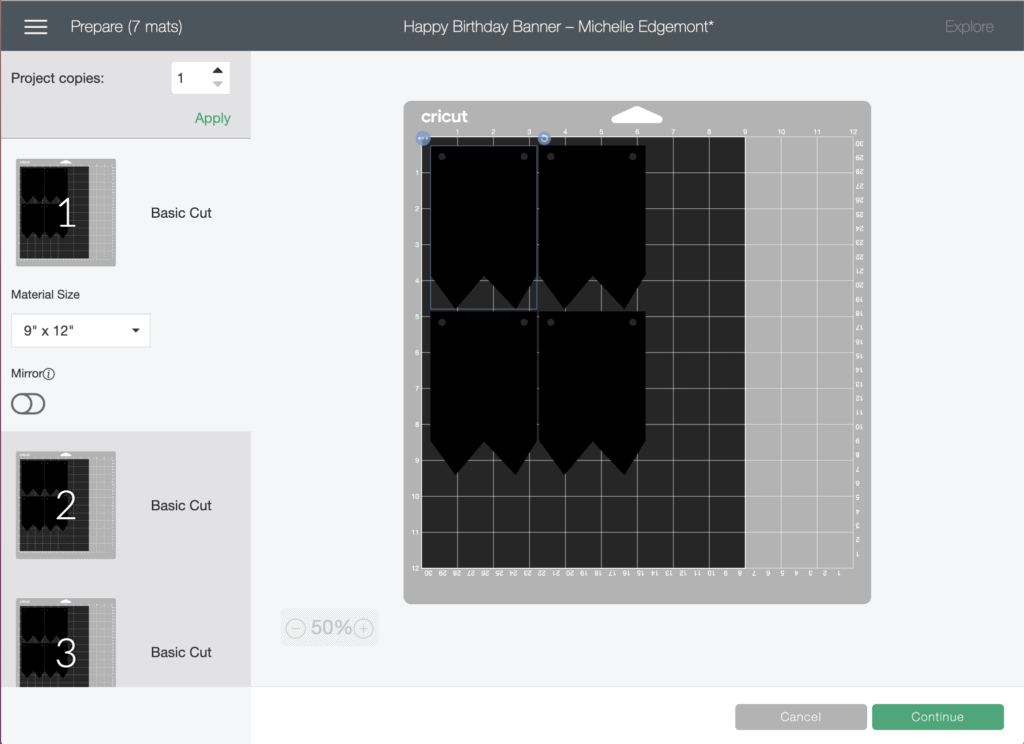
The first step is to load your black cardstock onto the green Standard Grip Cutting Mat.
Be sure to select cardstock as your cutting material. You do this by turning your dial to custom on the Cricut Explore Air 2 and then selecting the material on Design Space.
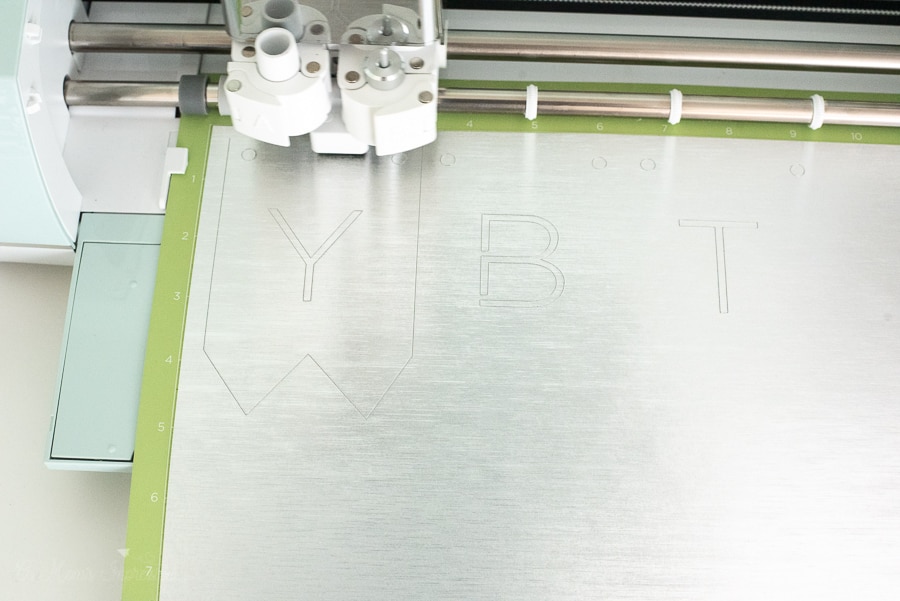
Load your mat and hit the Cricut button. The machine goes to work and creates your first flags in black.
When you are done, carefully bend back the mat to release your flags from the cutting surface. You might need to use a weeding tool to remove the little dots at the top where you will thread your ribbon.
Next you will follow the directions on Design Space to cut out the tops of the banners in your Brushed Paper. A good tip for cutting with Brushed Paper is that it is very thick. I set my dial to the Poster Board setting to cut these out.
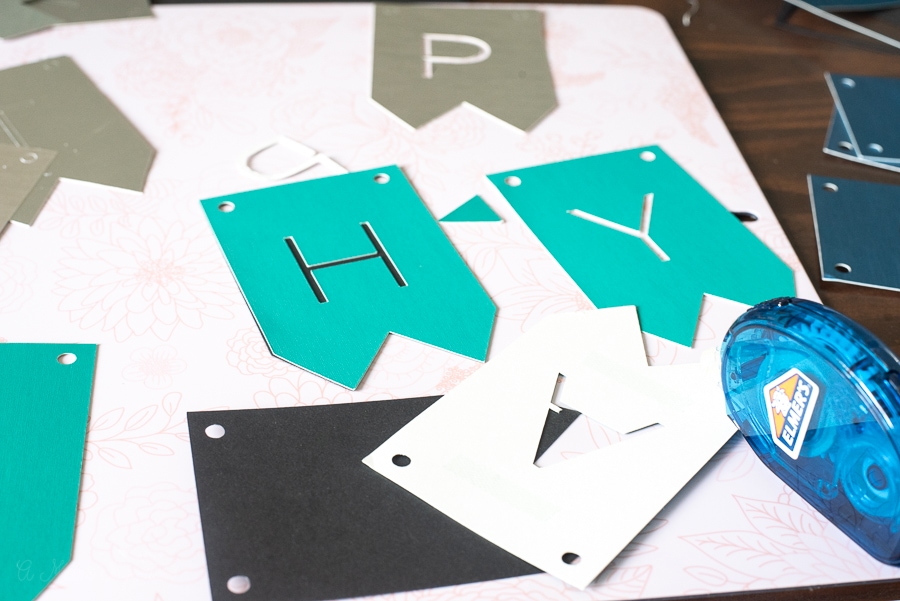
When they are finished cutting it is time to assemble. Using double sided tape attach the colored flags to the black flags so you can see the black letters spelling out Happy Birthday.
The final step is to thread the ribbon through the holes at the top and arrange your letters the way that you like. I knew my photo area would be small for my puppy so I opted to use two ribbons.
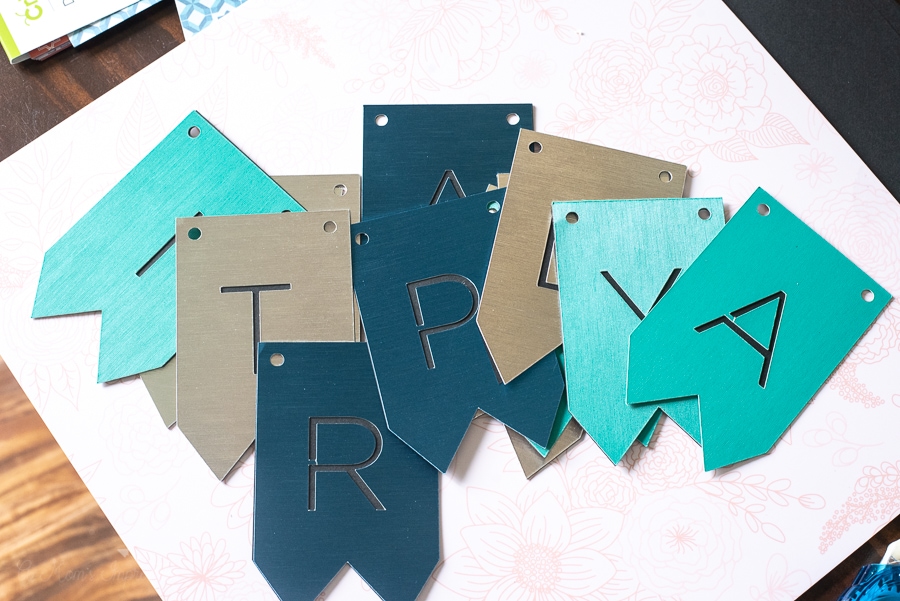
The result is the perfect touch to your dog’s birthday party photo op!
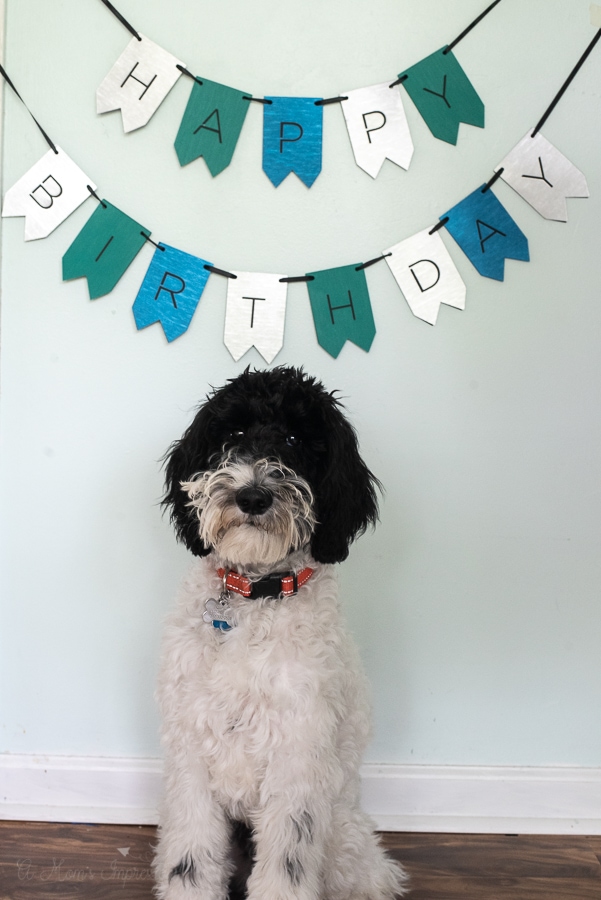
These two simple crafts will make your dog’s birthday party so much fun. Just add a dog safe cupcake and a party bowtie and your puppy with be celebrating his or her big day in style!
