This is a sponsored post written by me on behalf of Dollar General for IZEA. All opinions are 100% mine.
I love wrapping up gifts. I have been known to go a little over the top with some of my gift wrapping and that is something that I embrace and am proud of. It brings me a lot of joy to make someone feel special before they even open up a gift. That is why when I go shopping for presents, I scope out all the gift wrapping aisles as well as toy and game aisles to find things to make my packages special. I also use a technique that I learned in my early twenties, DIY Wrapping Paper Bows, to make my packages stand out. Last week I was shopping at my local Dollar General and was very impressed with the variety of holiday wrapping that they carry. They have a bunch of fun bows, ribbon, wrapping paper and a large assortment of holiday candy that I can use to make my packages special.
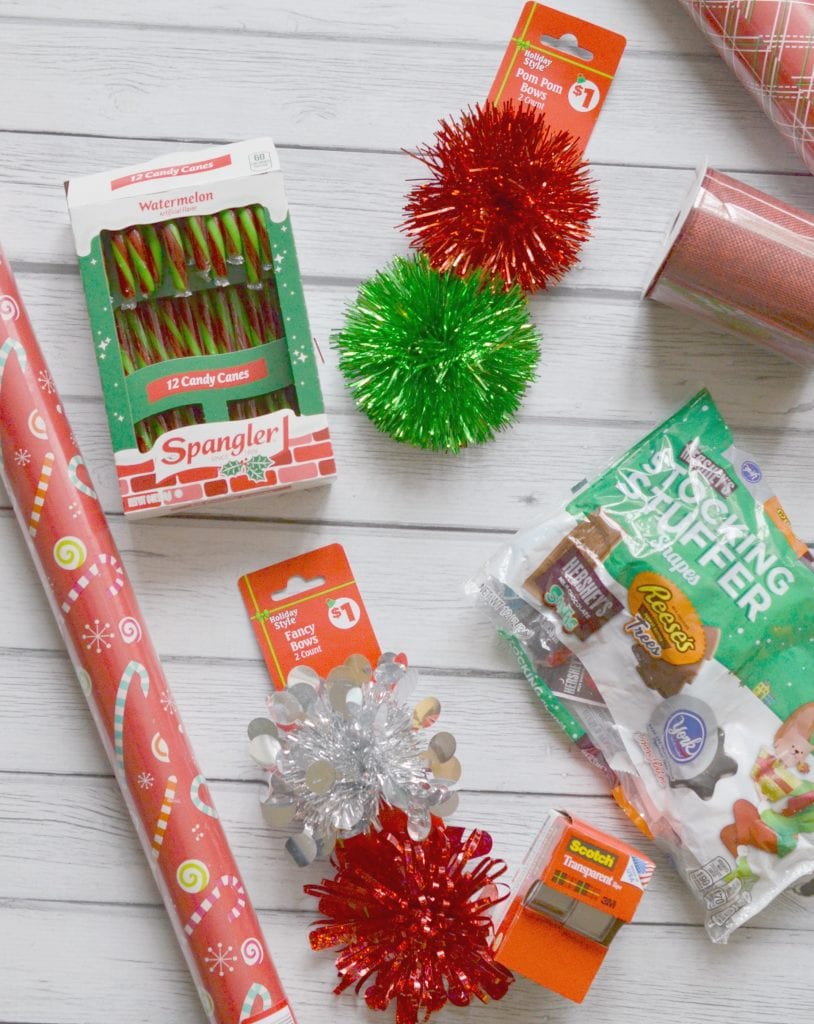
Tying a candy cane or taping some fun chocolate to your gifts is one way to make your packages extra special. Another way is to use your wrapping paper to make a custom matching bow. Have you ever been in the situation where you are wrapping a present and realize that you forgot to pick up a bow from the store, or you’re too cheap to buy one? I did that often in my early twenties. One day my roommate showed me a little trick on how I could make my own out of the same wrapping paper that I was using to wrap my gifts with. I’ve been using this technique ever since.
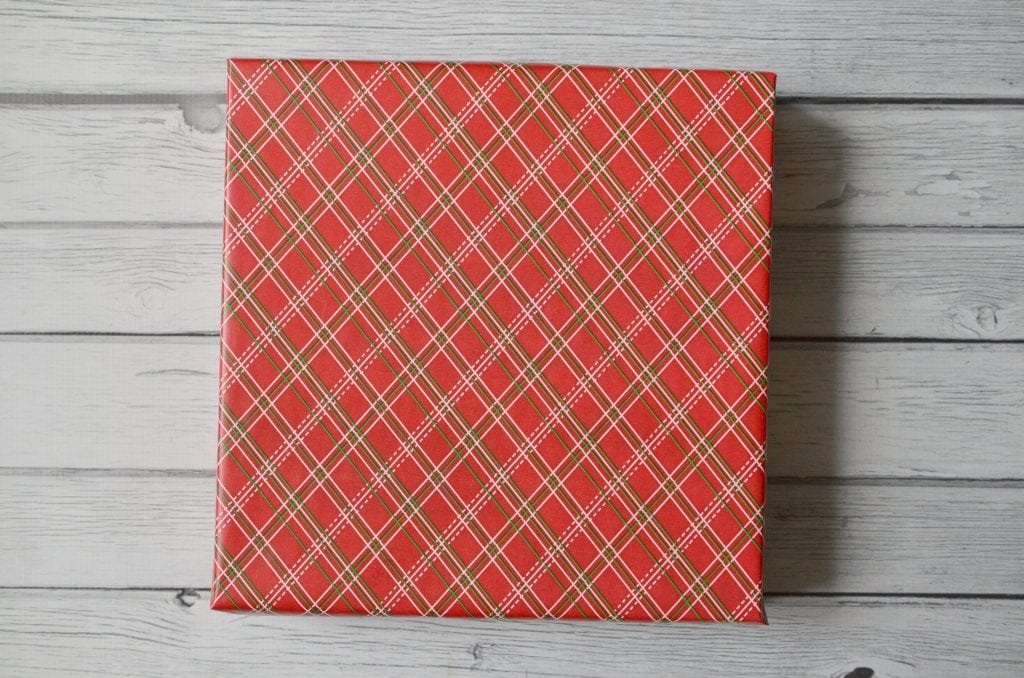
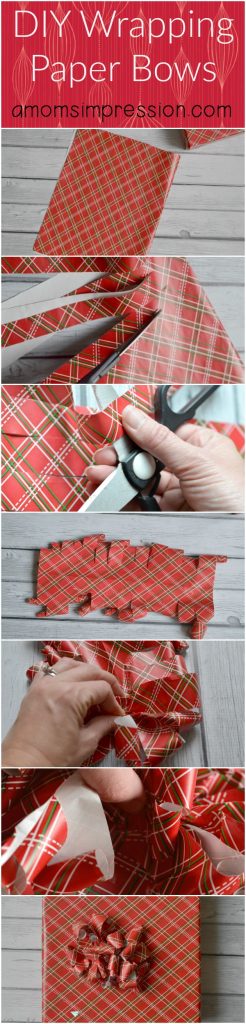
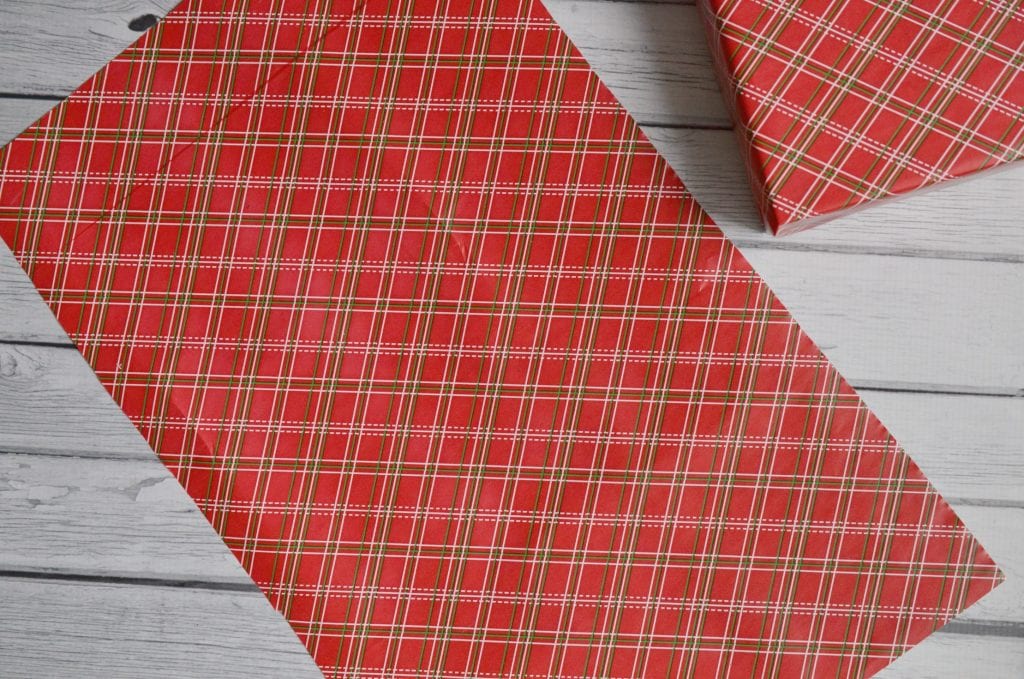
First wrap your present like you normally would. I love this plaid paper that I found at Dollar General. Plaid is very popular these days and it is gender neutral so its perfect for everyone on your gift giving list. I found a fun family game at Dollar General that I wrapped up for the family to open on Christmas Eve. Its one of our traditions that we do each year.
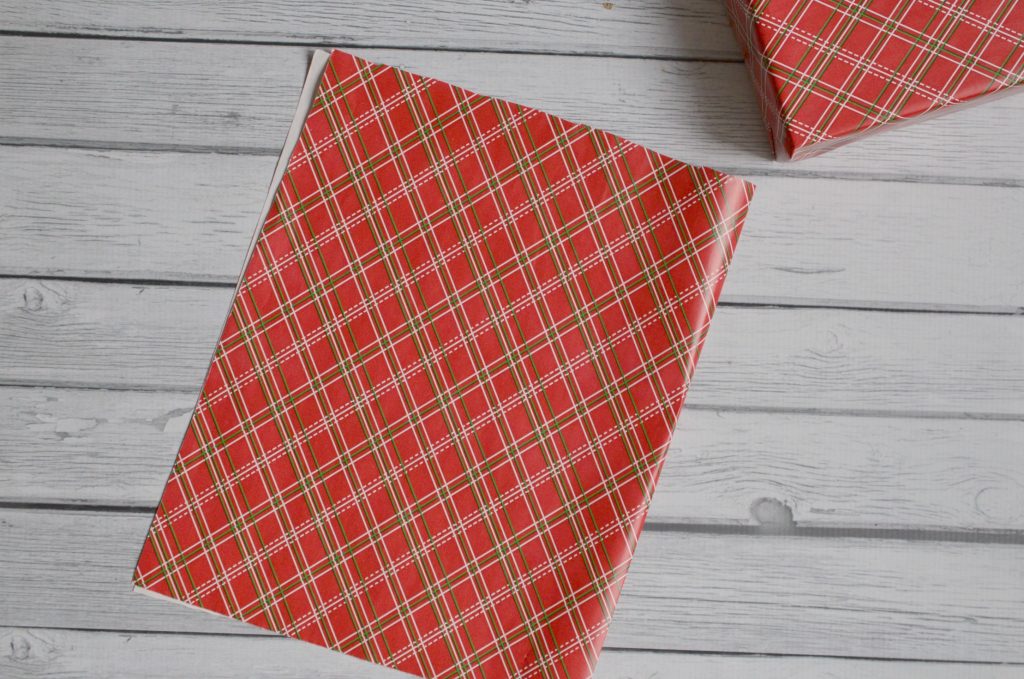
After you wrap your present, cut out a rectangular piece of the wrapping paper. Cut out a rectangle that was about 10 inches long and half of the height of the roll. Really you can’t mess this up. After you have been making these bows for awhile you kinda get a sense of how much paper you need. If in doubt go bigger than you think, you can always cut some off later.
Next, fold your rectangle in half. I folded it lengthwise to have longer curls, folding it the other way will give you shorter curls but more of them.
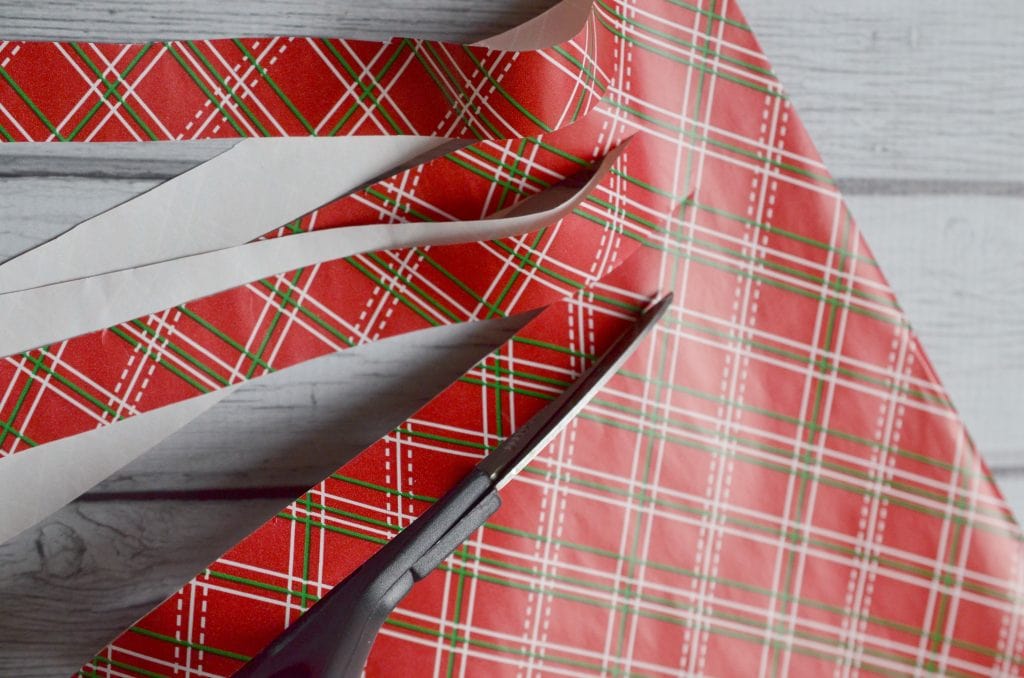
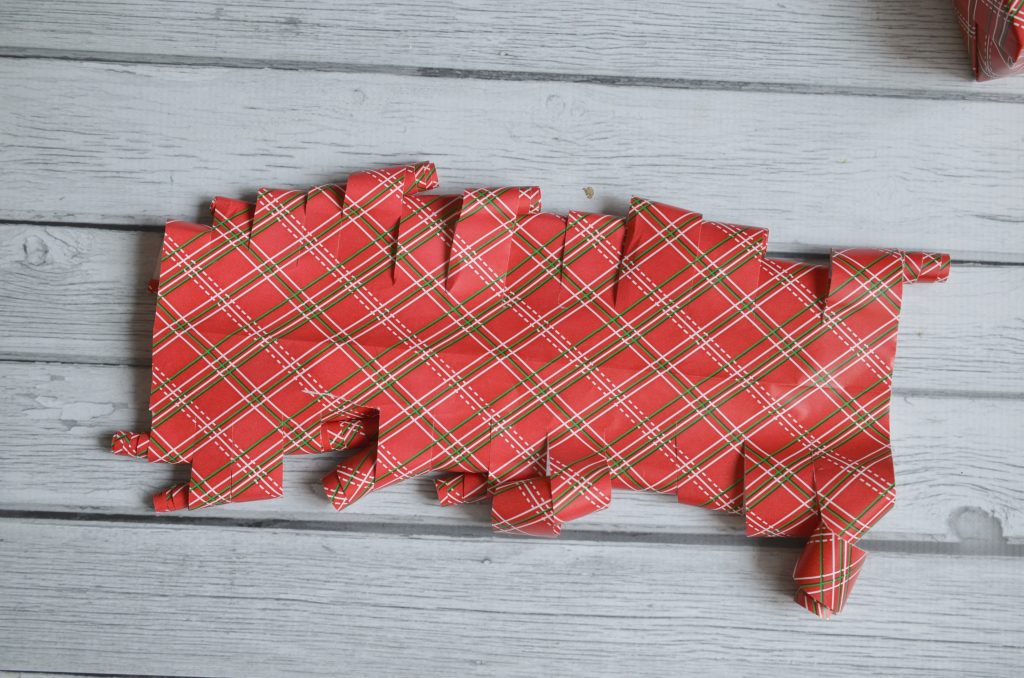
Then cut the paper from the bottom up being careful to stop about an inch before the fold. You will be cutting through two layers of wrapping paper. Your strips can be any width that you want, the thinner the more thin the bow strands will be. I like to experiment with this part but my advice is that the bigger the package the wider your cuts need to be.
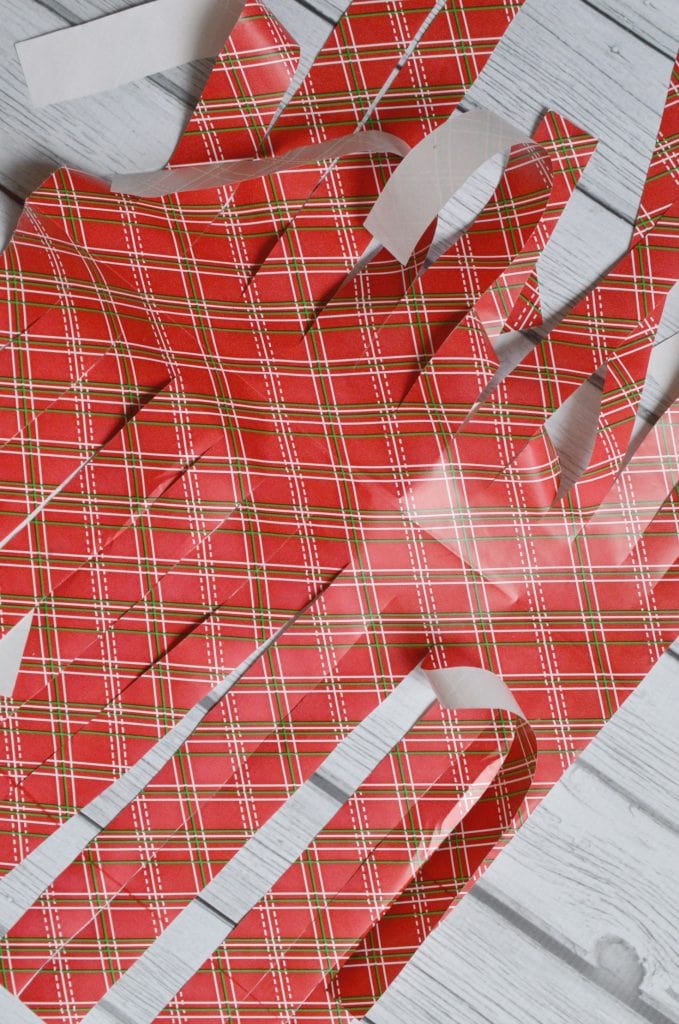
Open your wrapping paper to see both sides.

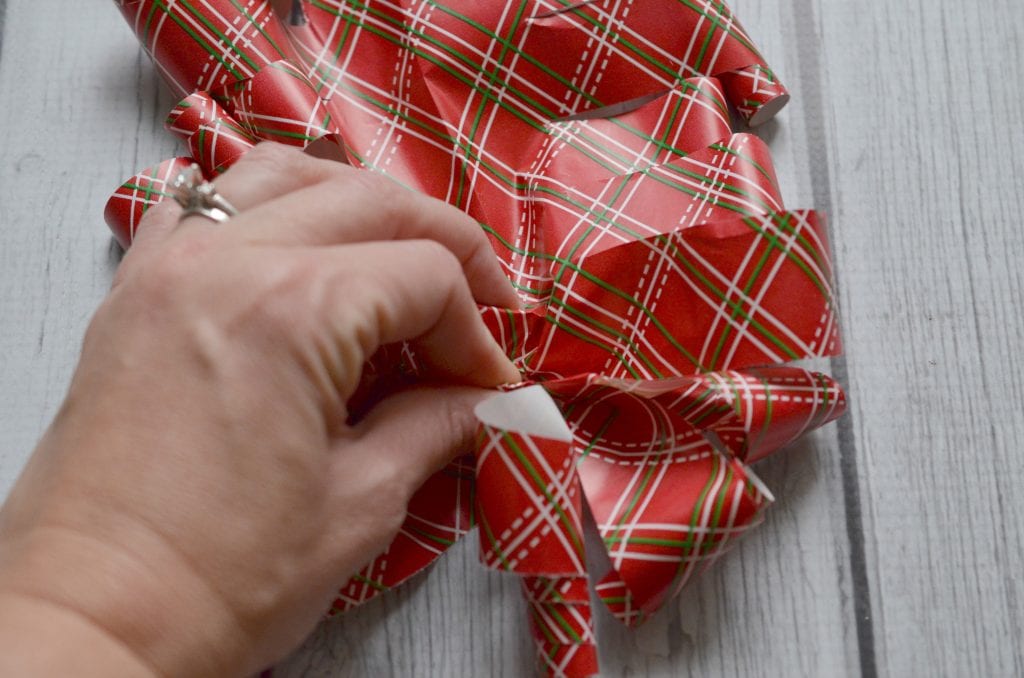
Next, take the strips of wrapping paper and curl them like you would curl a ribbon. Don’t do this too forcefully or you could cut off a strand. If that does happen don’t panic, no one can tell when your done. You will need to curl both sides of the paper.
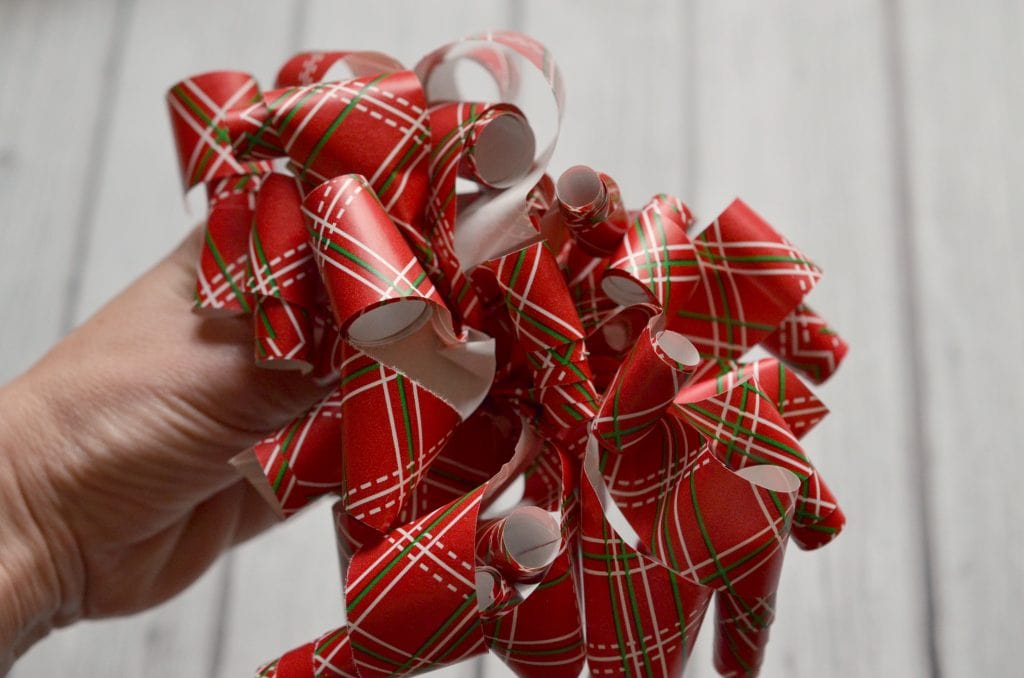
This is what it will look like when you are done curling.
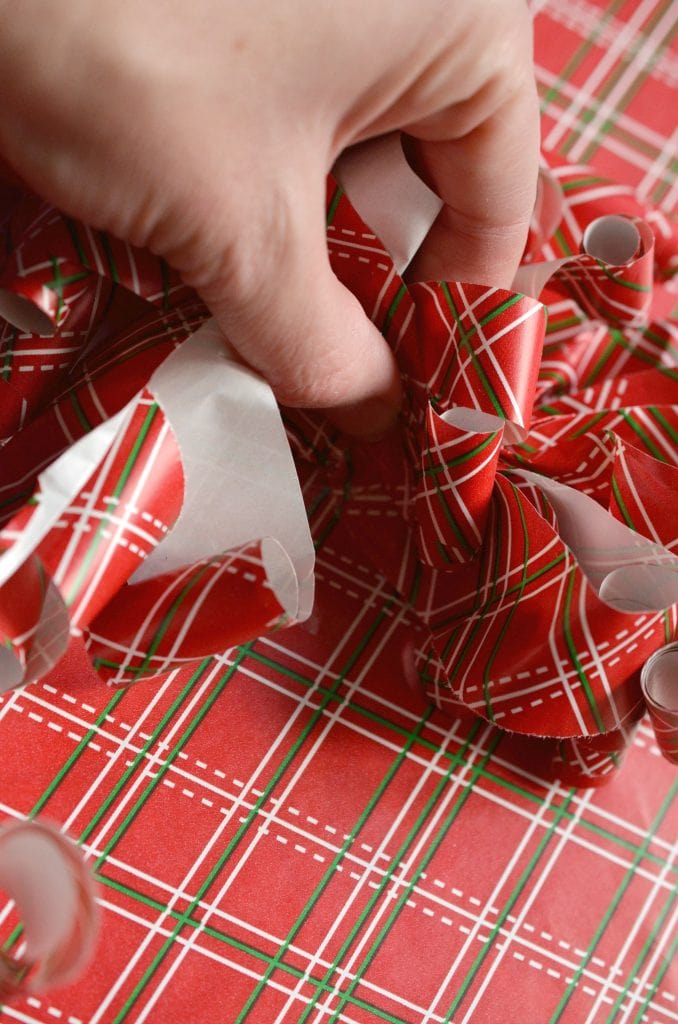
Gather the middle together by folding it up into a bunch, start at one end and pinch to get to the other end.
When you fold it up, it will look like this.
Finally, tape the bow to the package. This is the hardest part of the entire project. Don’t be afraid to use a few pieces of tape. I just get in there and tape the bottom of the bow where it is crunched together. You can staple it together first with a stapler if you have one, but I have found that if I just use a few pieces of tape it will look fine.
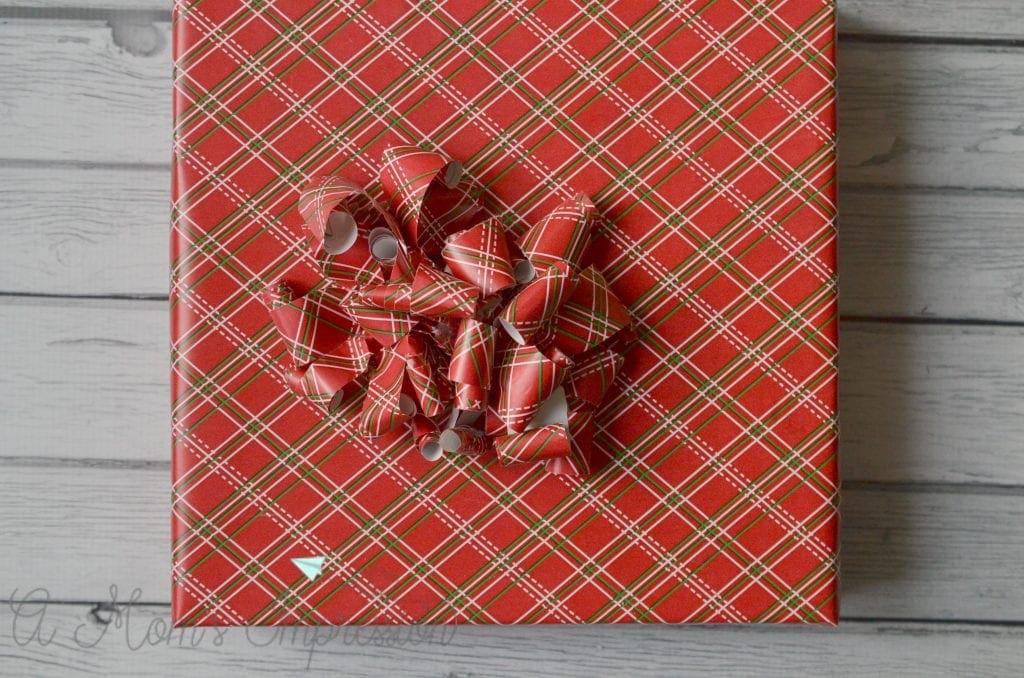
You can mess a bit with the curls to hide your tape and you are done!
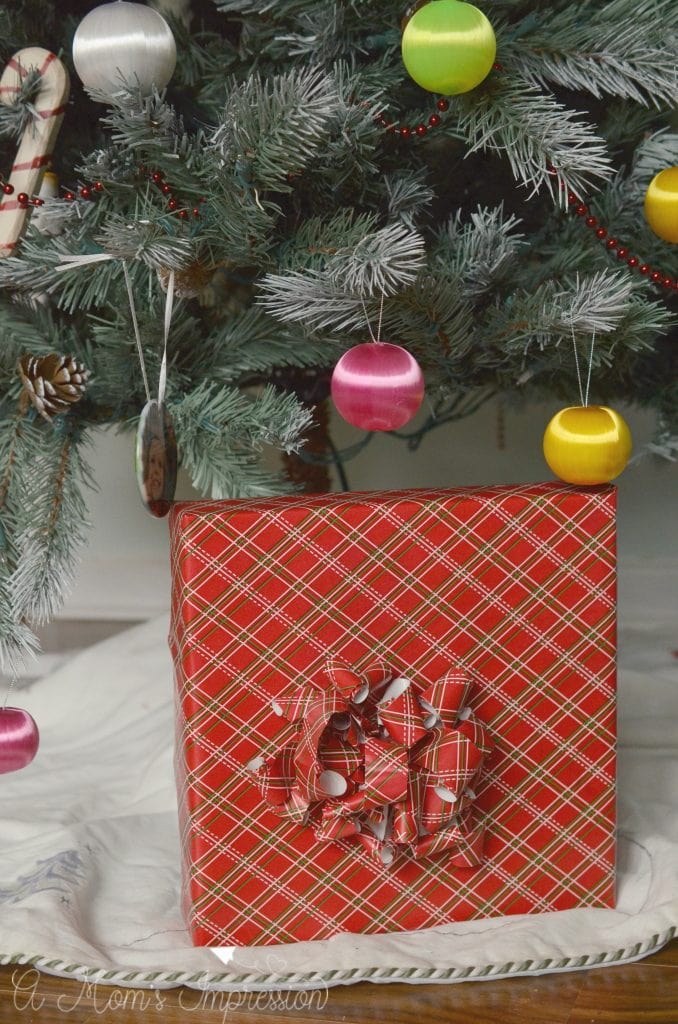
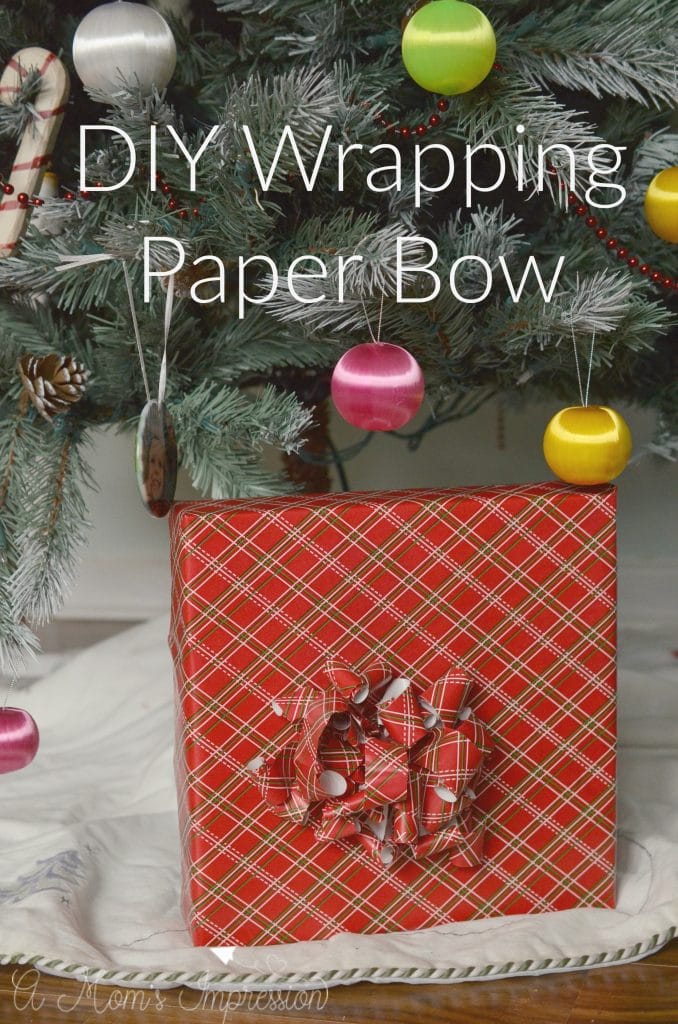
Besides being a little off center, the result is a beautiful, custom look that you can use for the rest of your life no matter the occasion. I have had many people ask how I make these and now you know!
You can find these products and more at your local Dollar General. You can also check out their décor on their website.
How do you make your holiday packages stand out?